Posts tagged Crochet Camp
Sewing Camp!

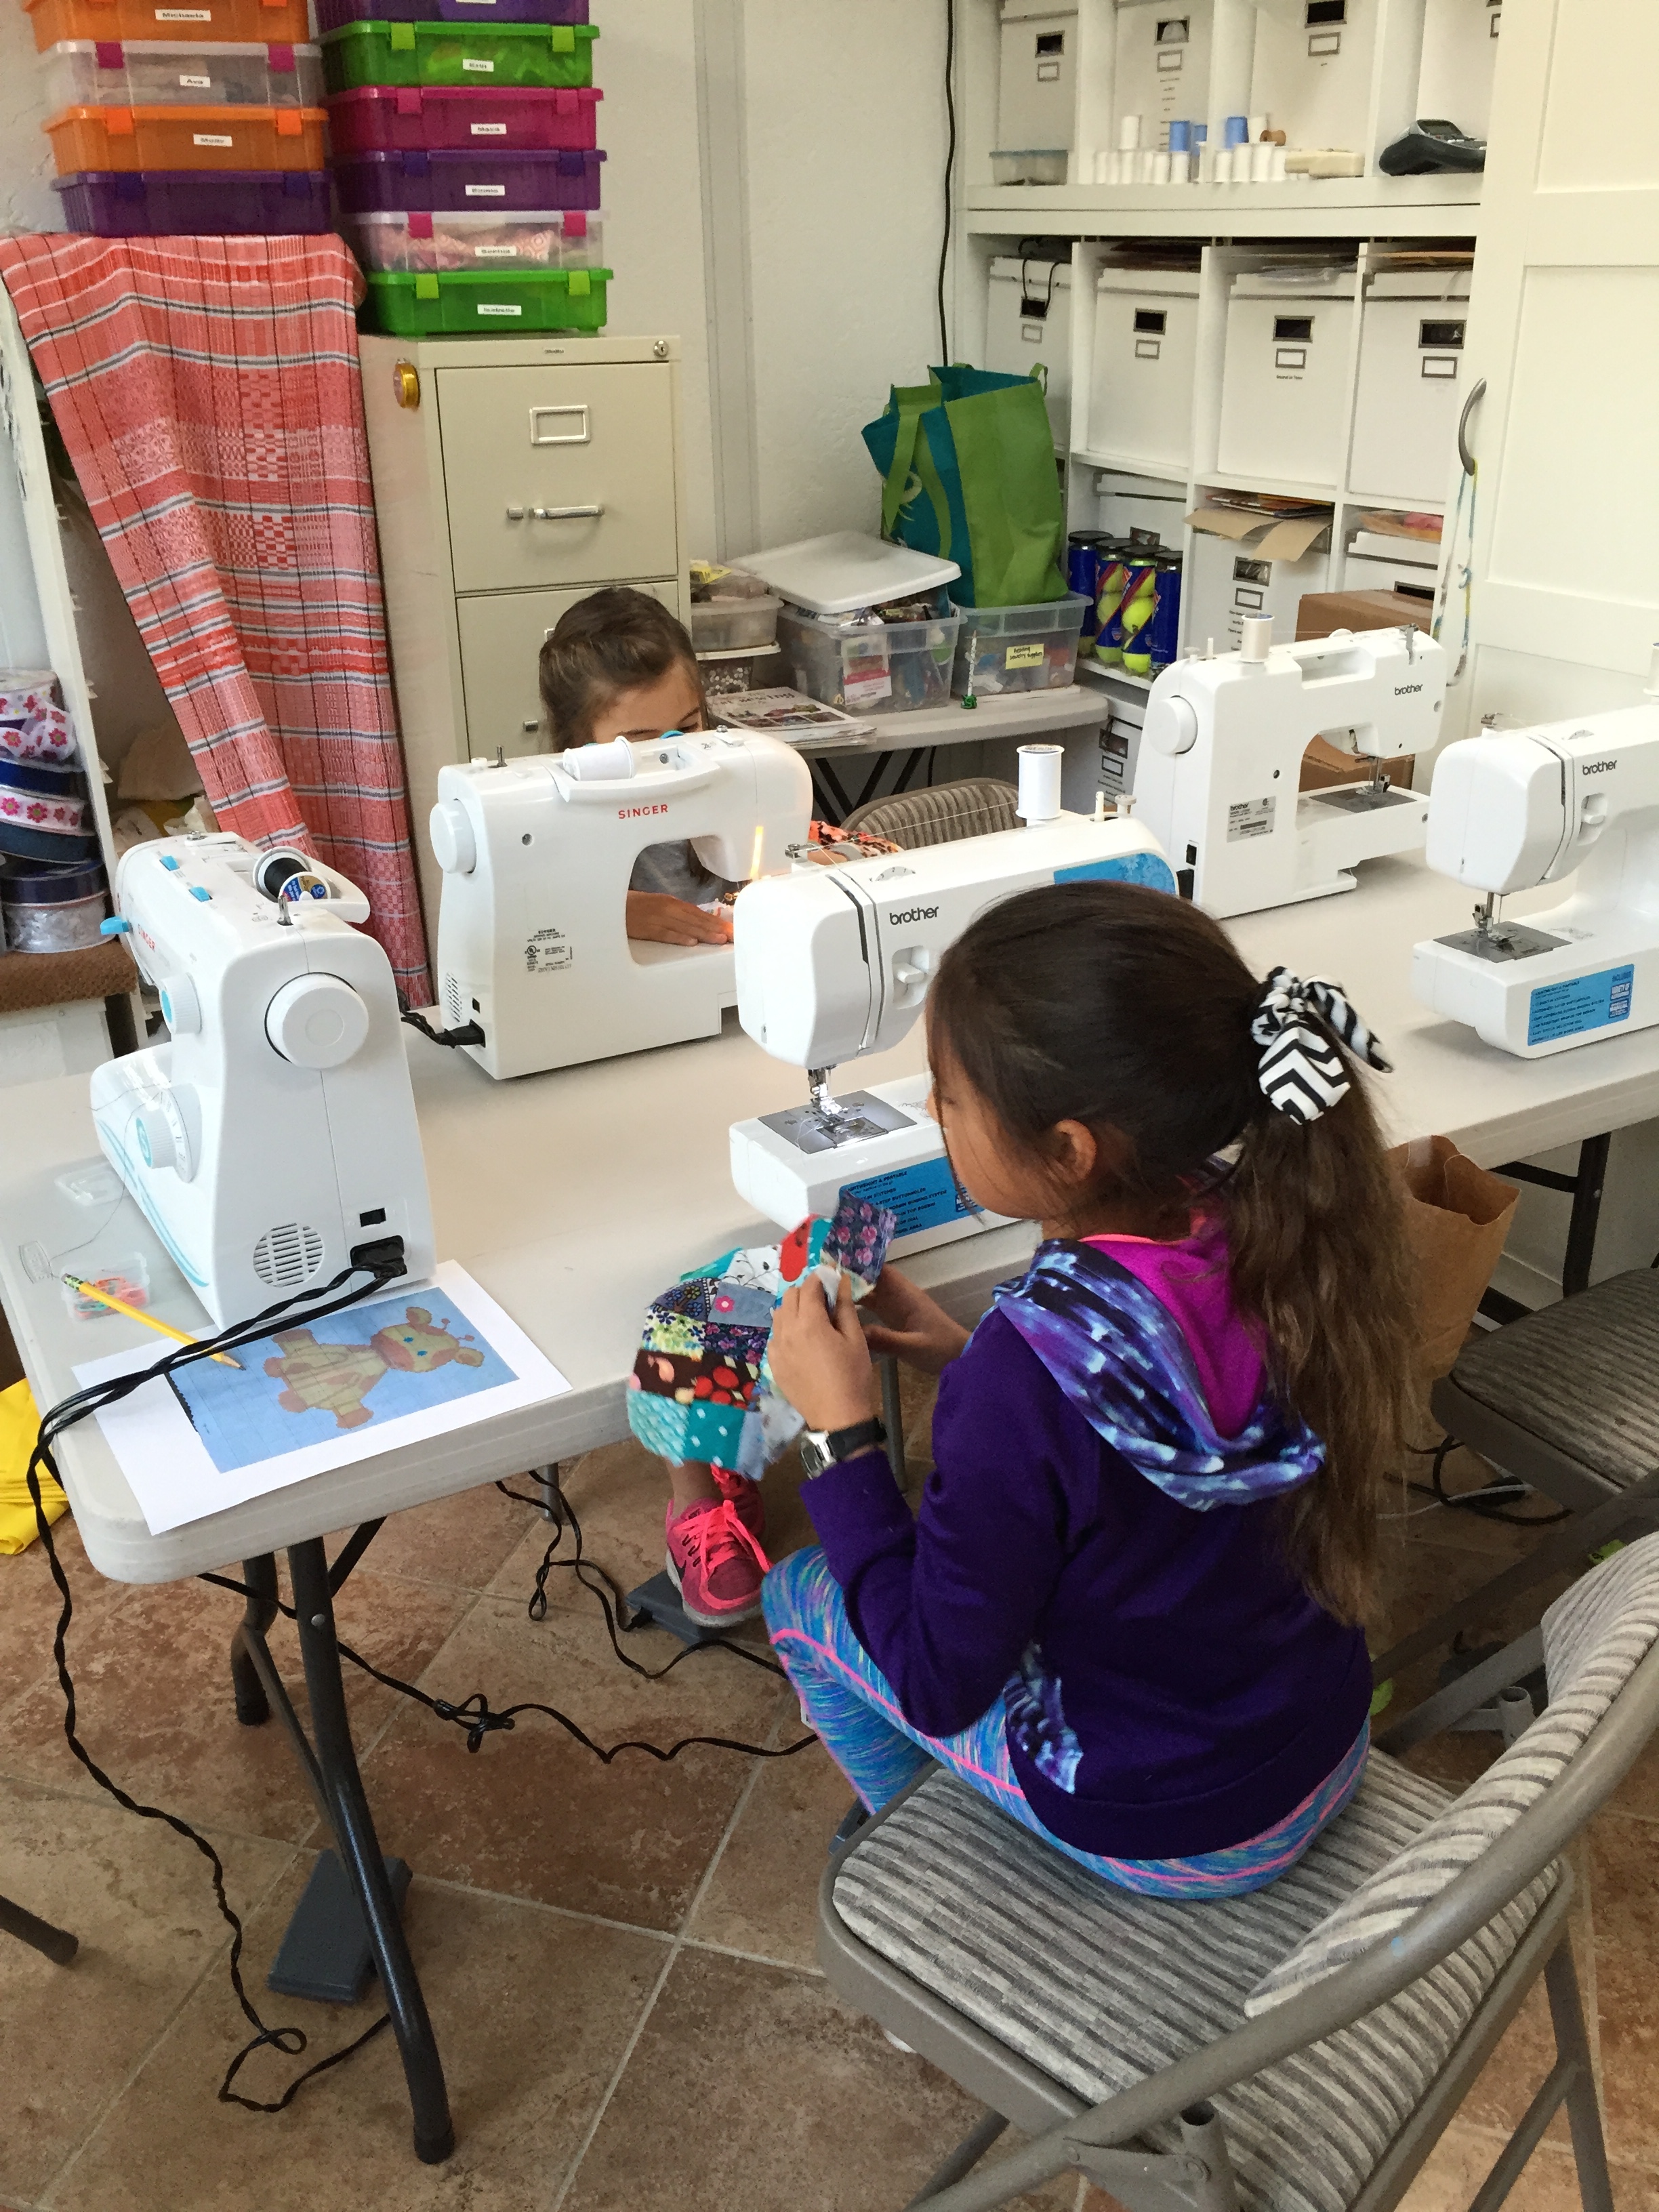
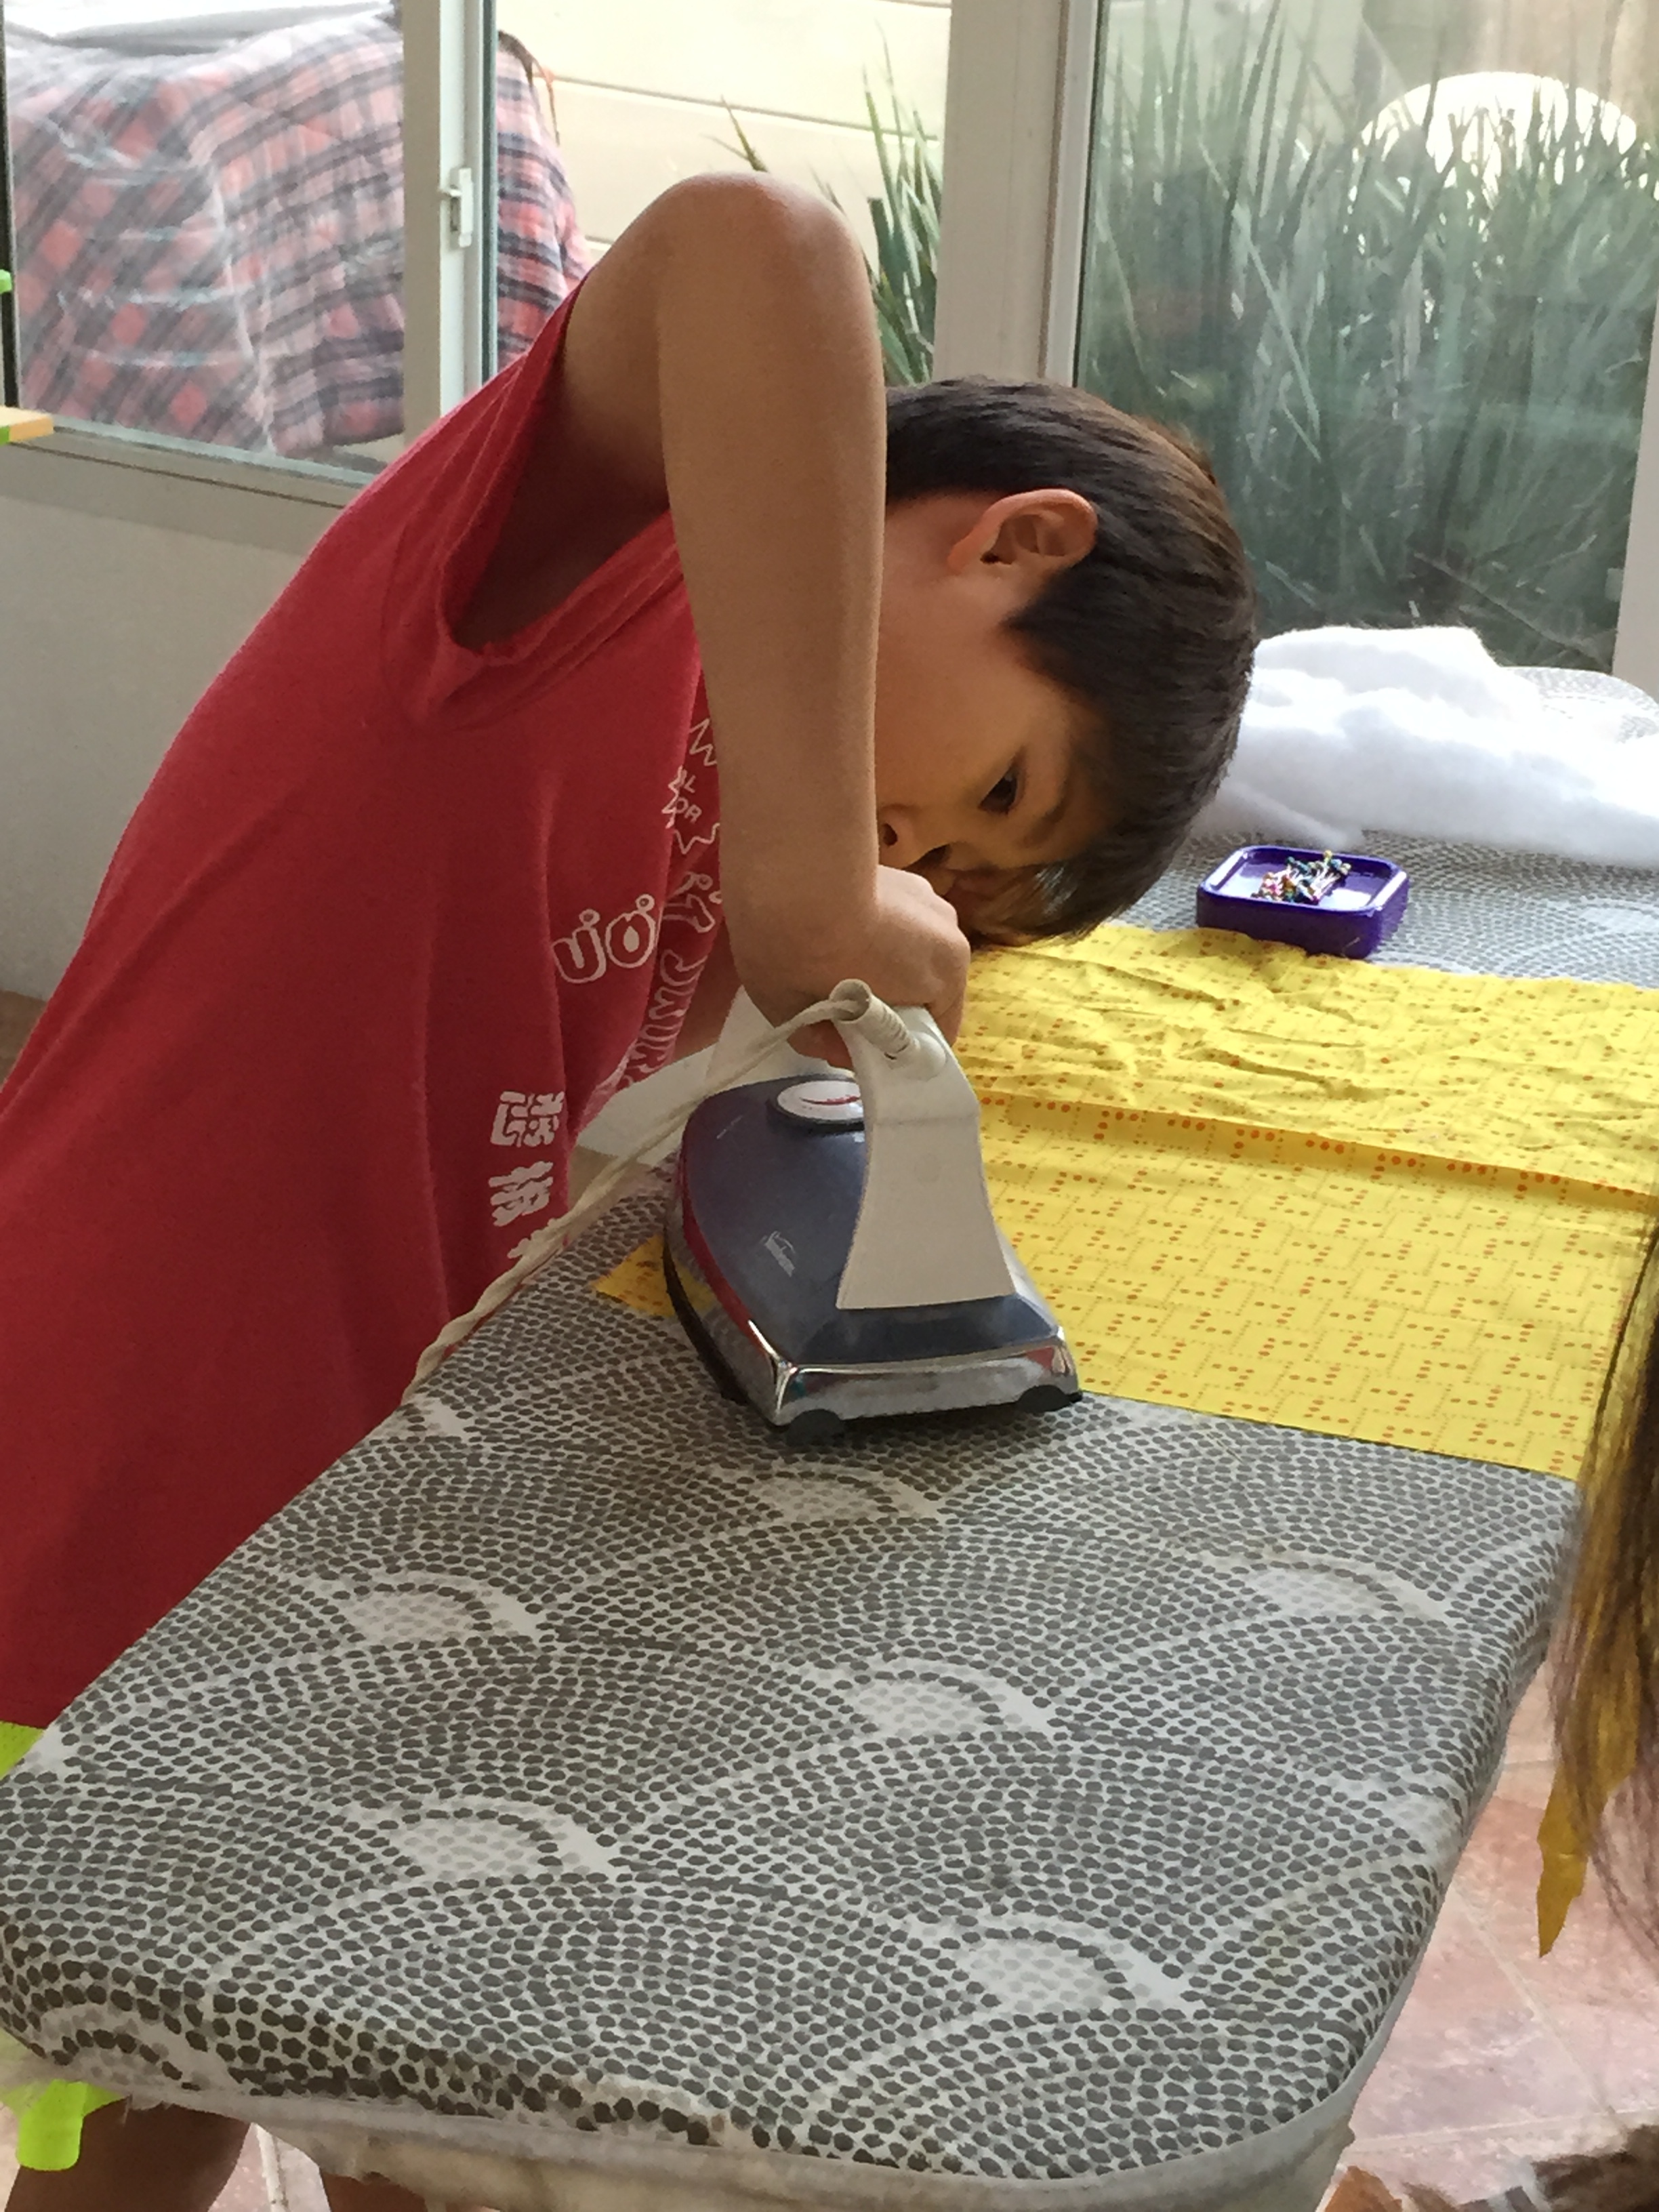
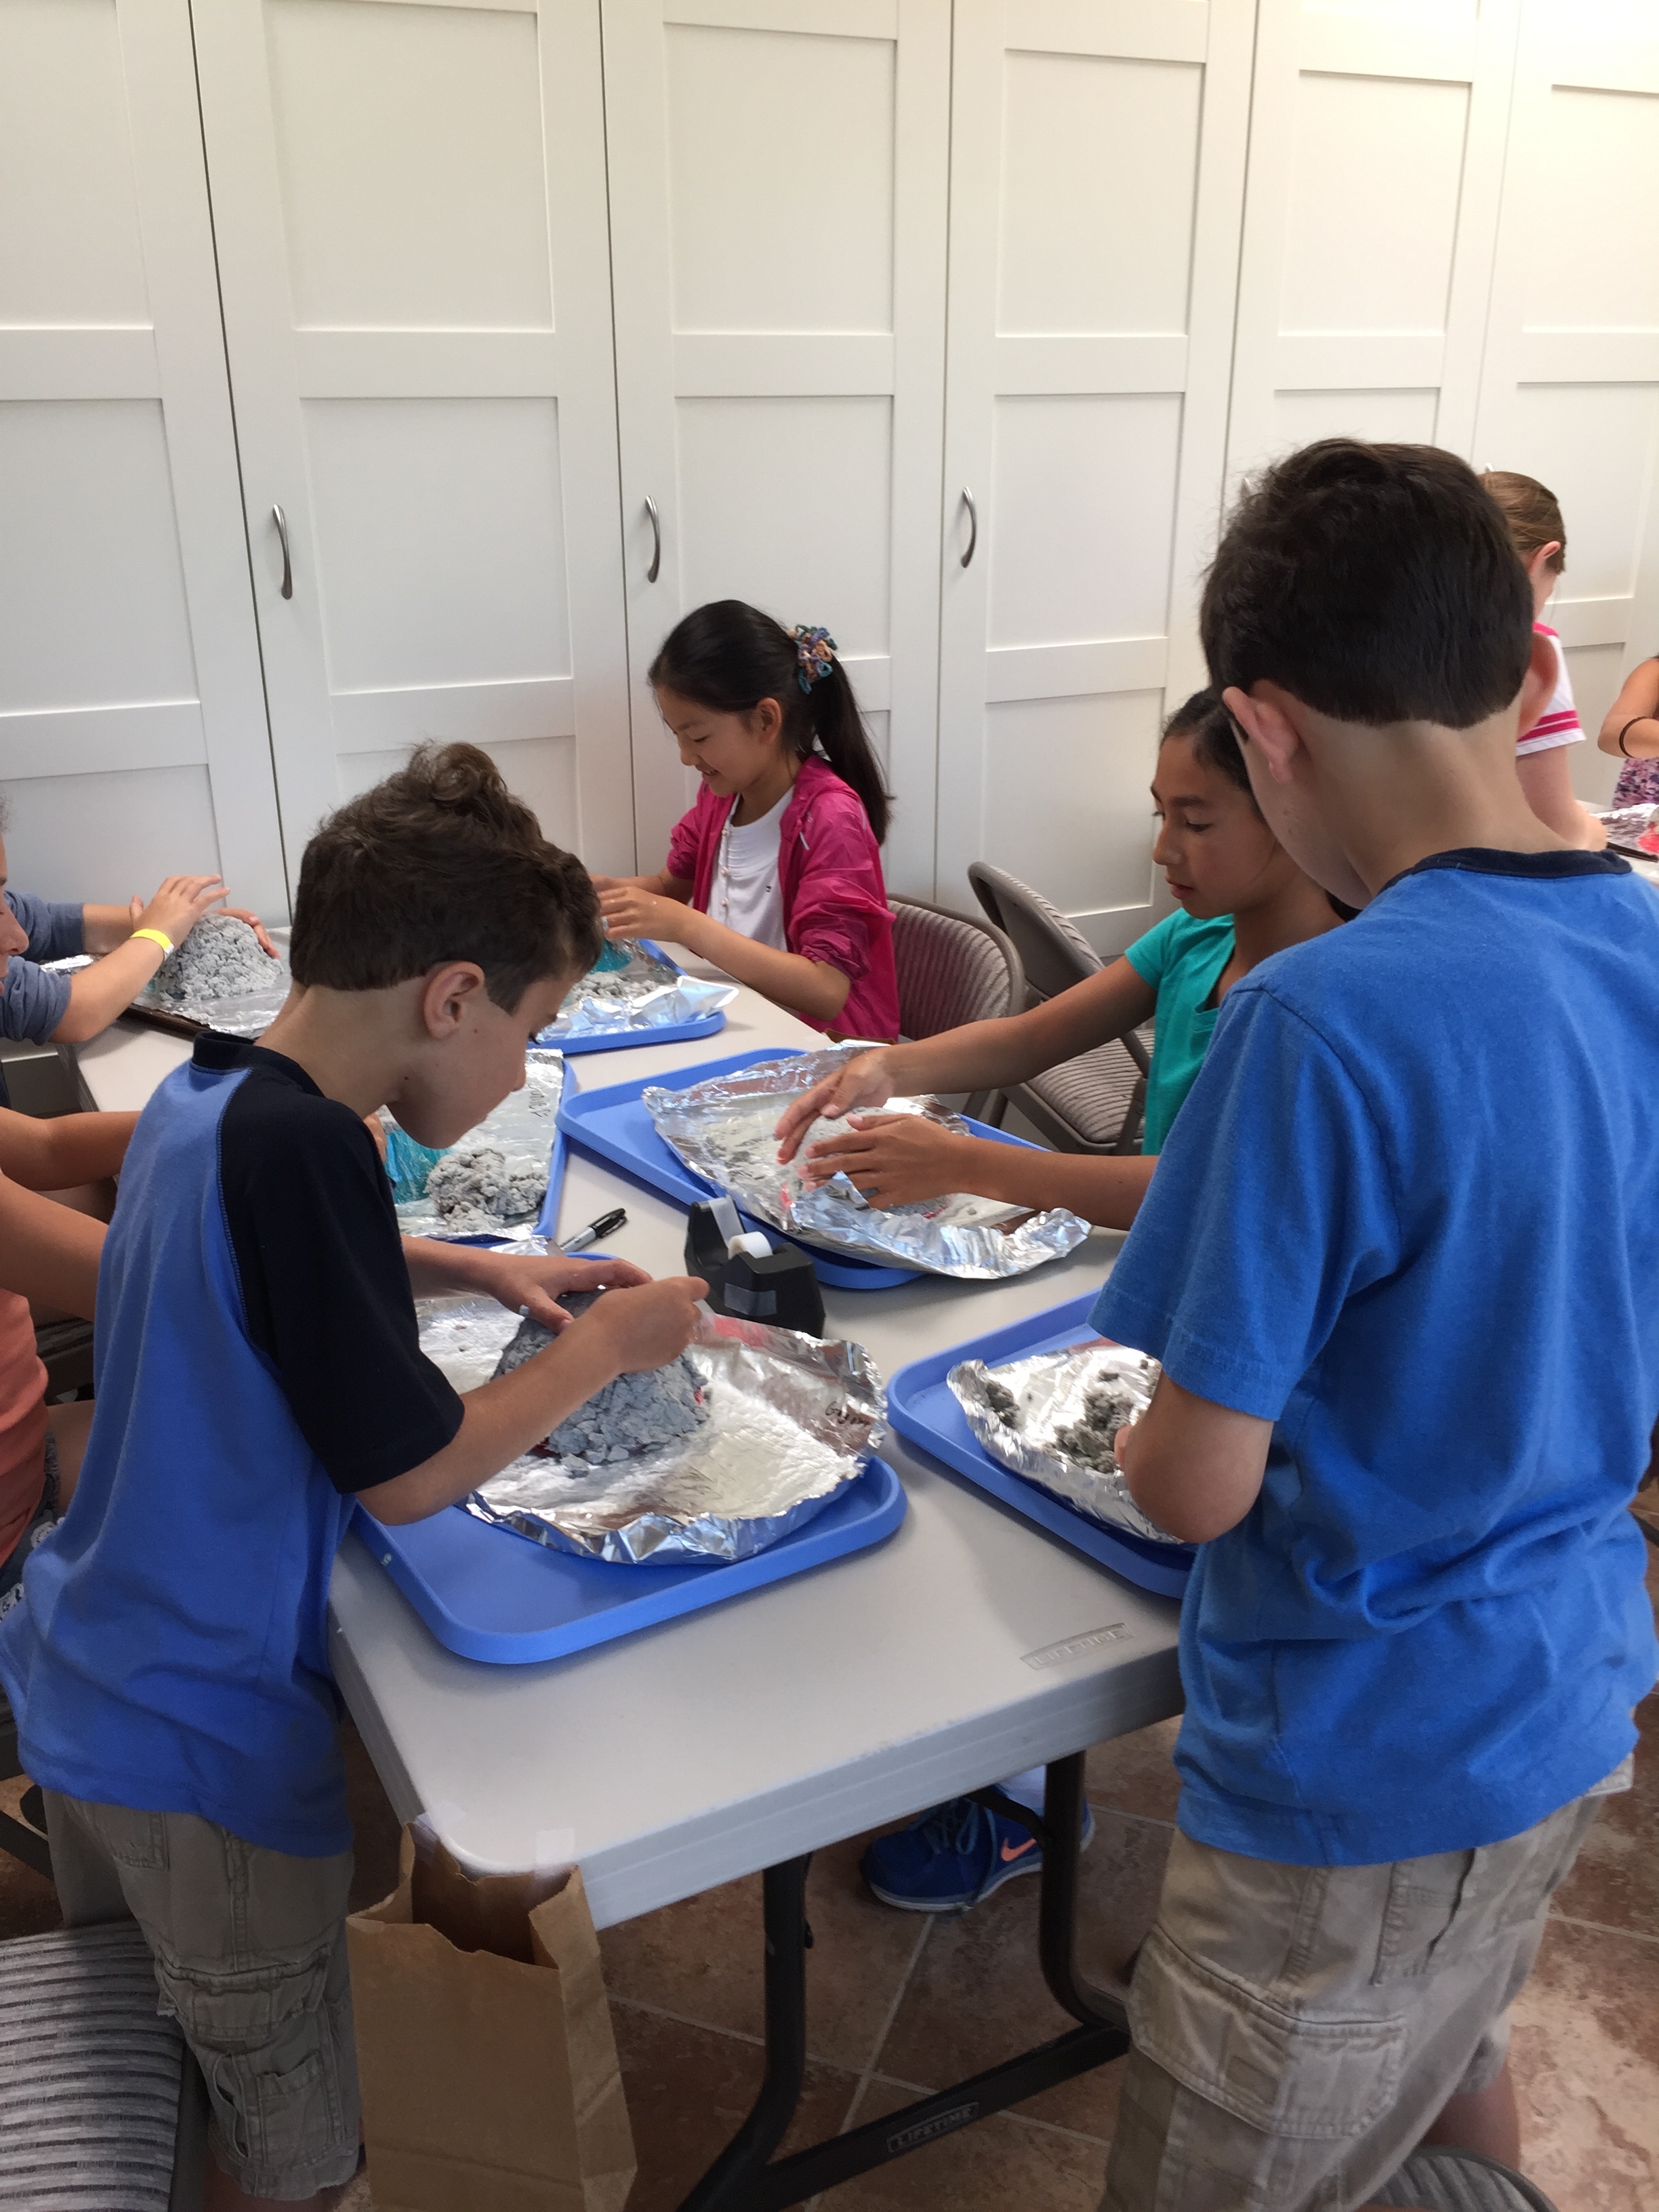
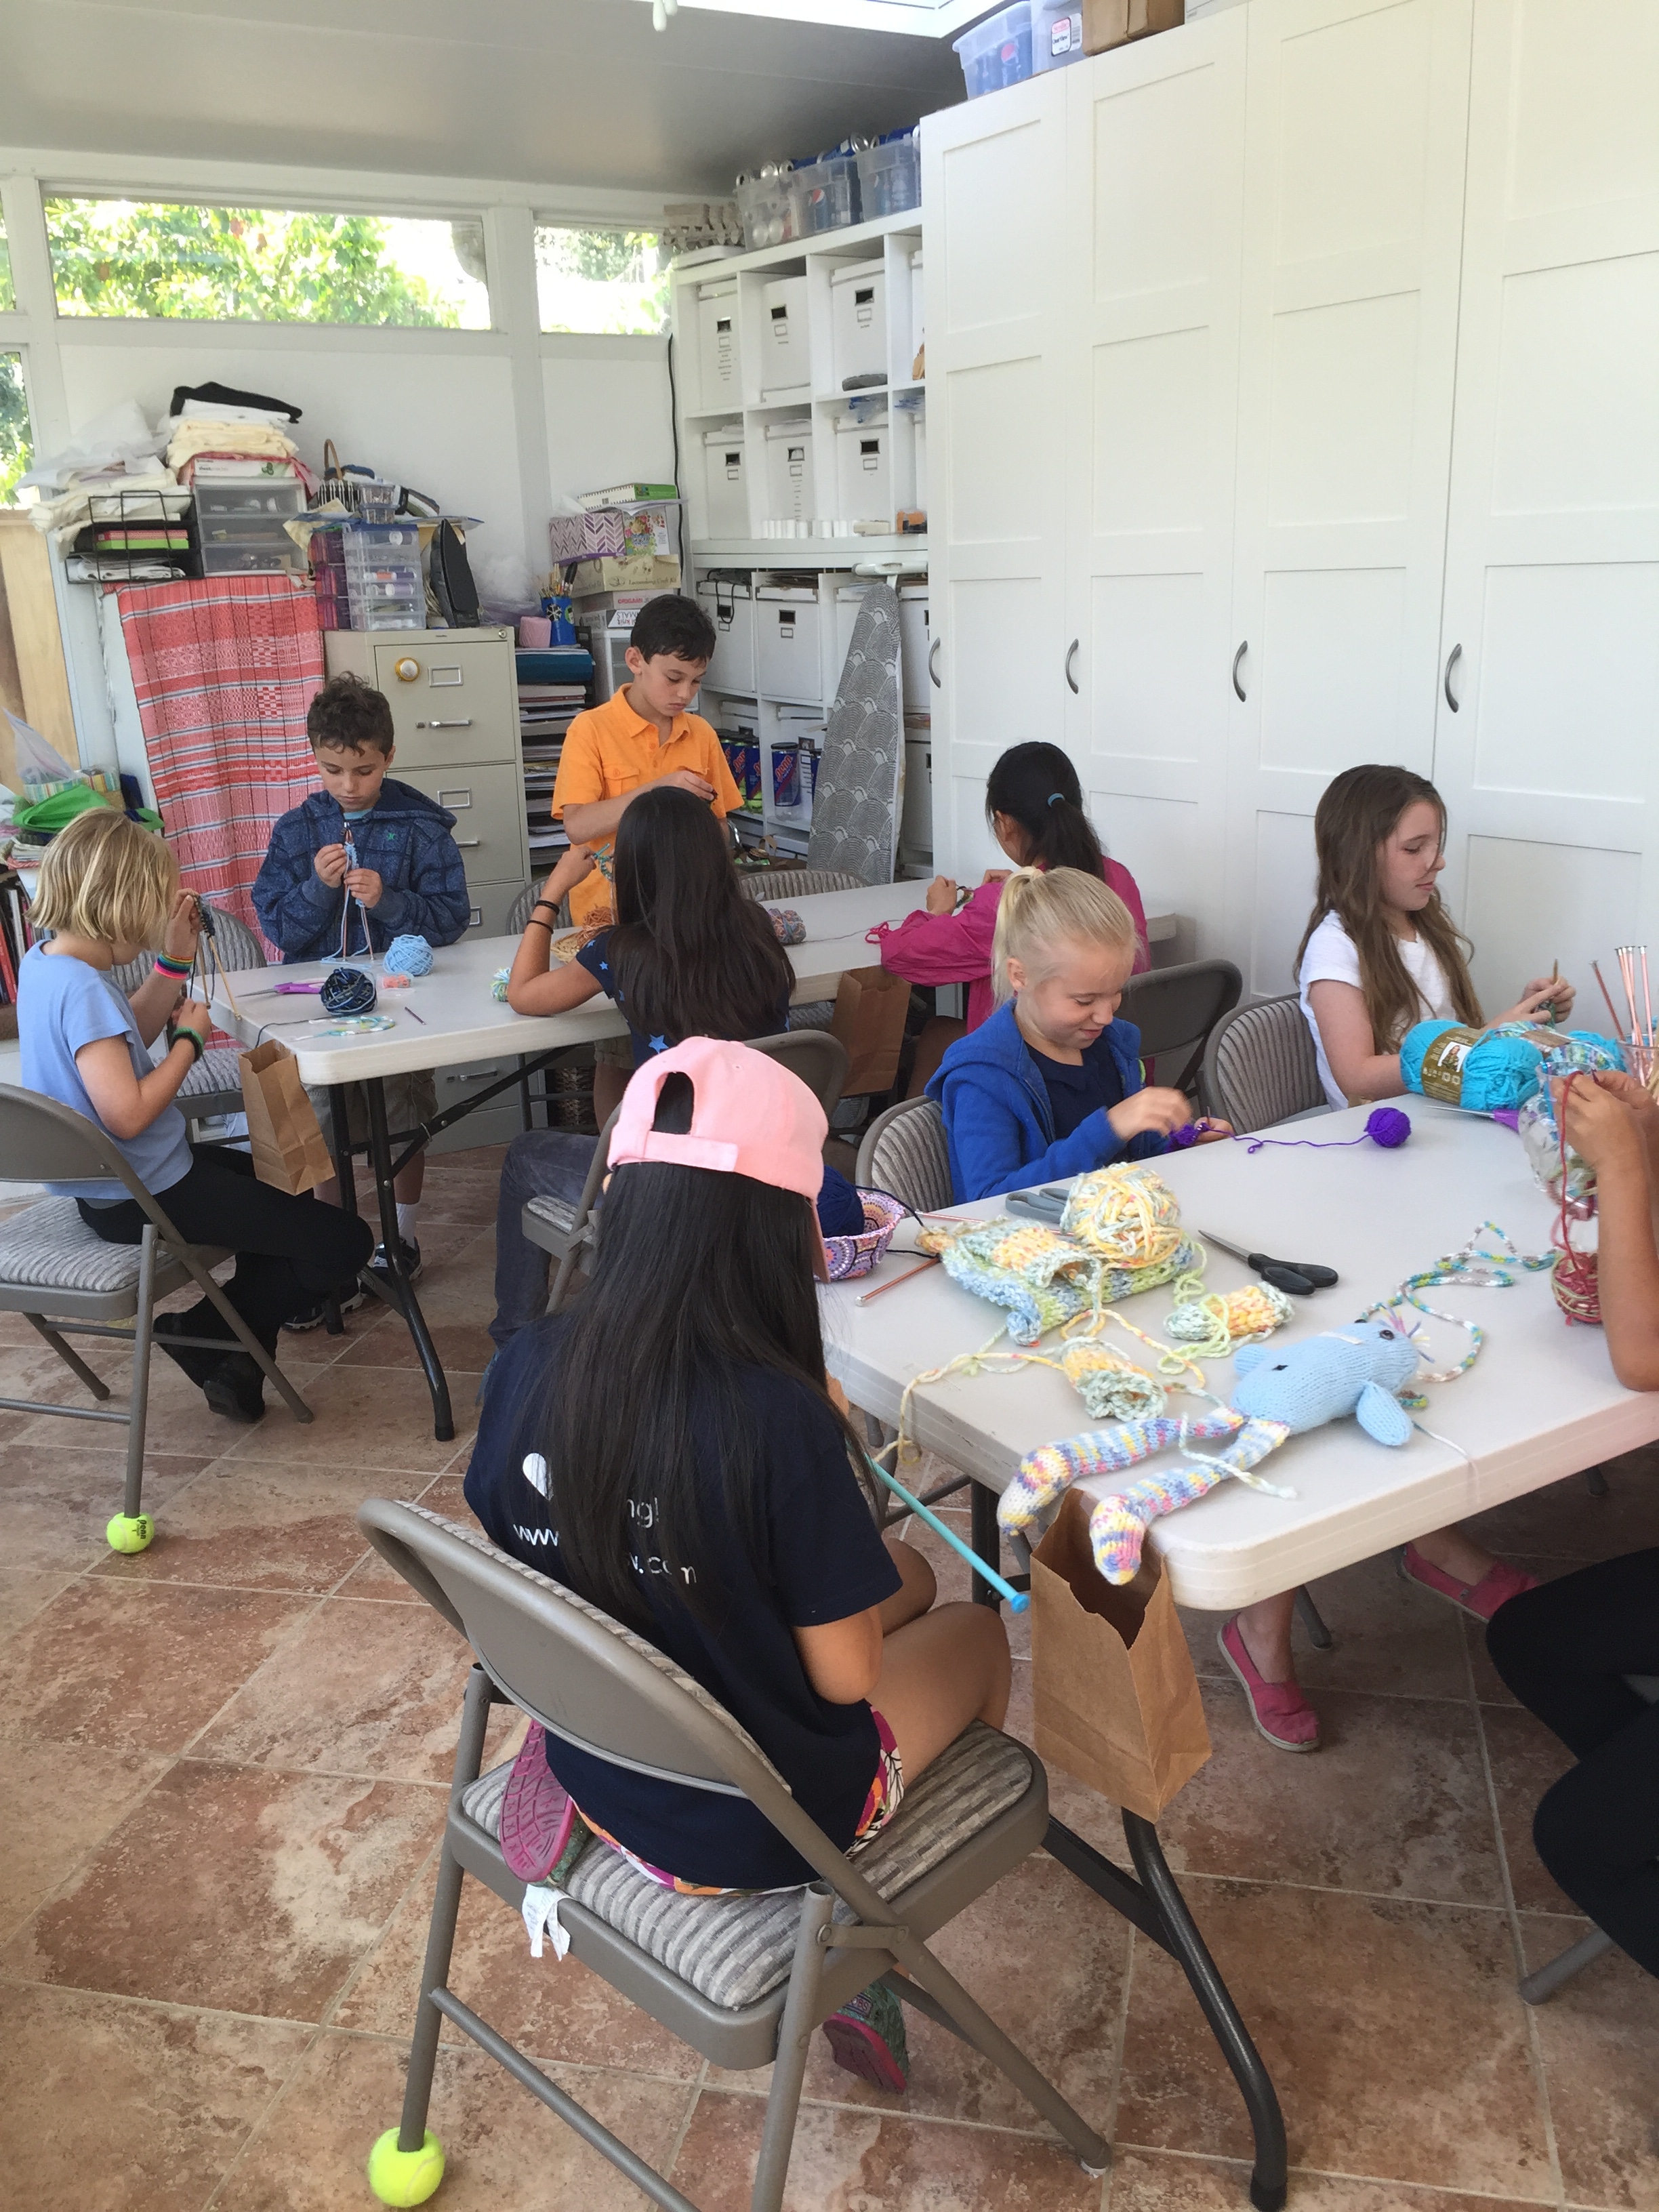
Our first camp of summer is in full swing and we are having a blast!!!  We already have lots of finished projects:

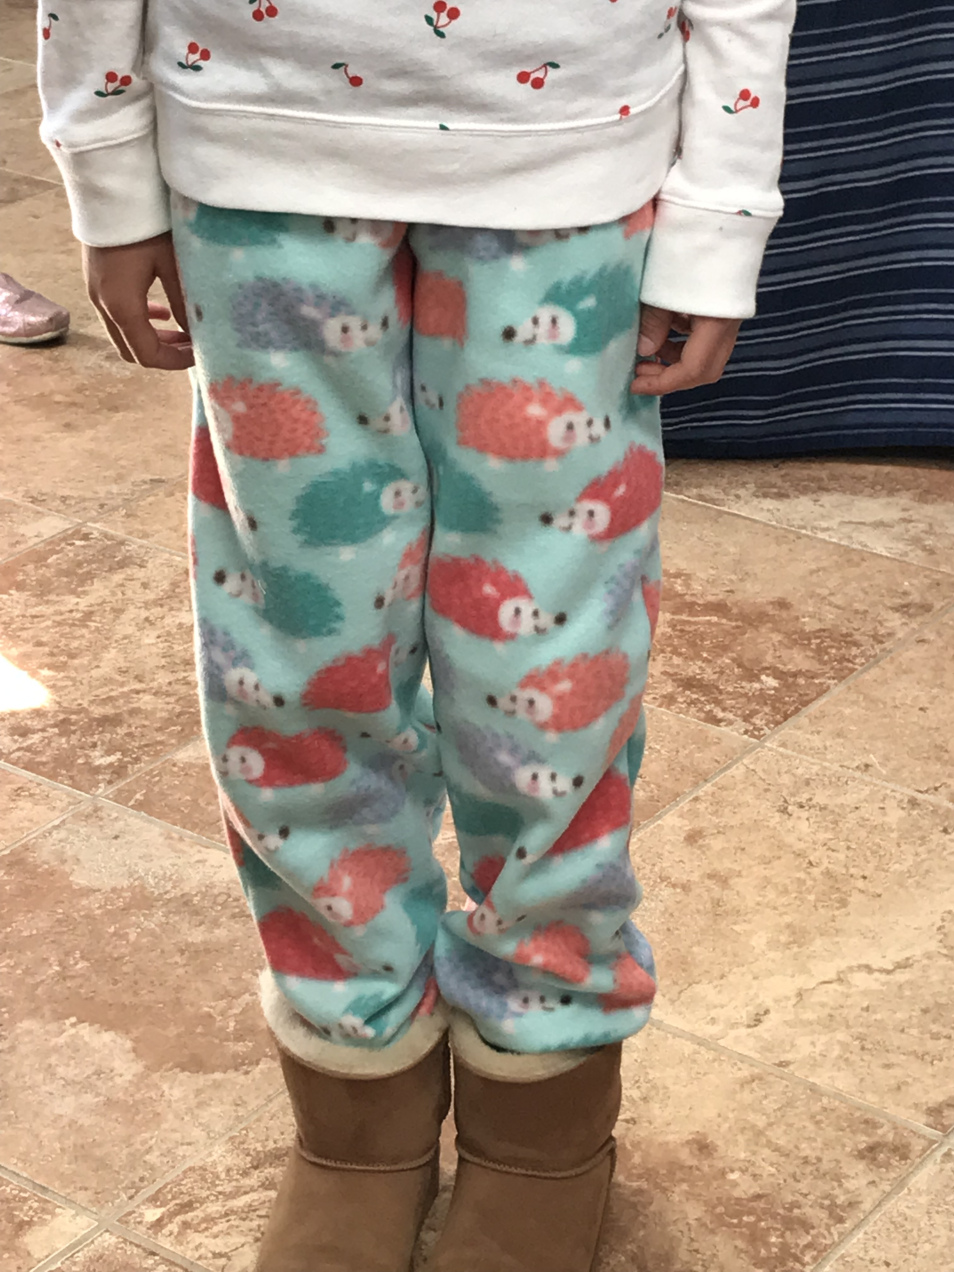
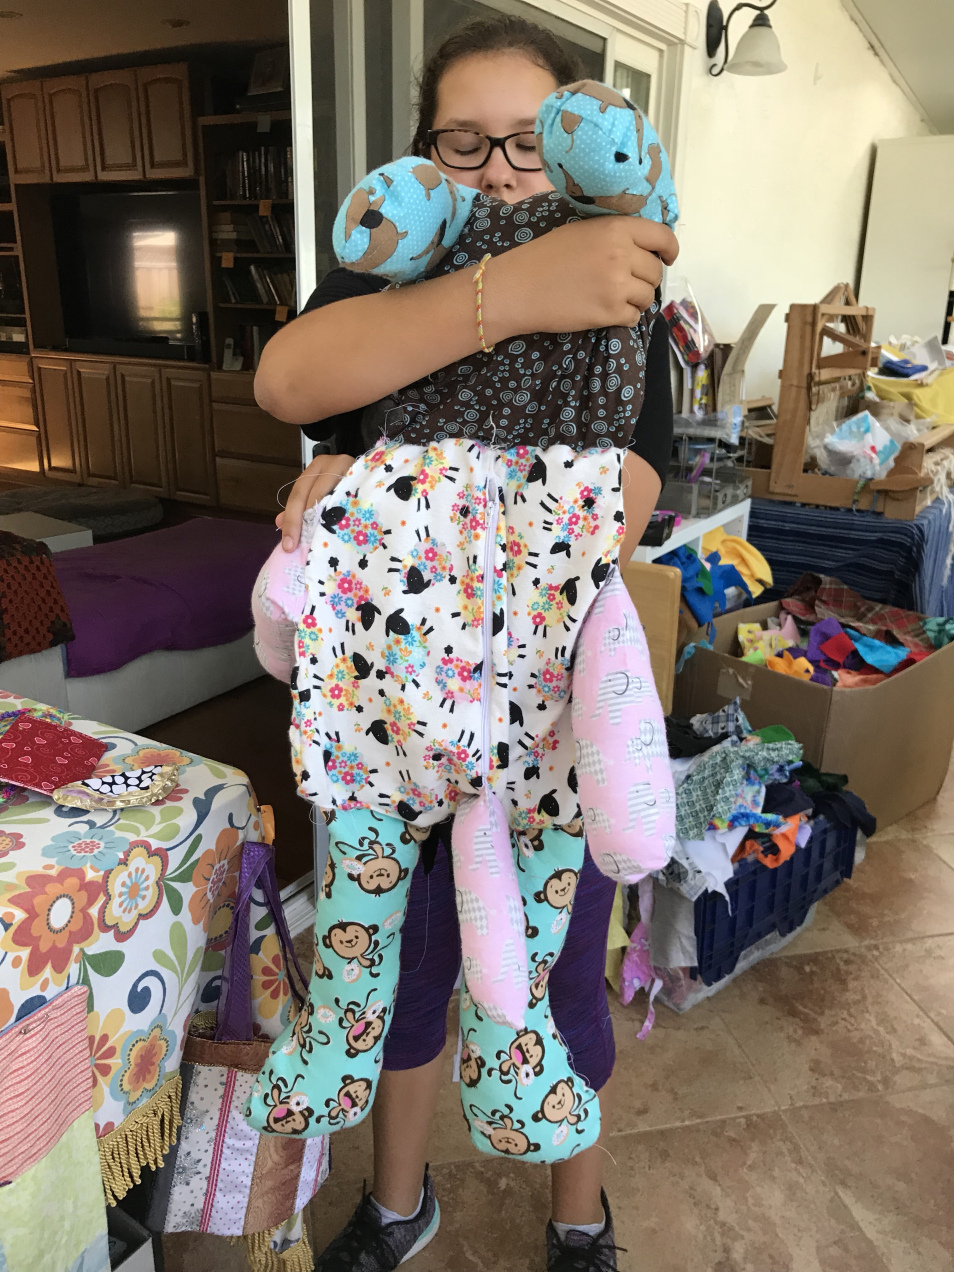
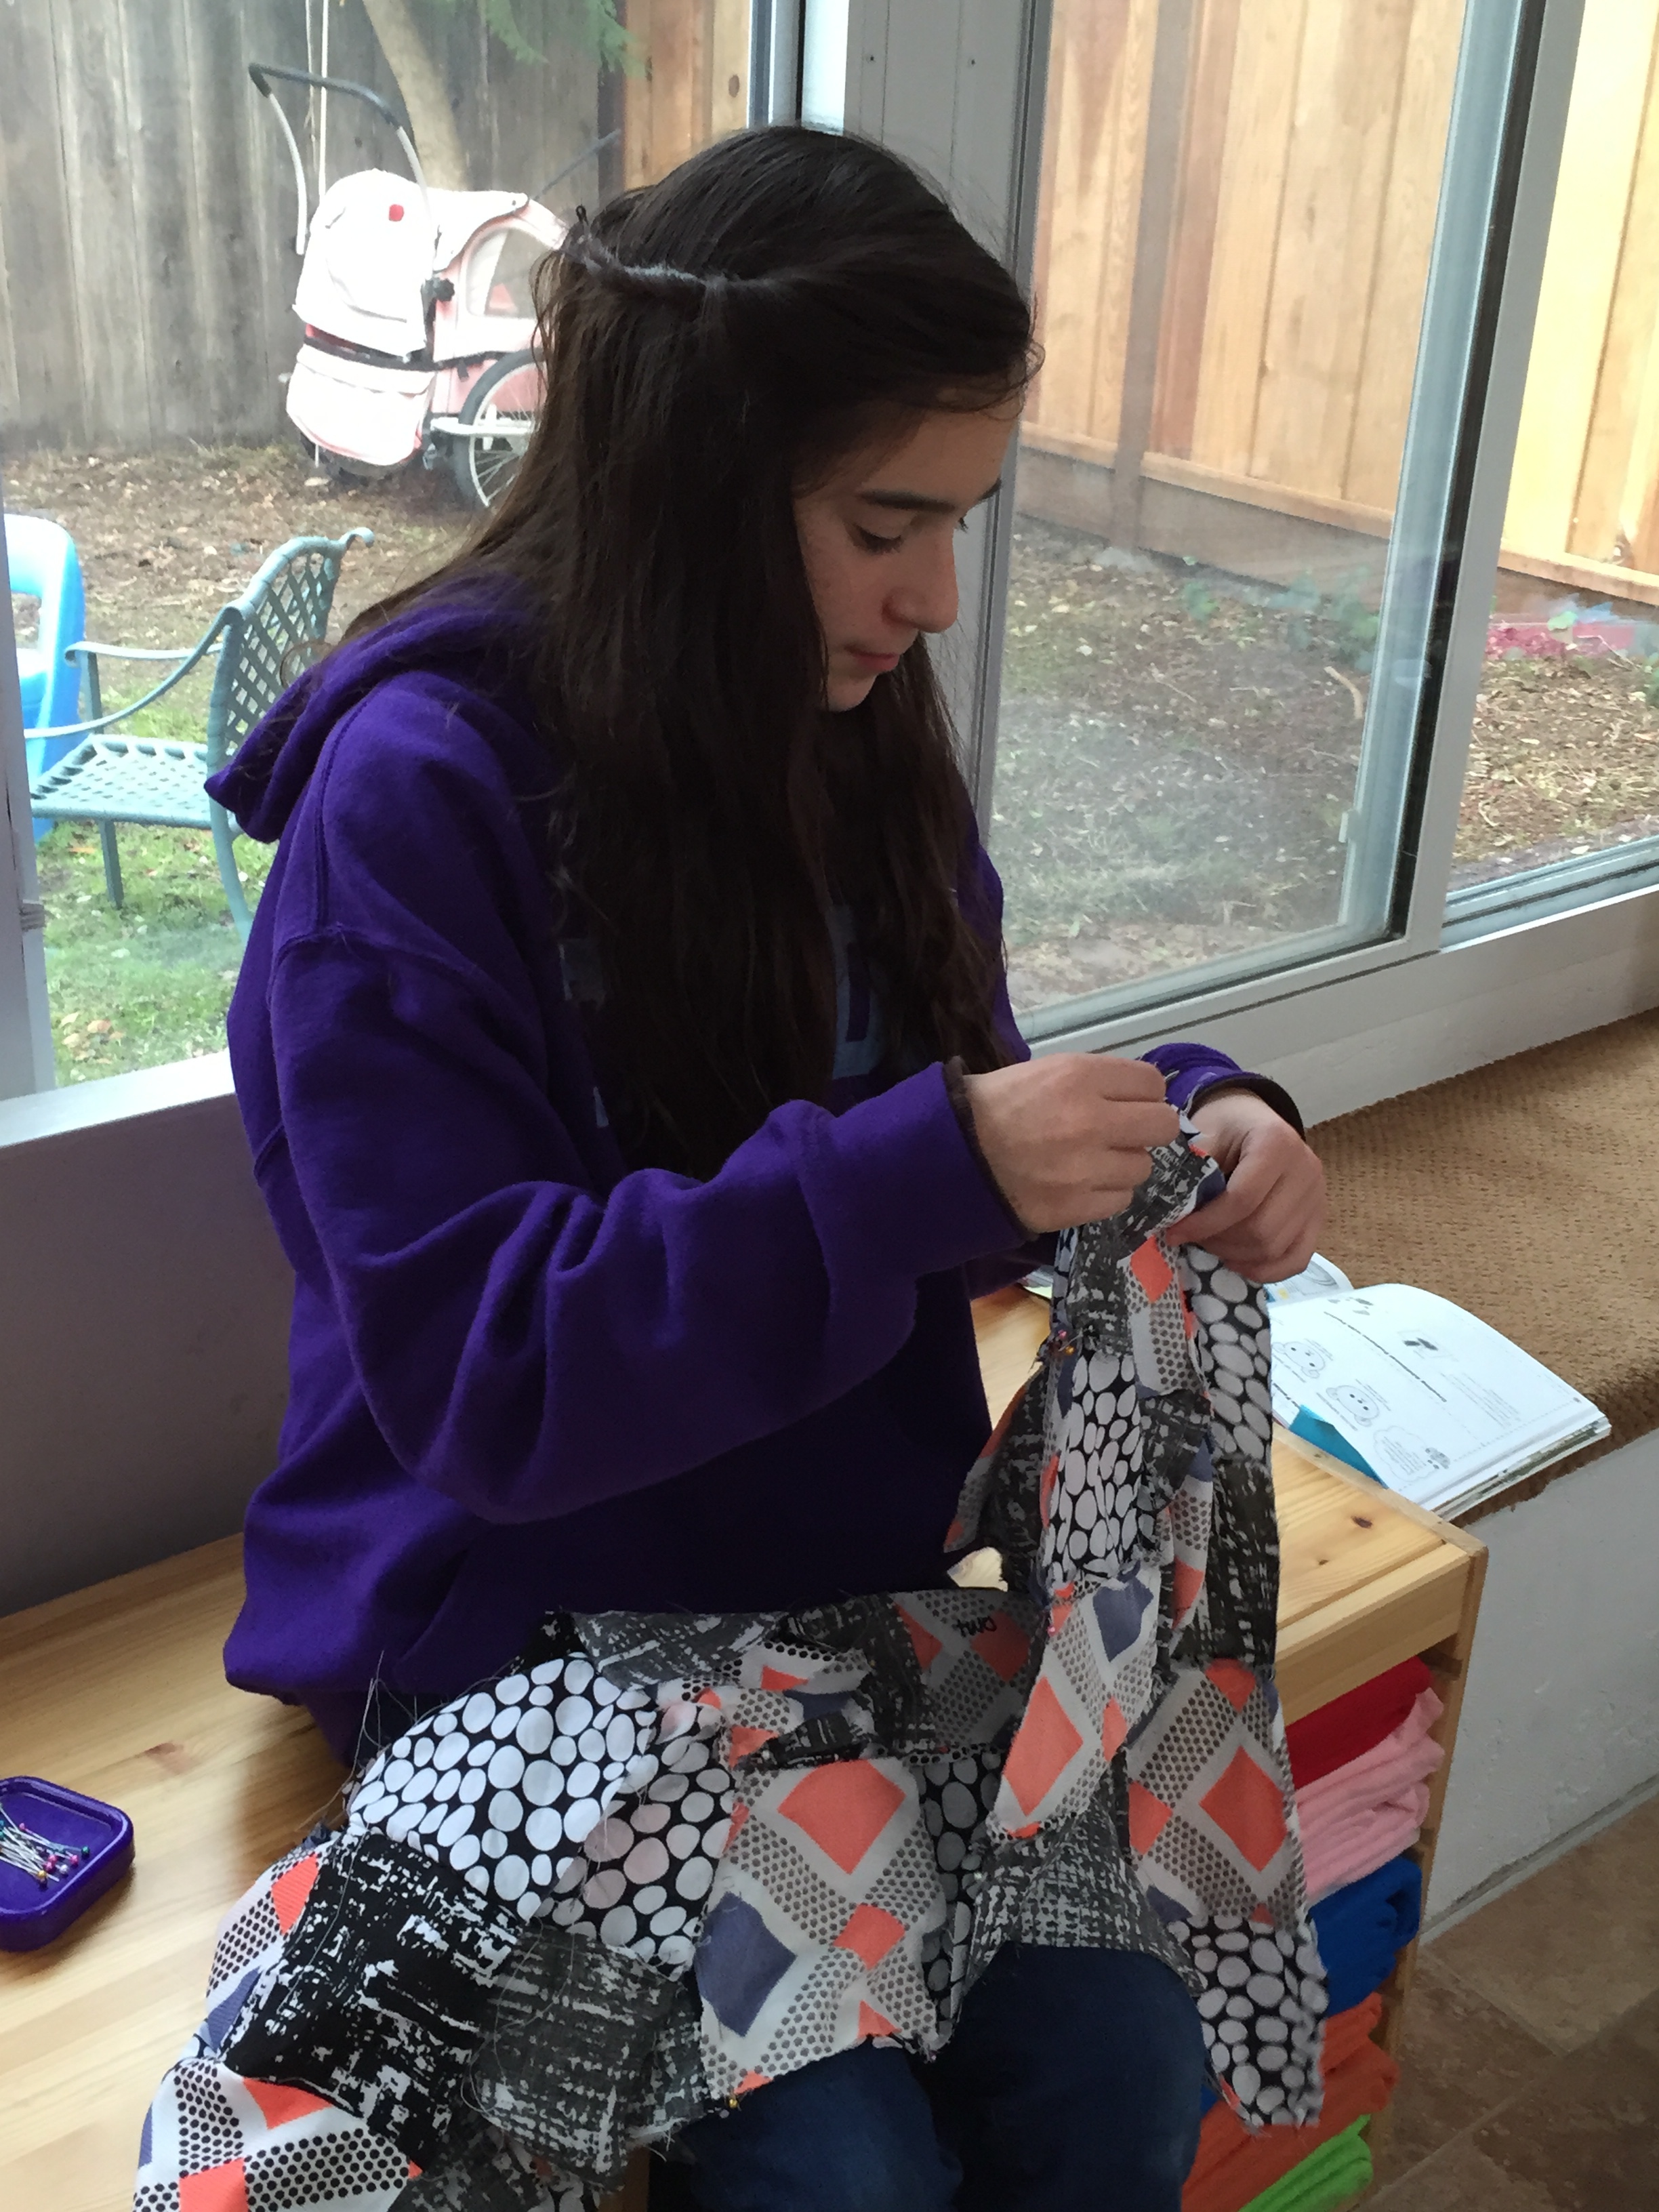
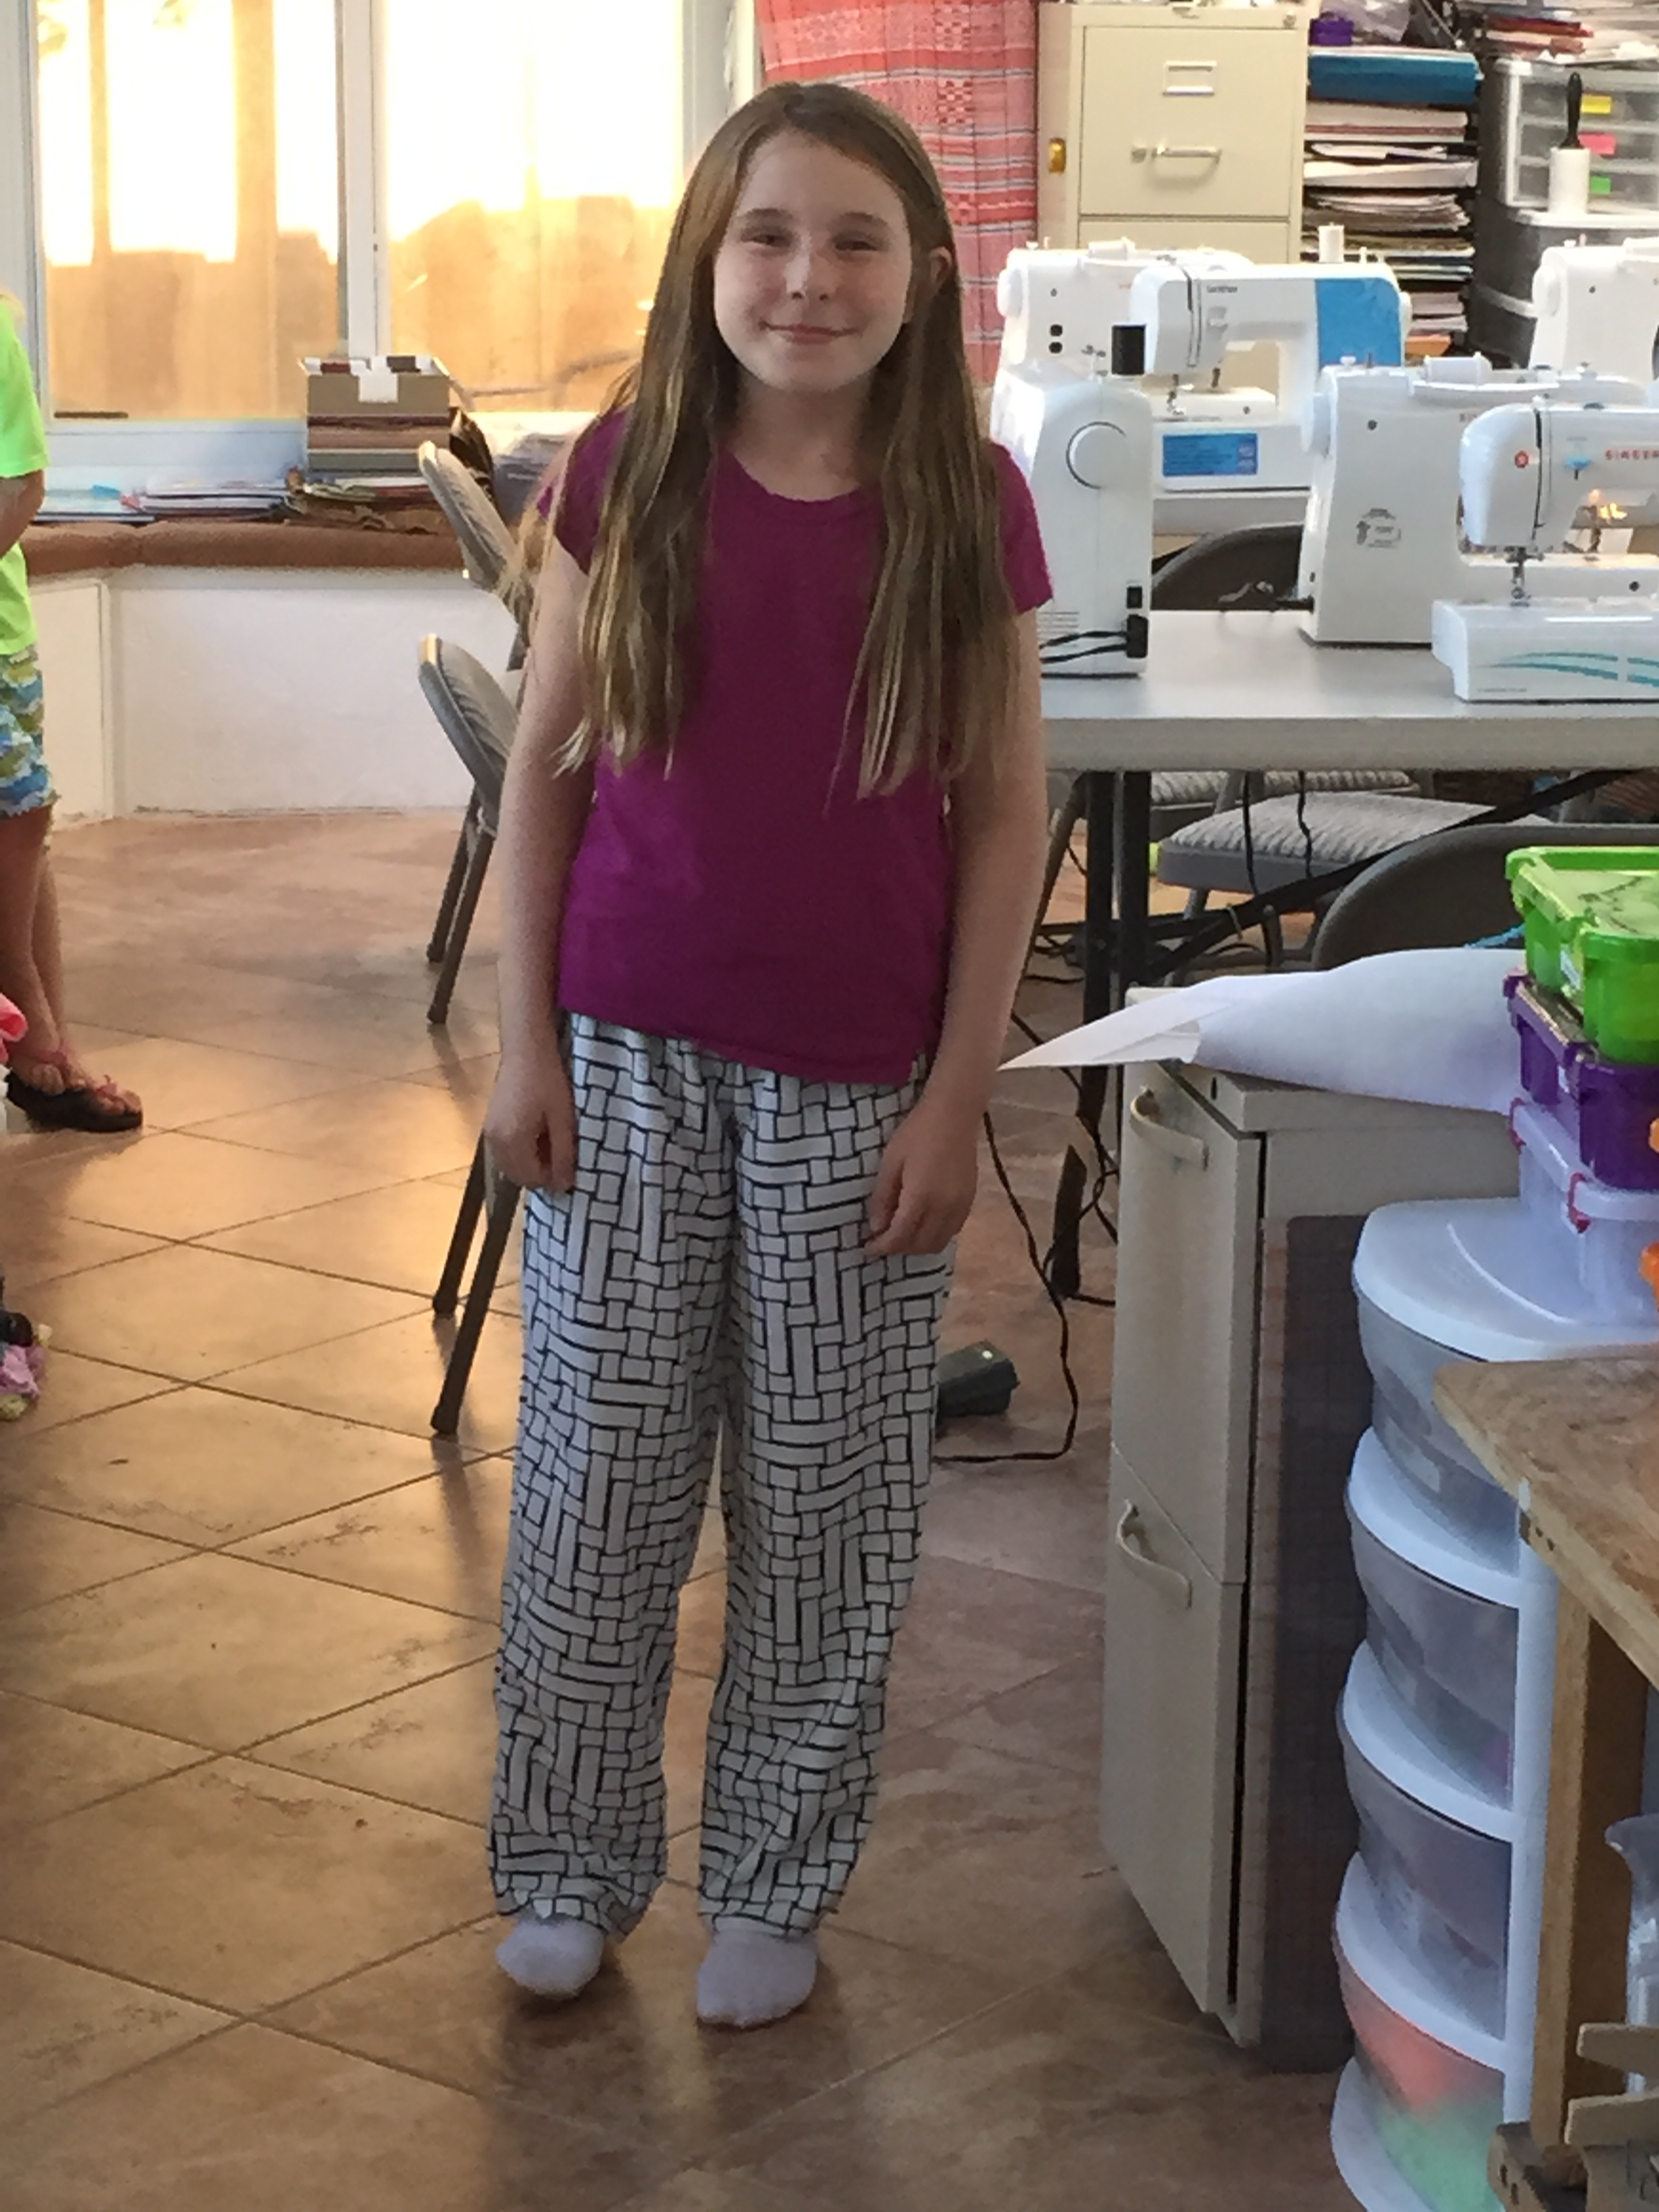
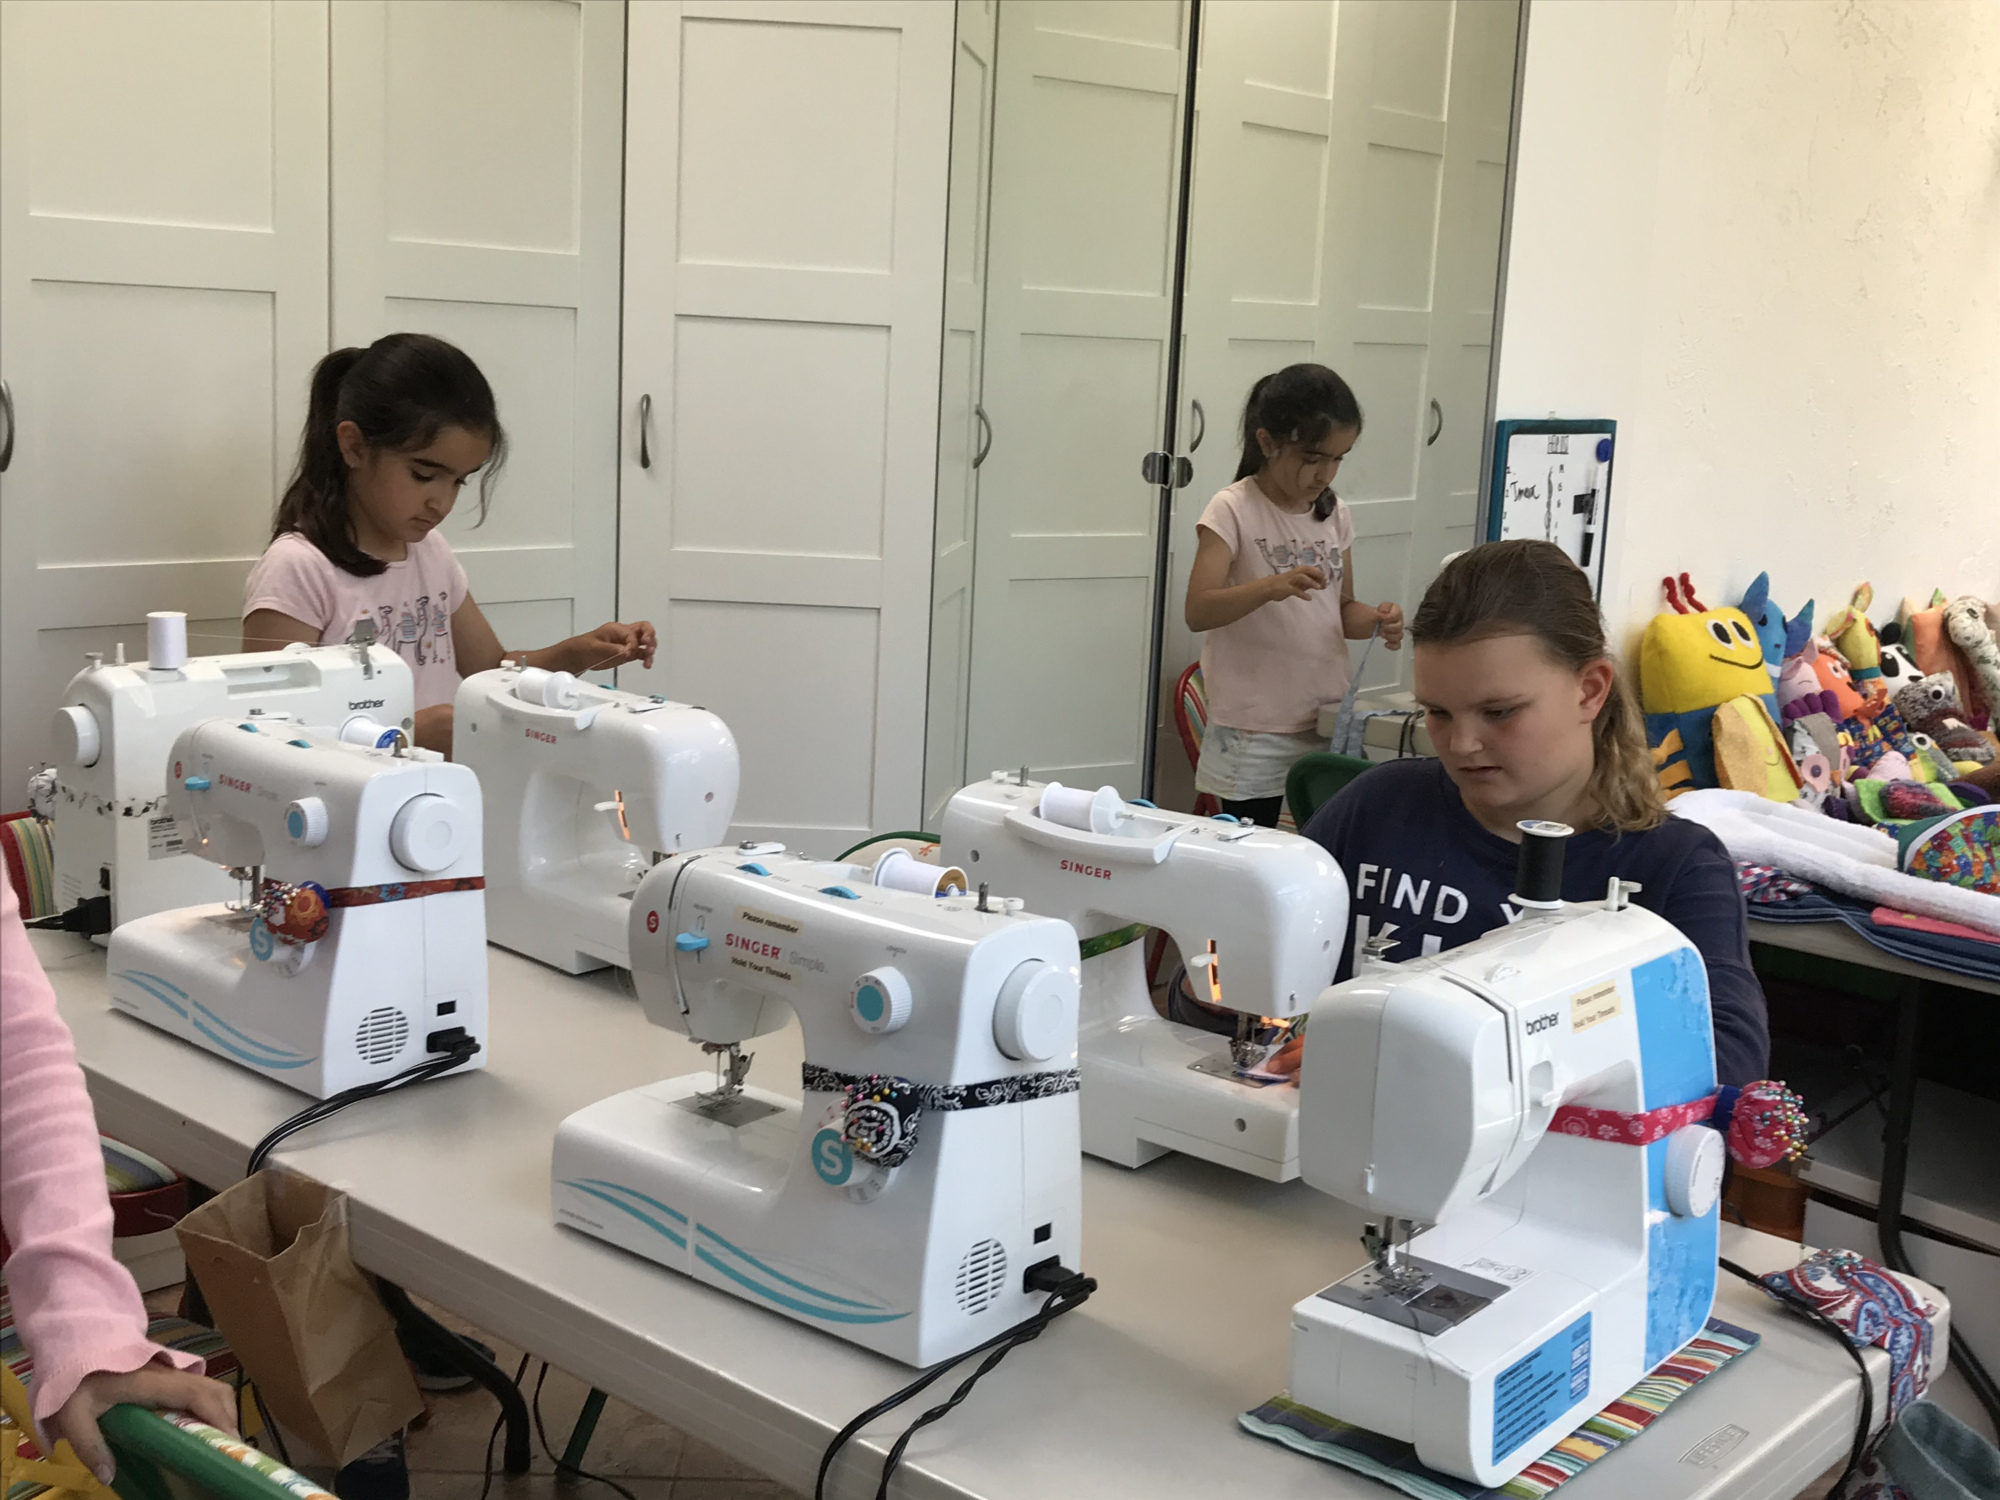
Pajama Pants – love those little hedgehogs!!

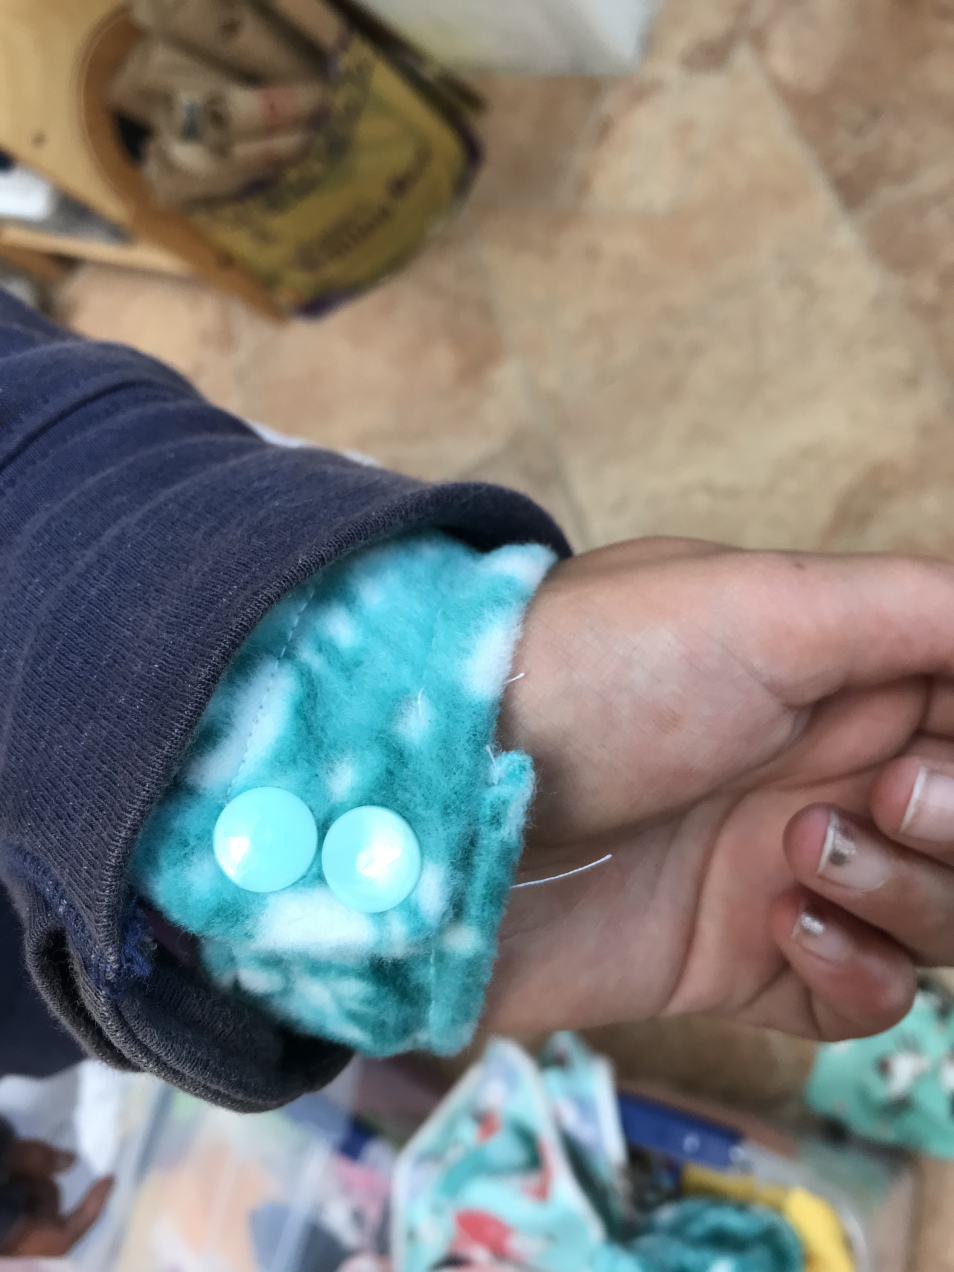
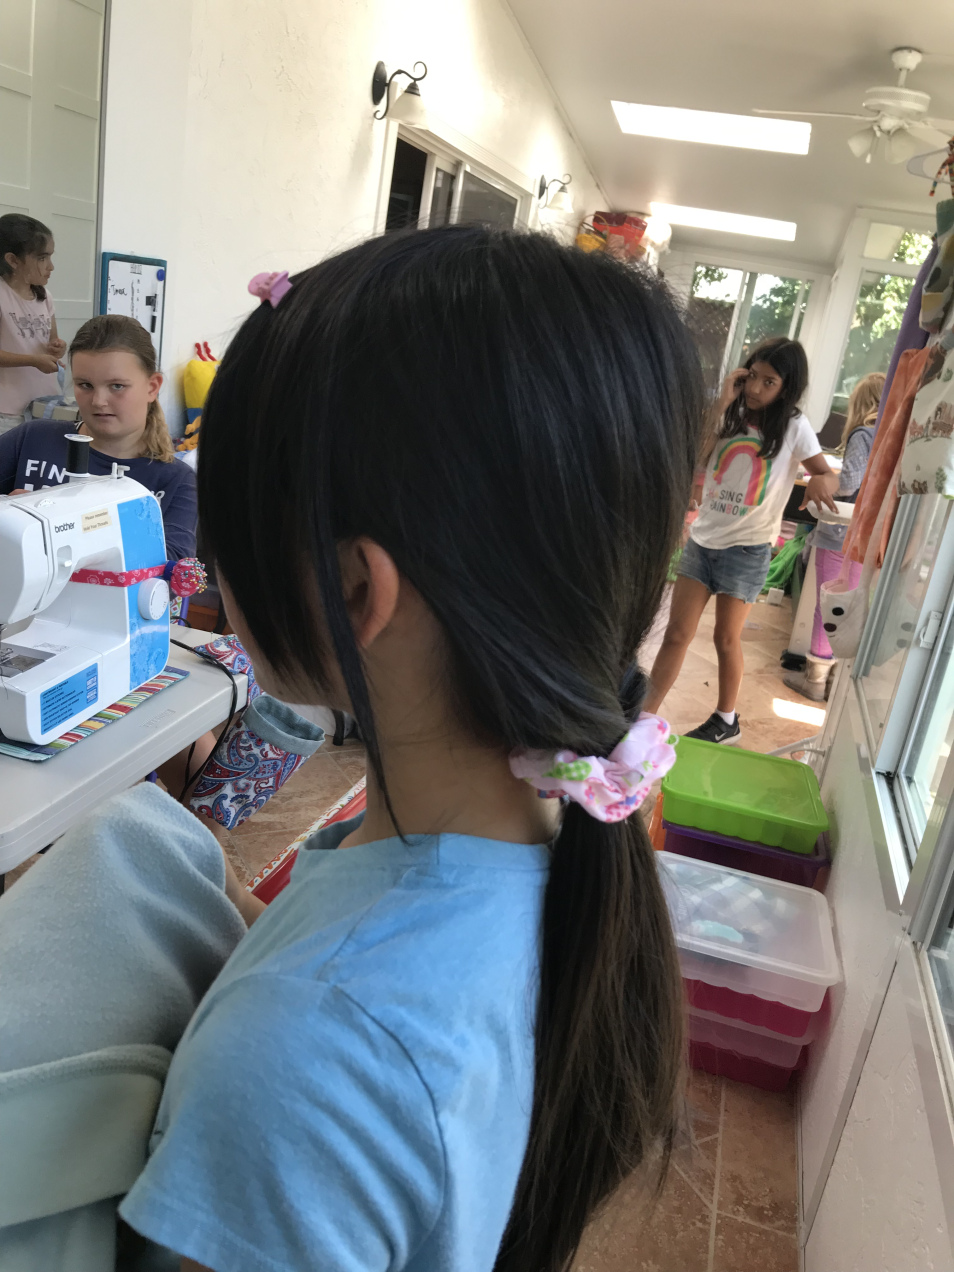
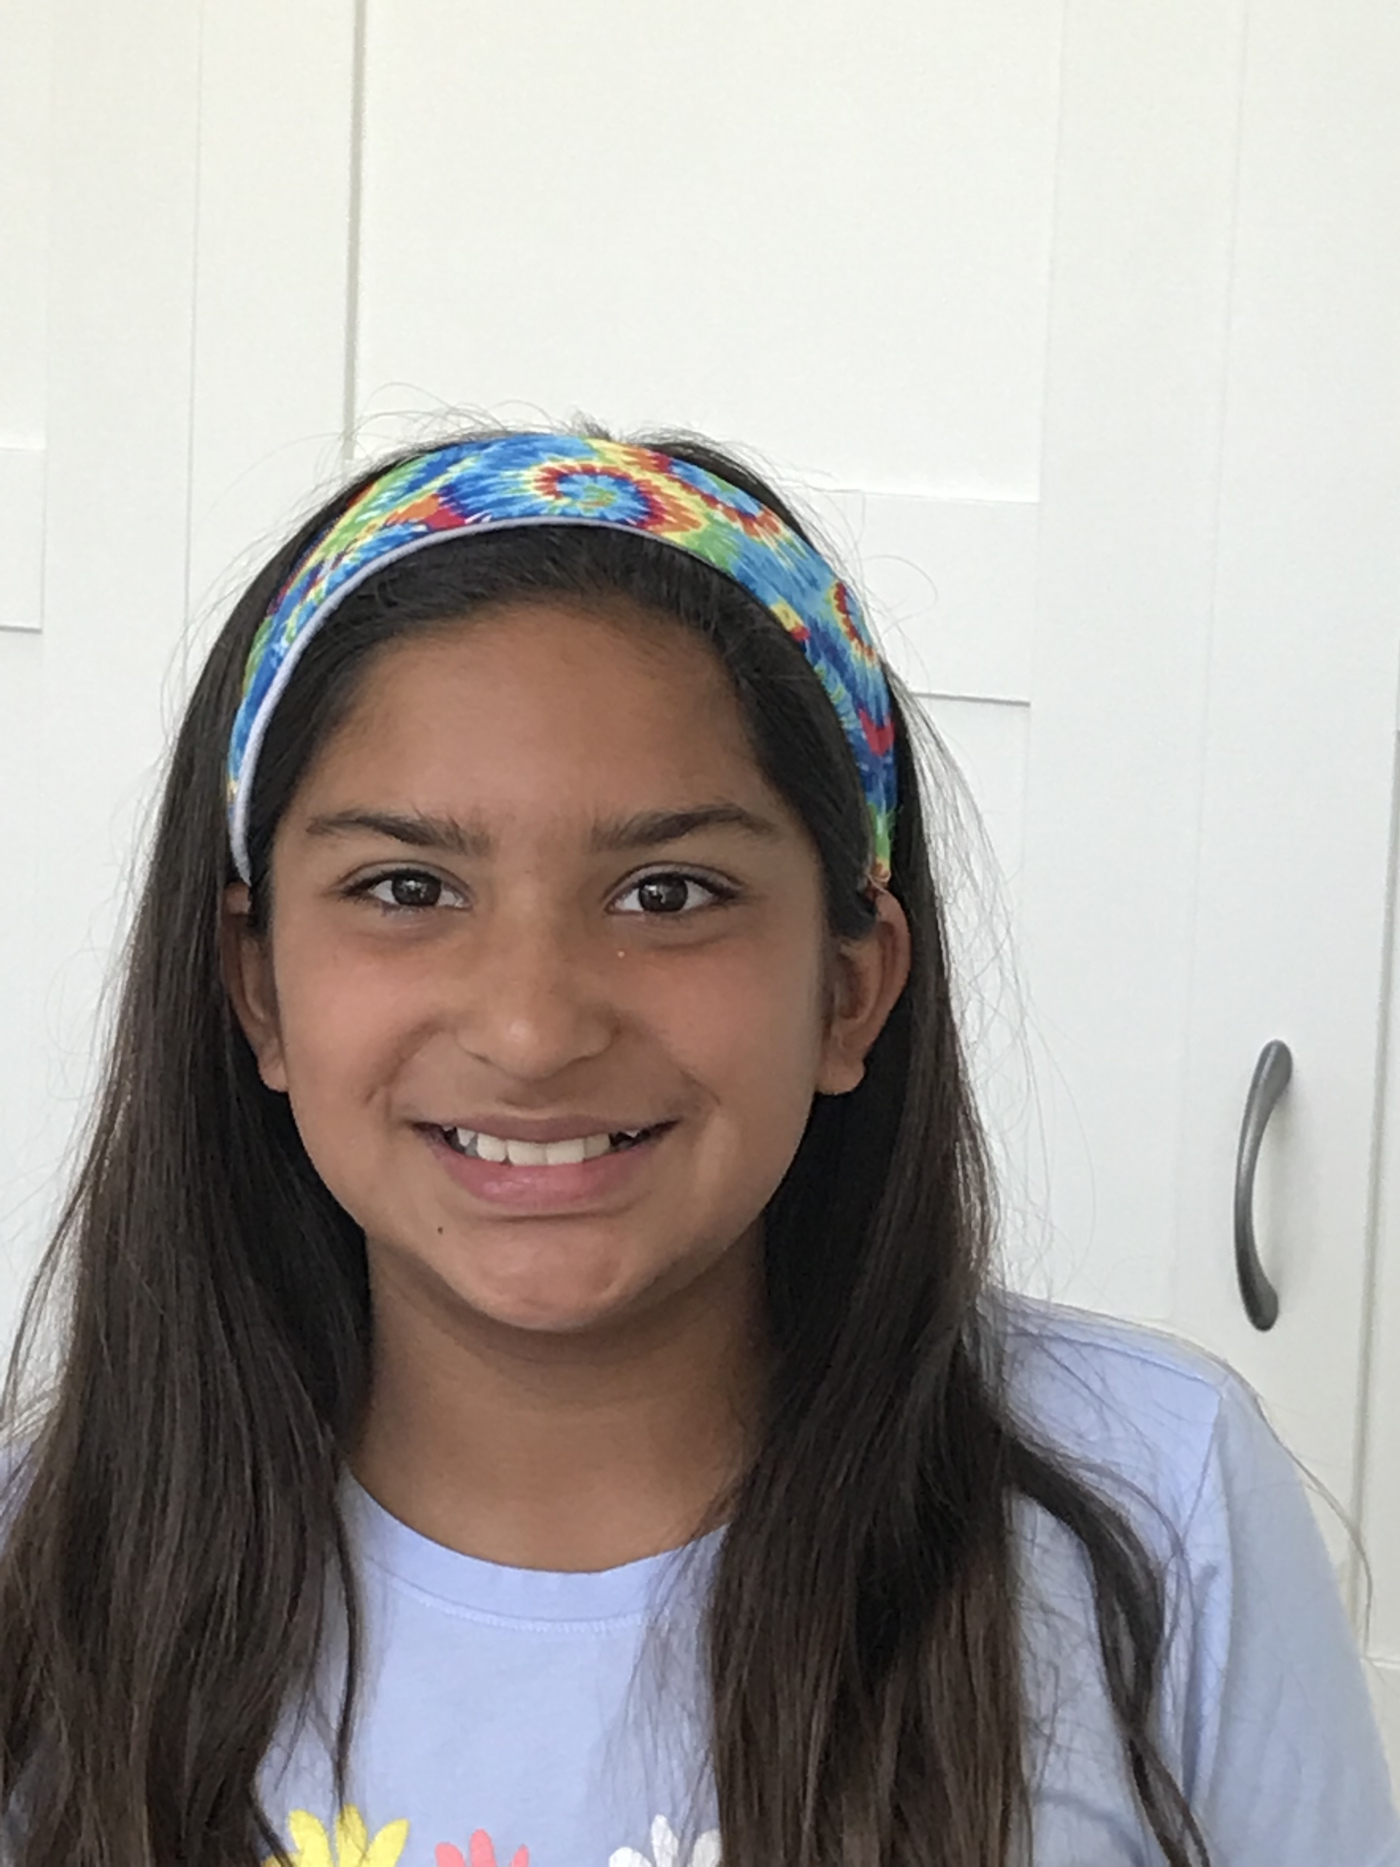
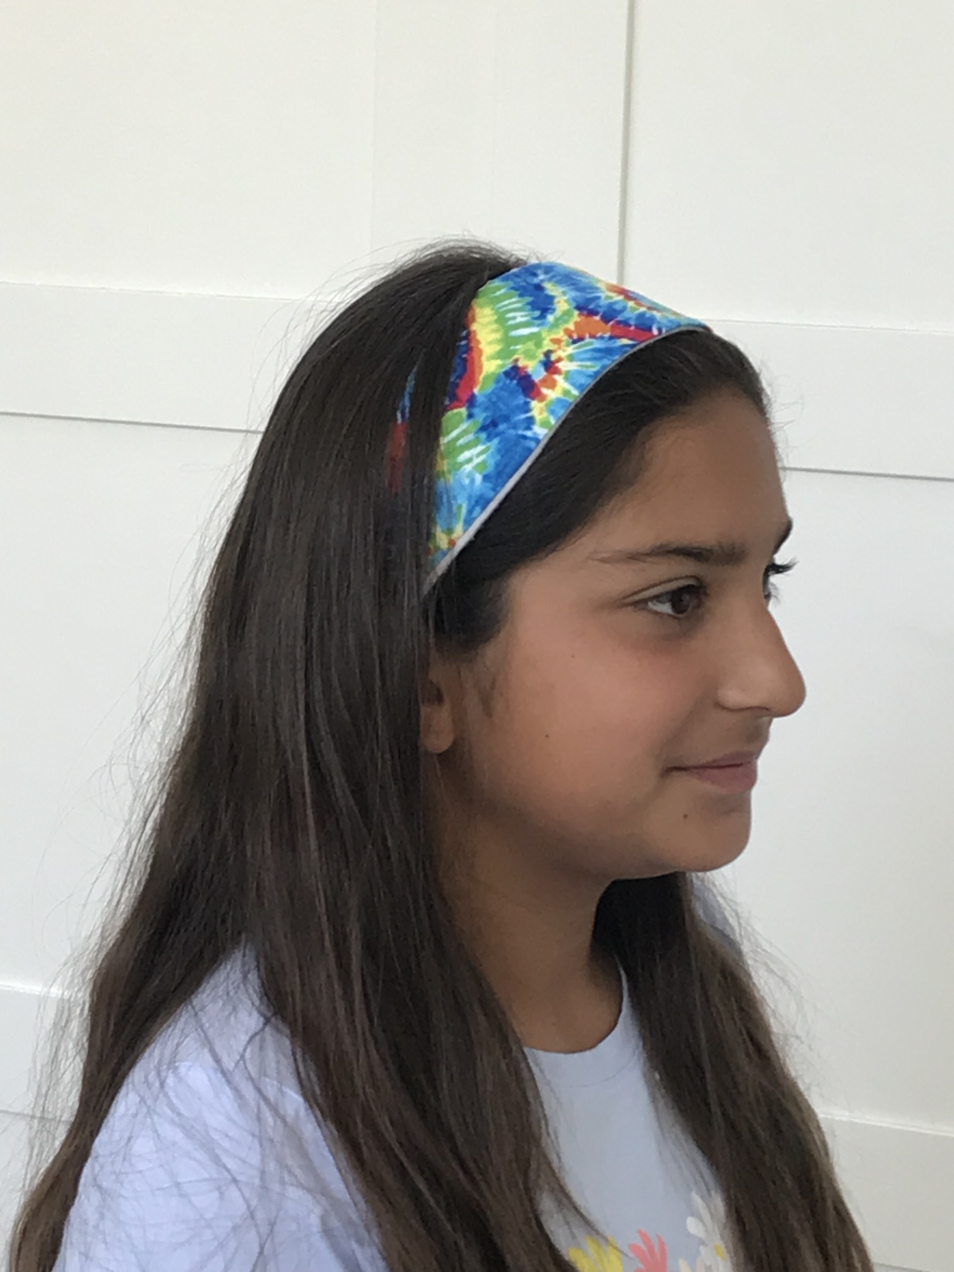
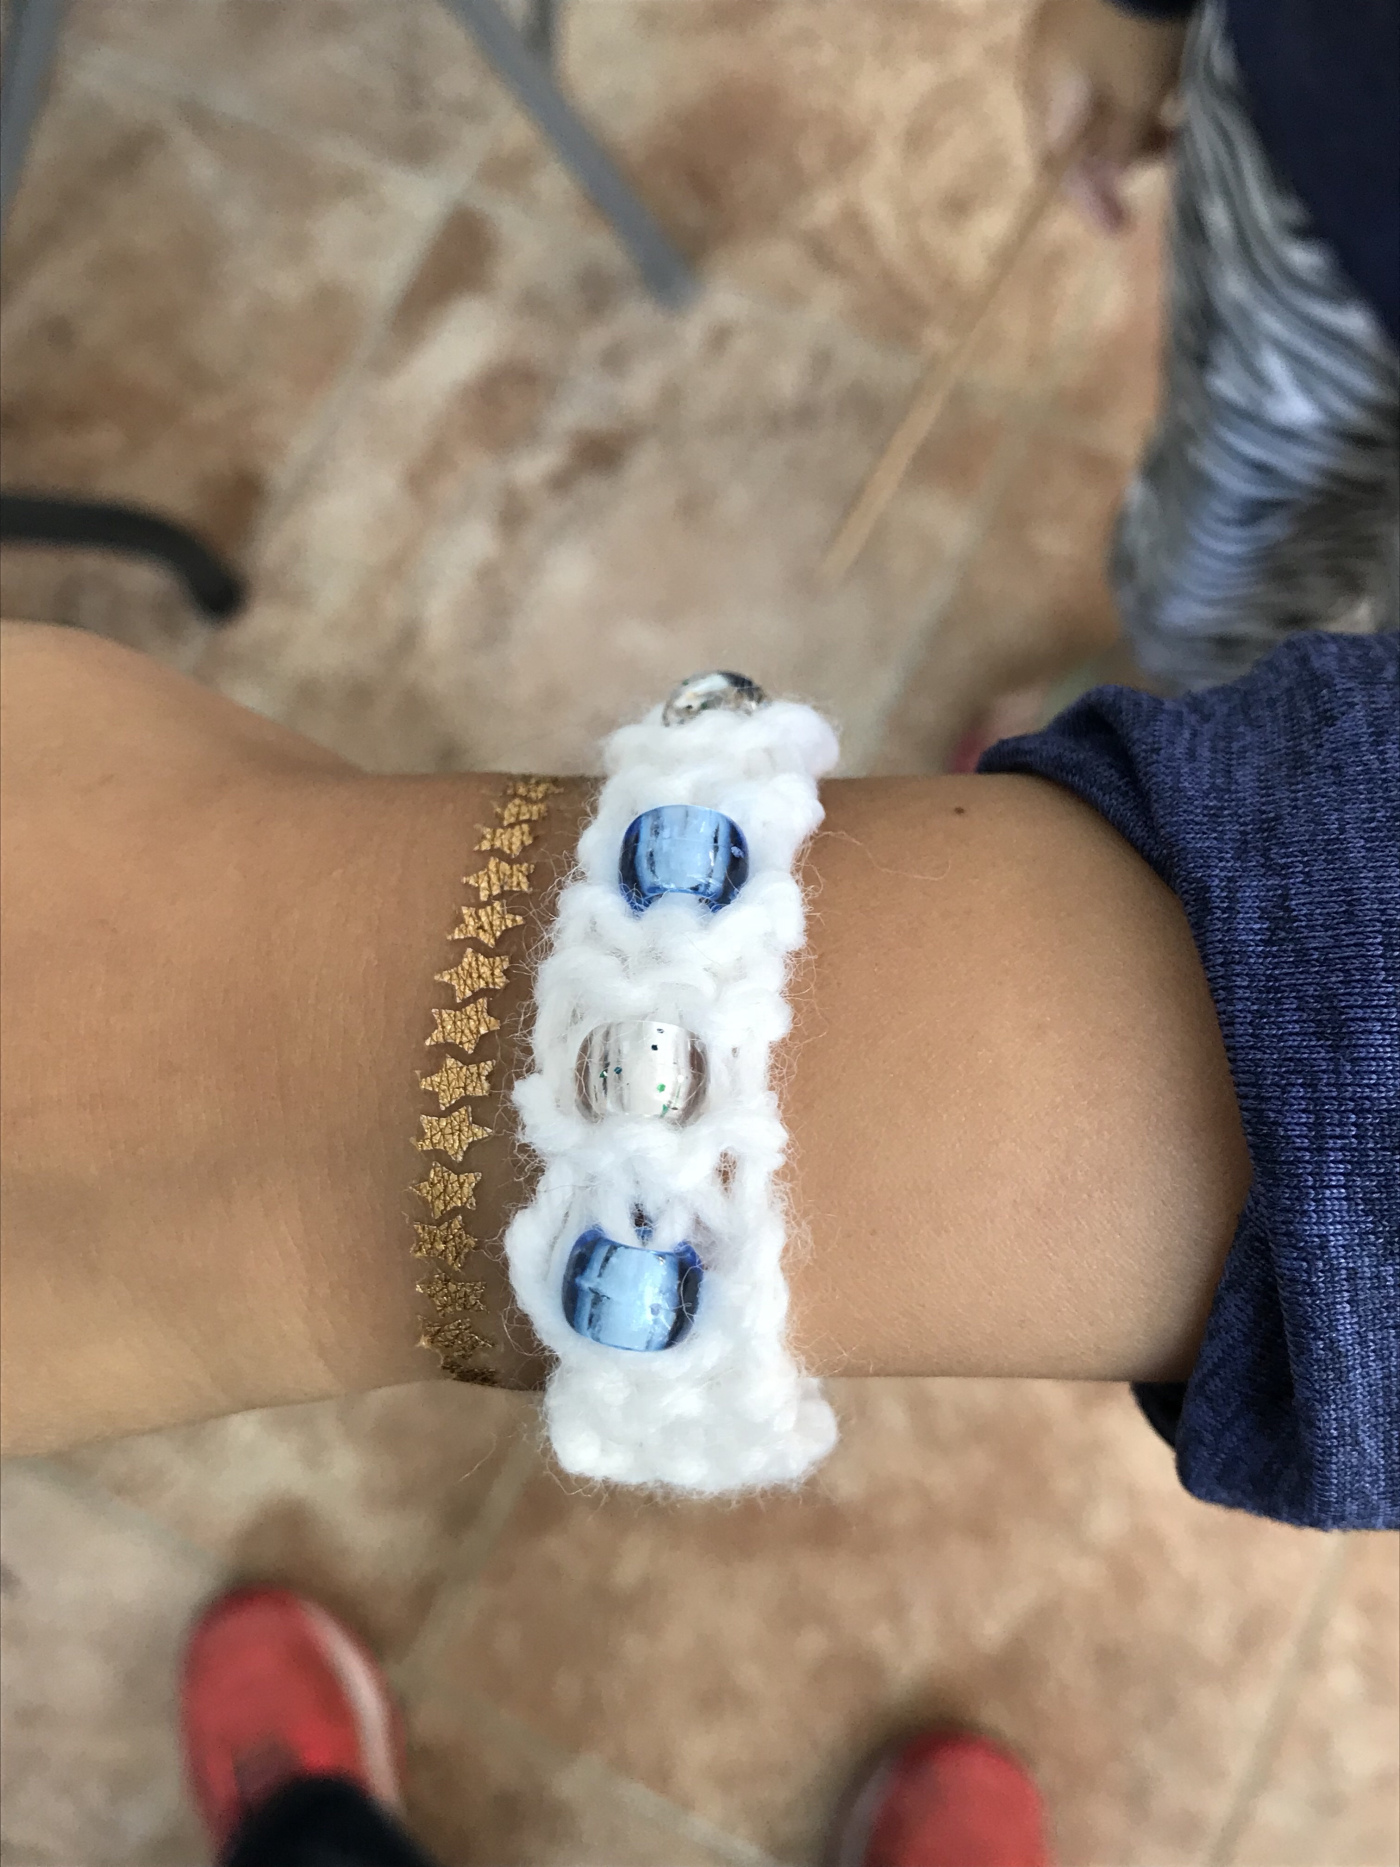
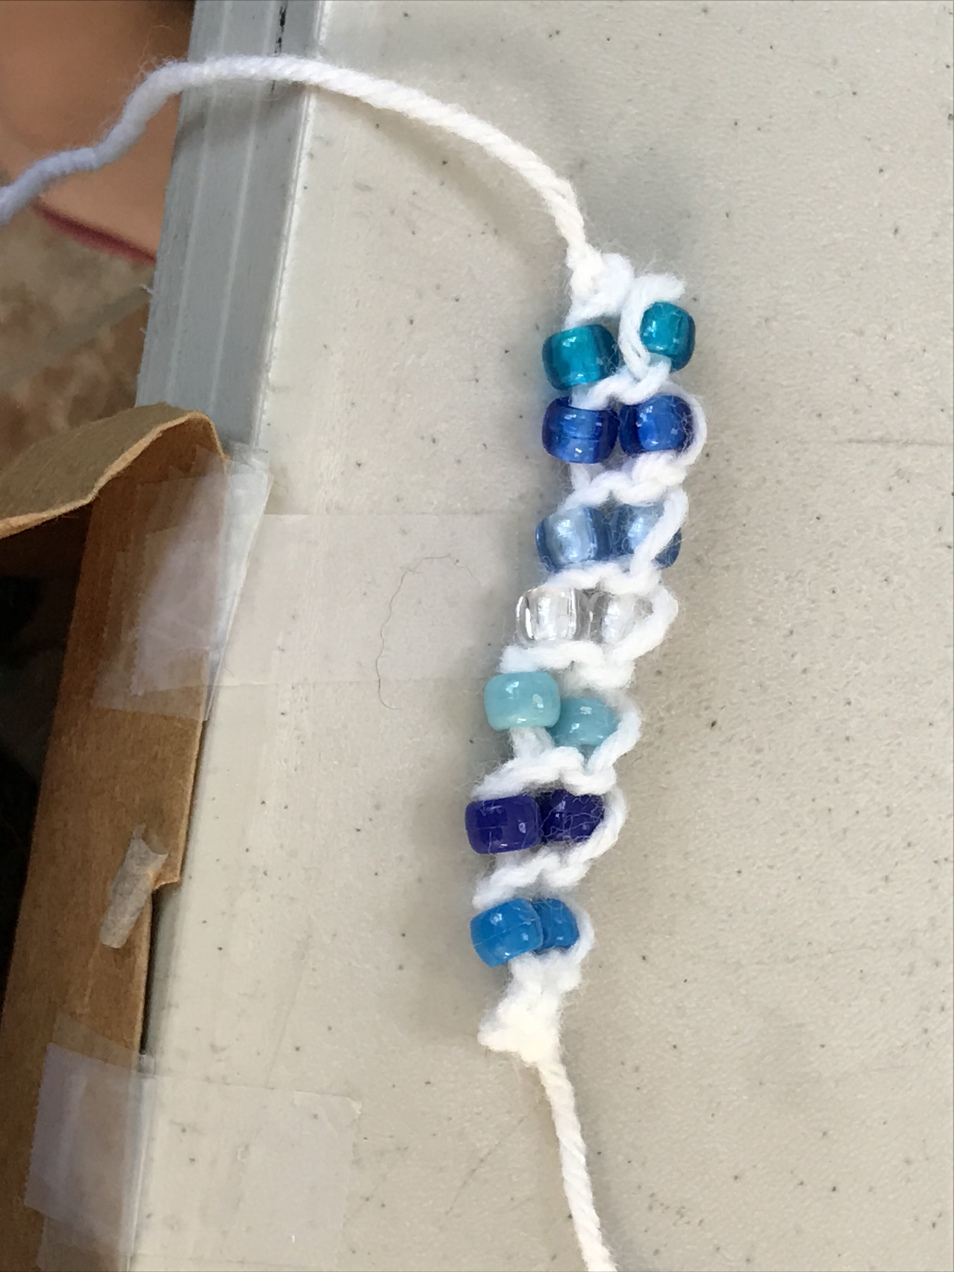
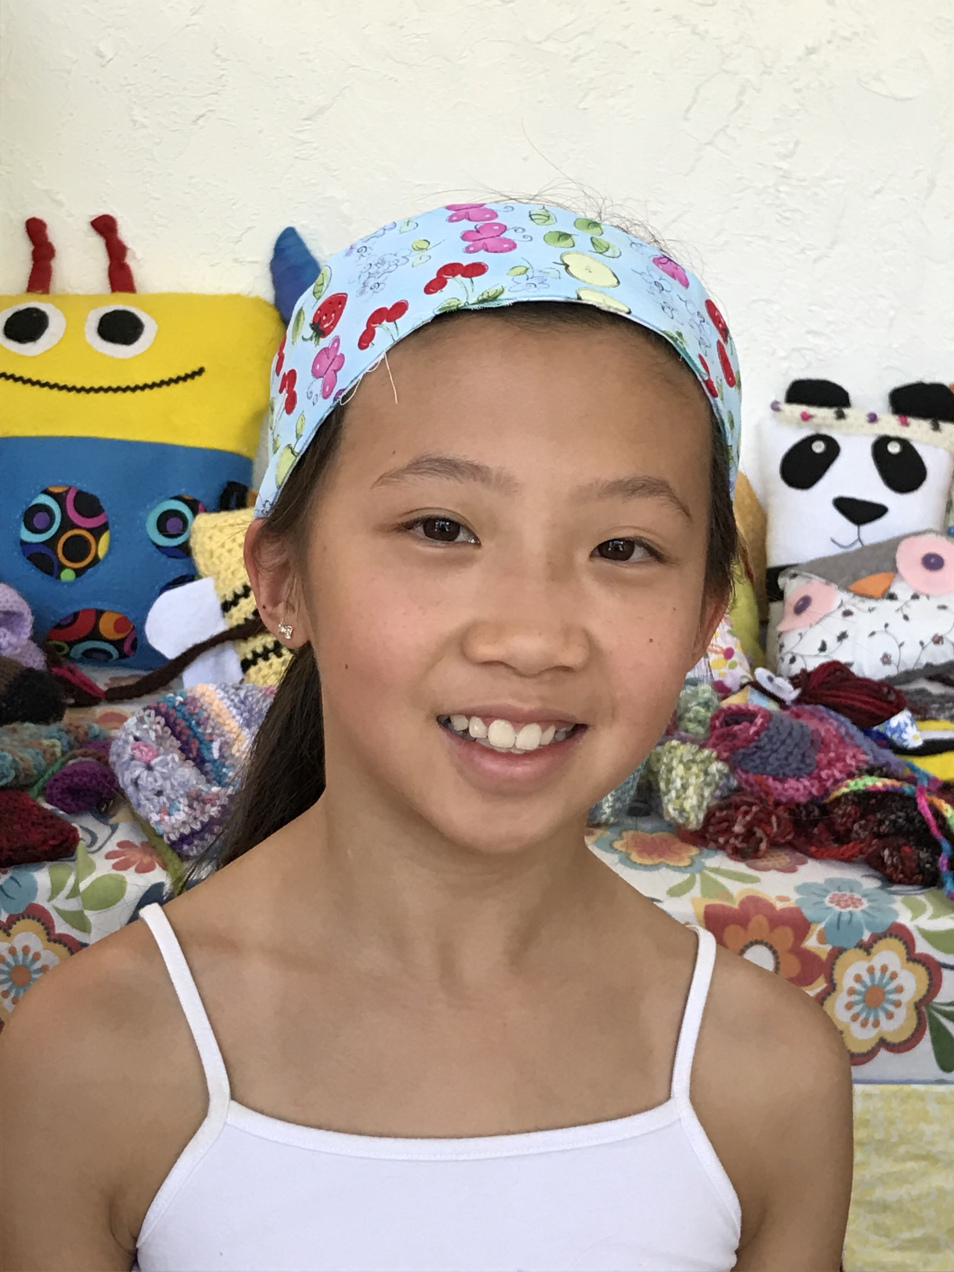
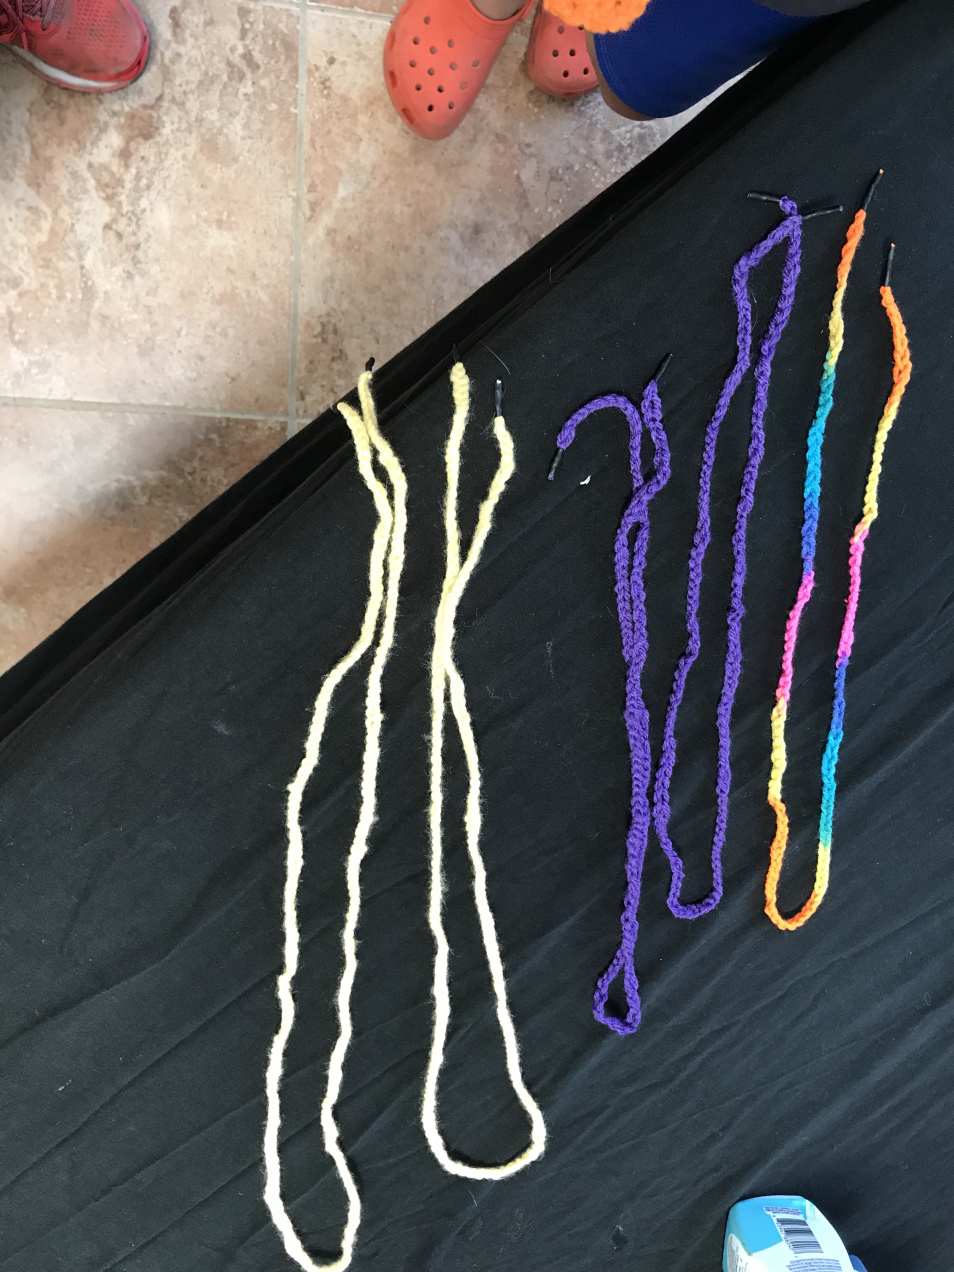
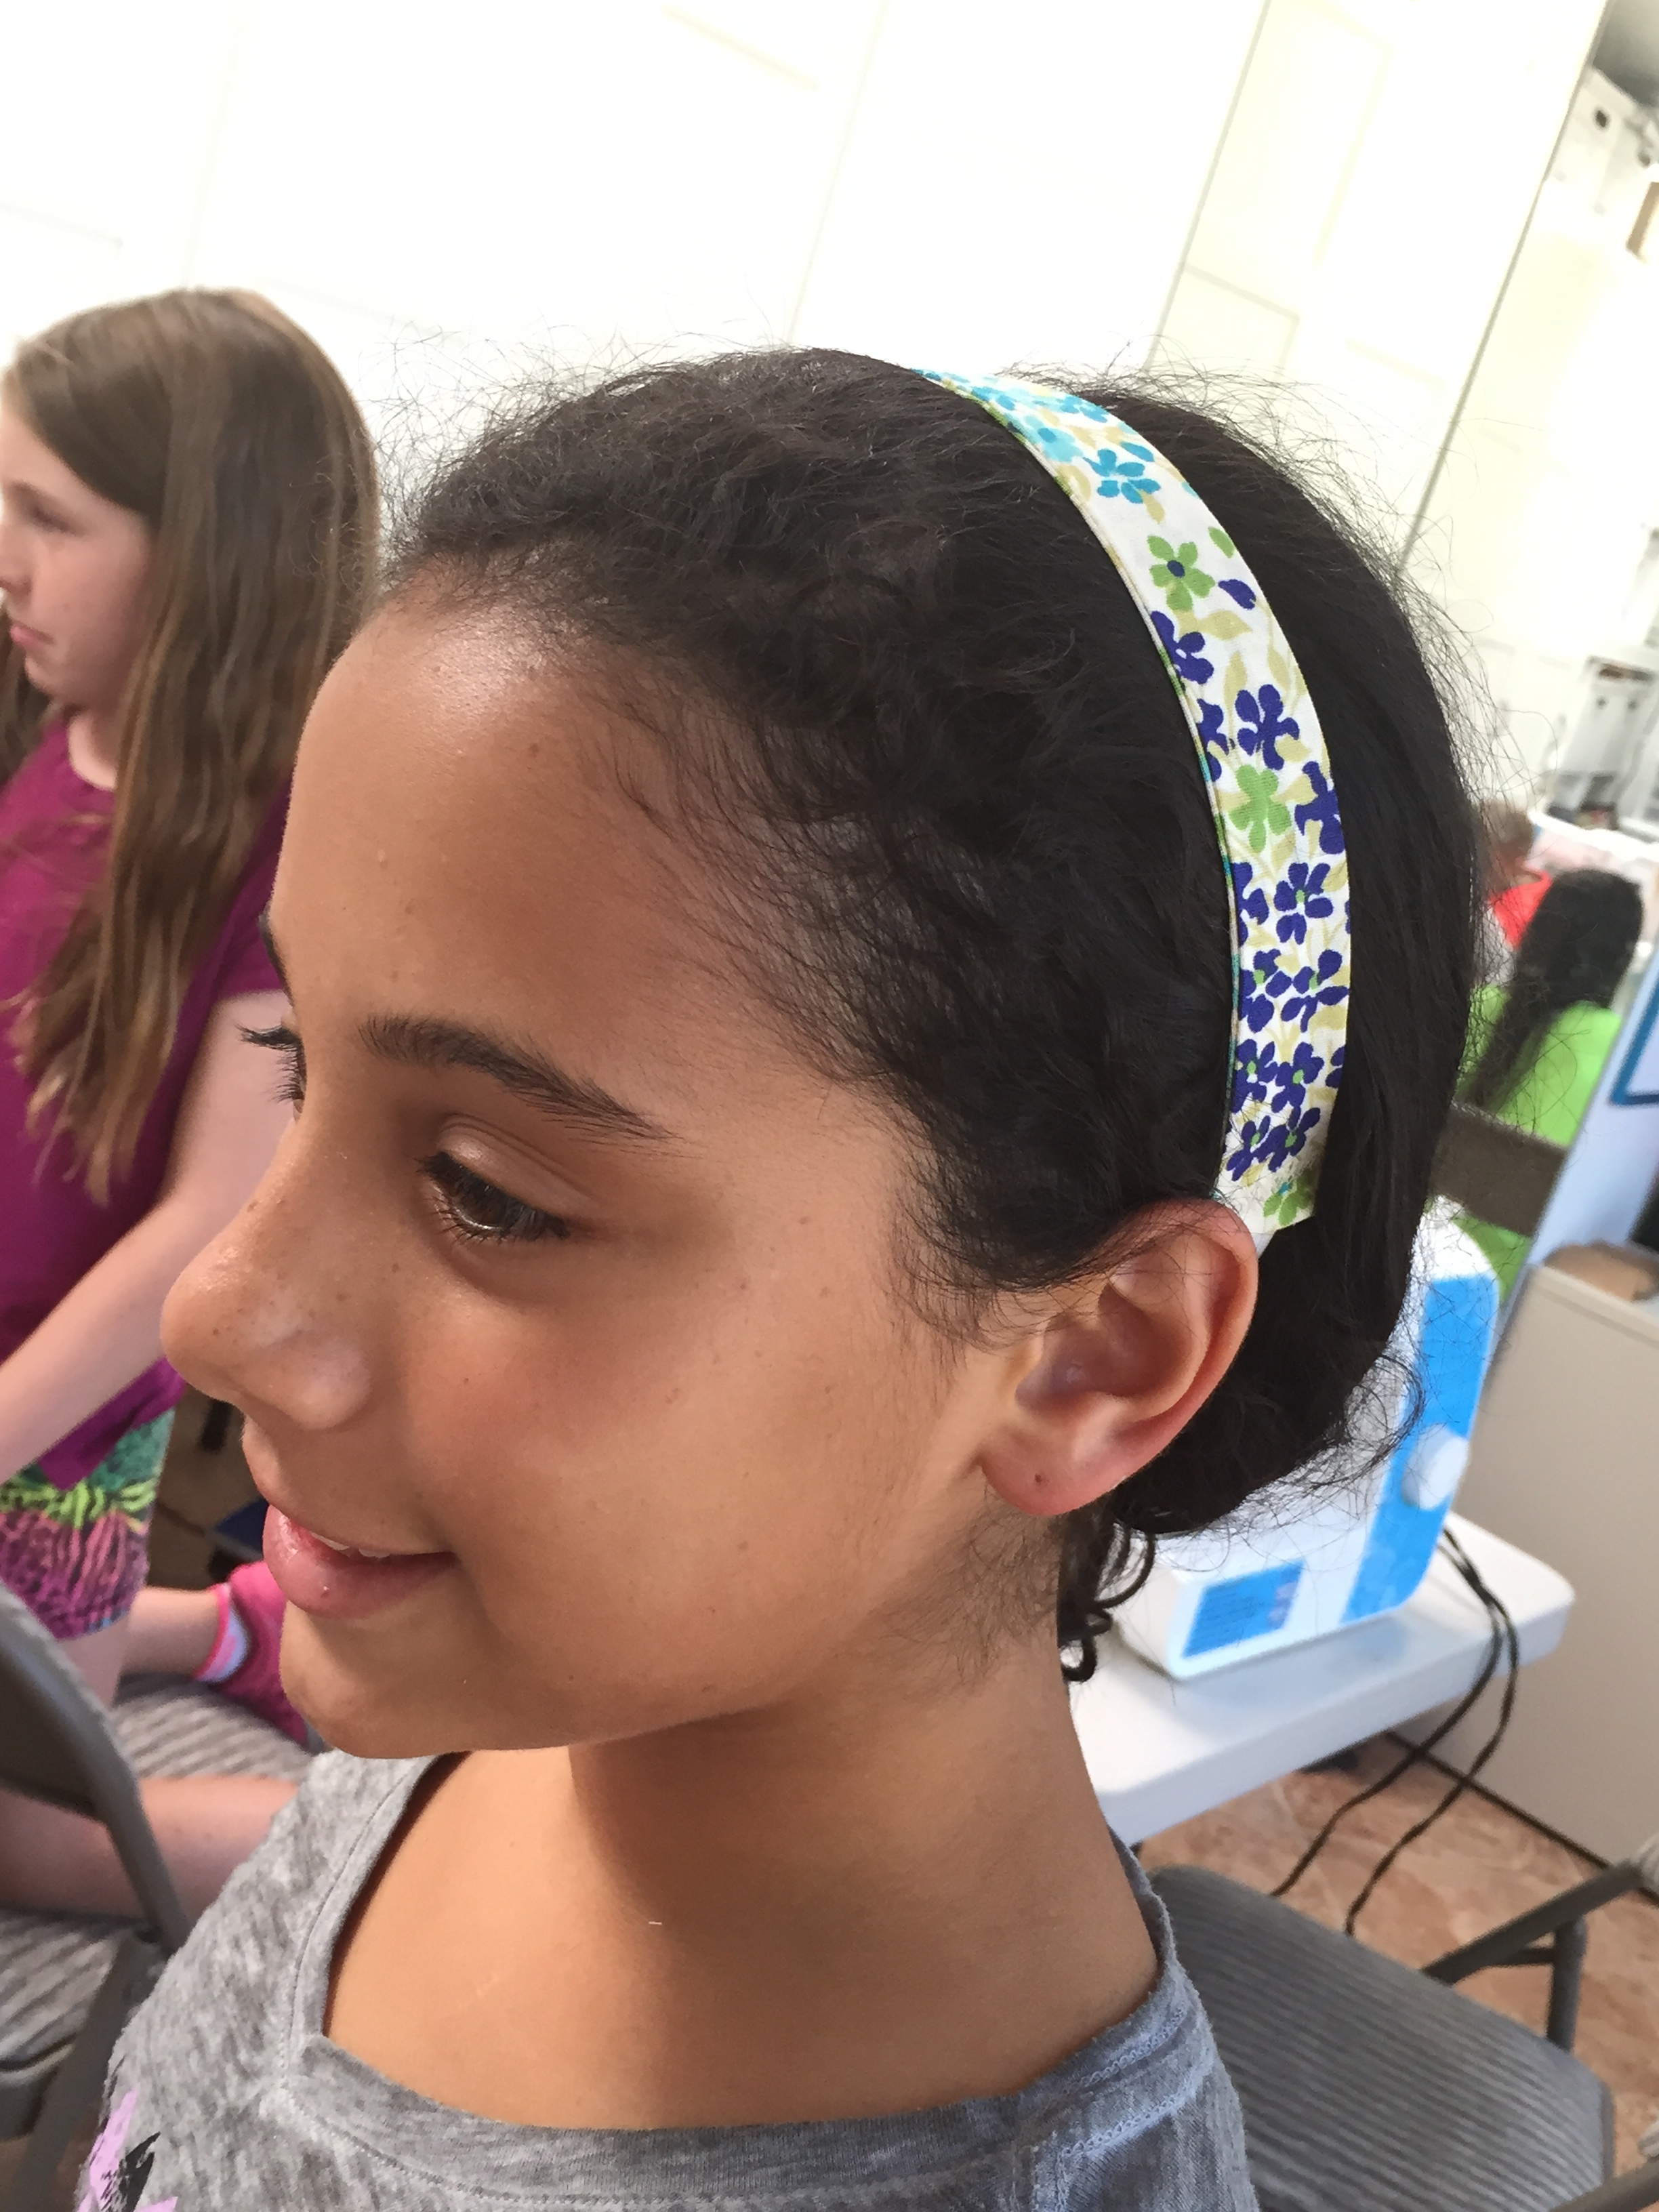
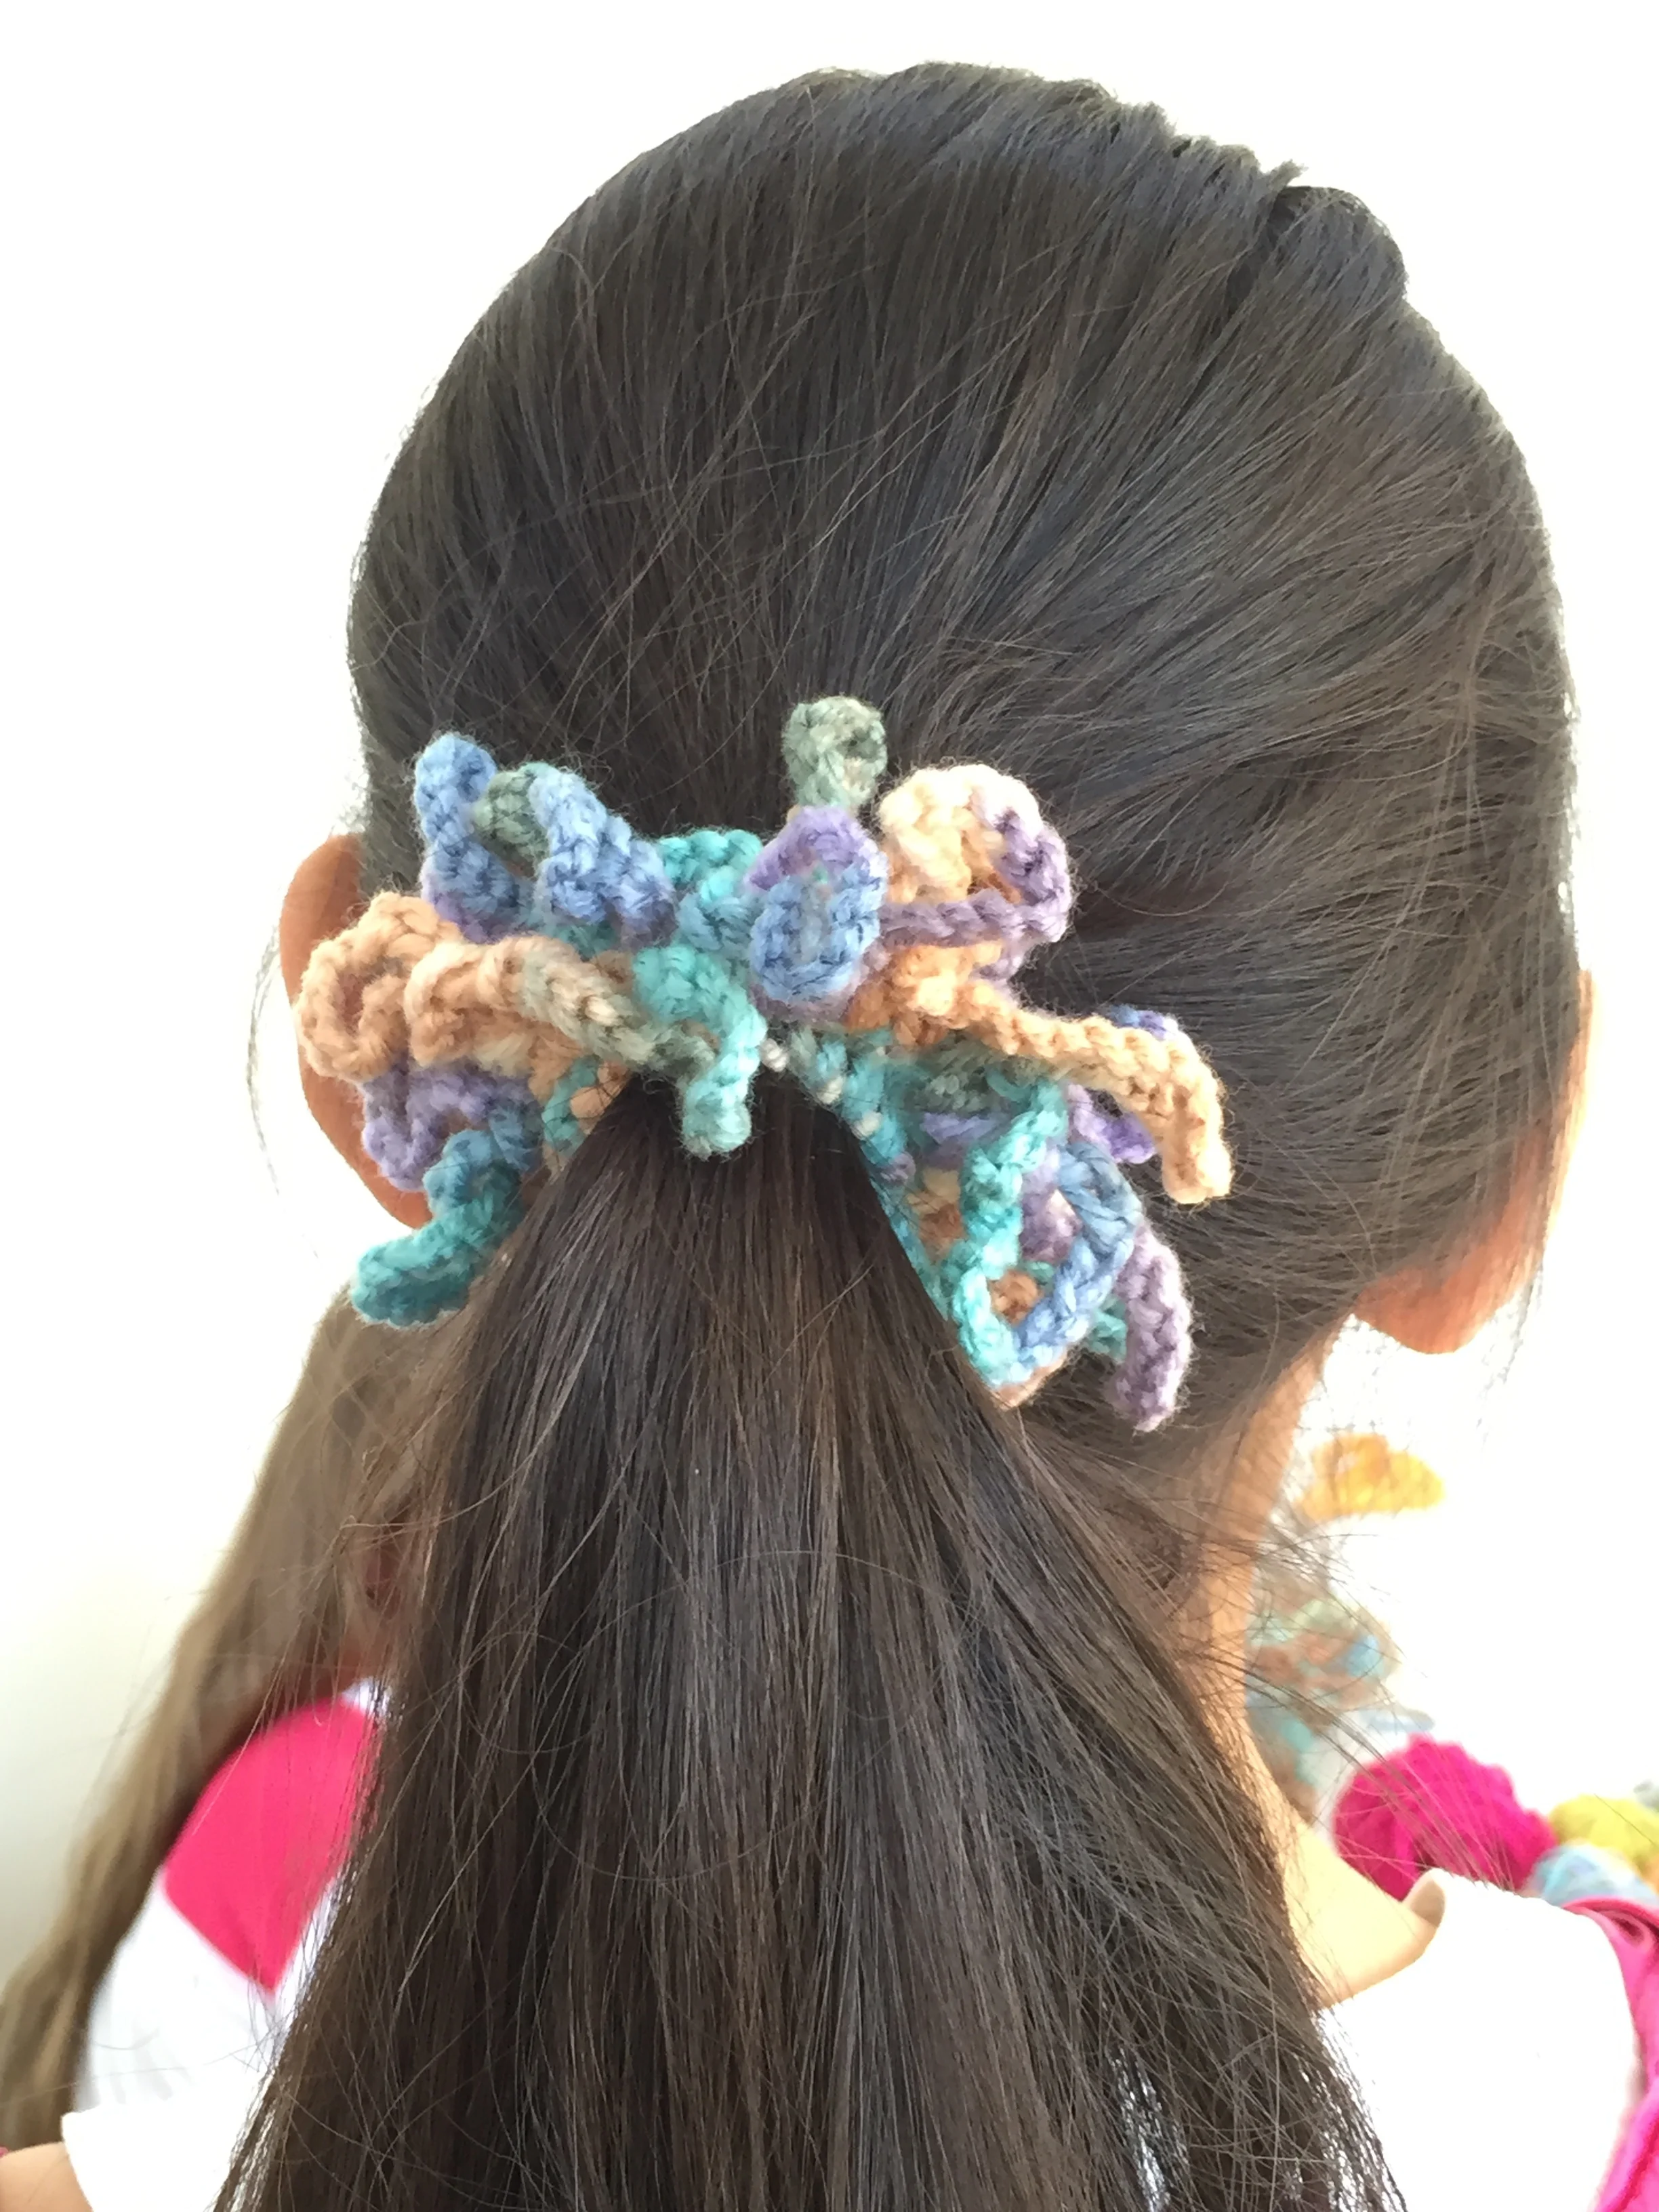
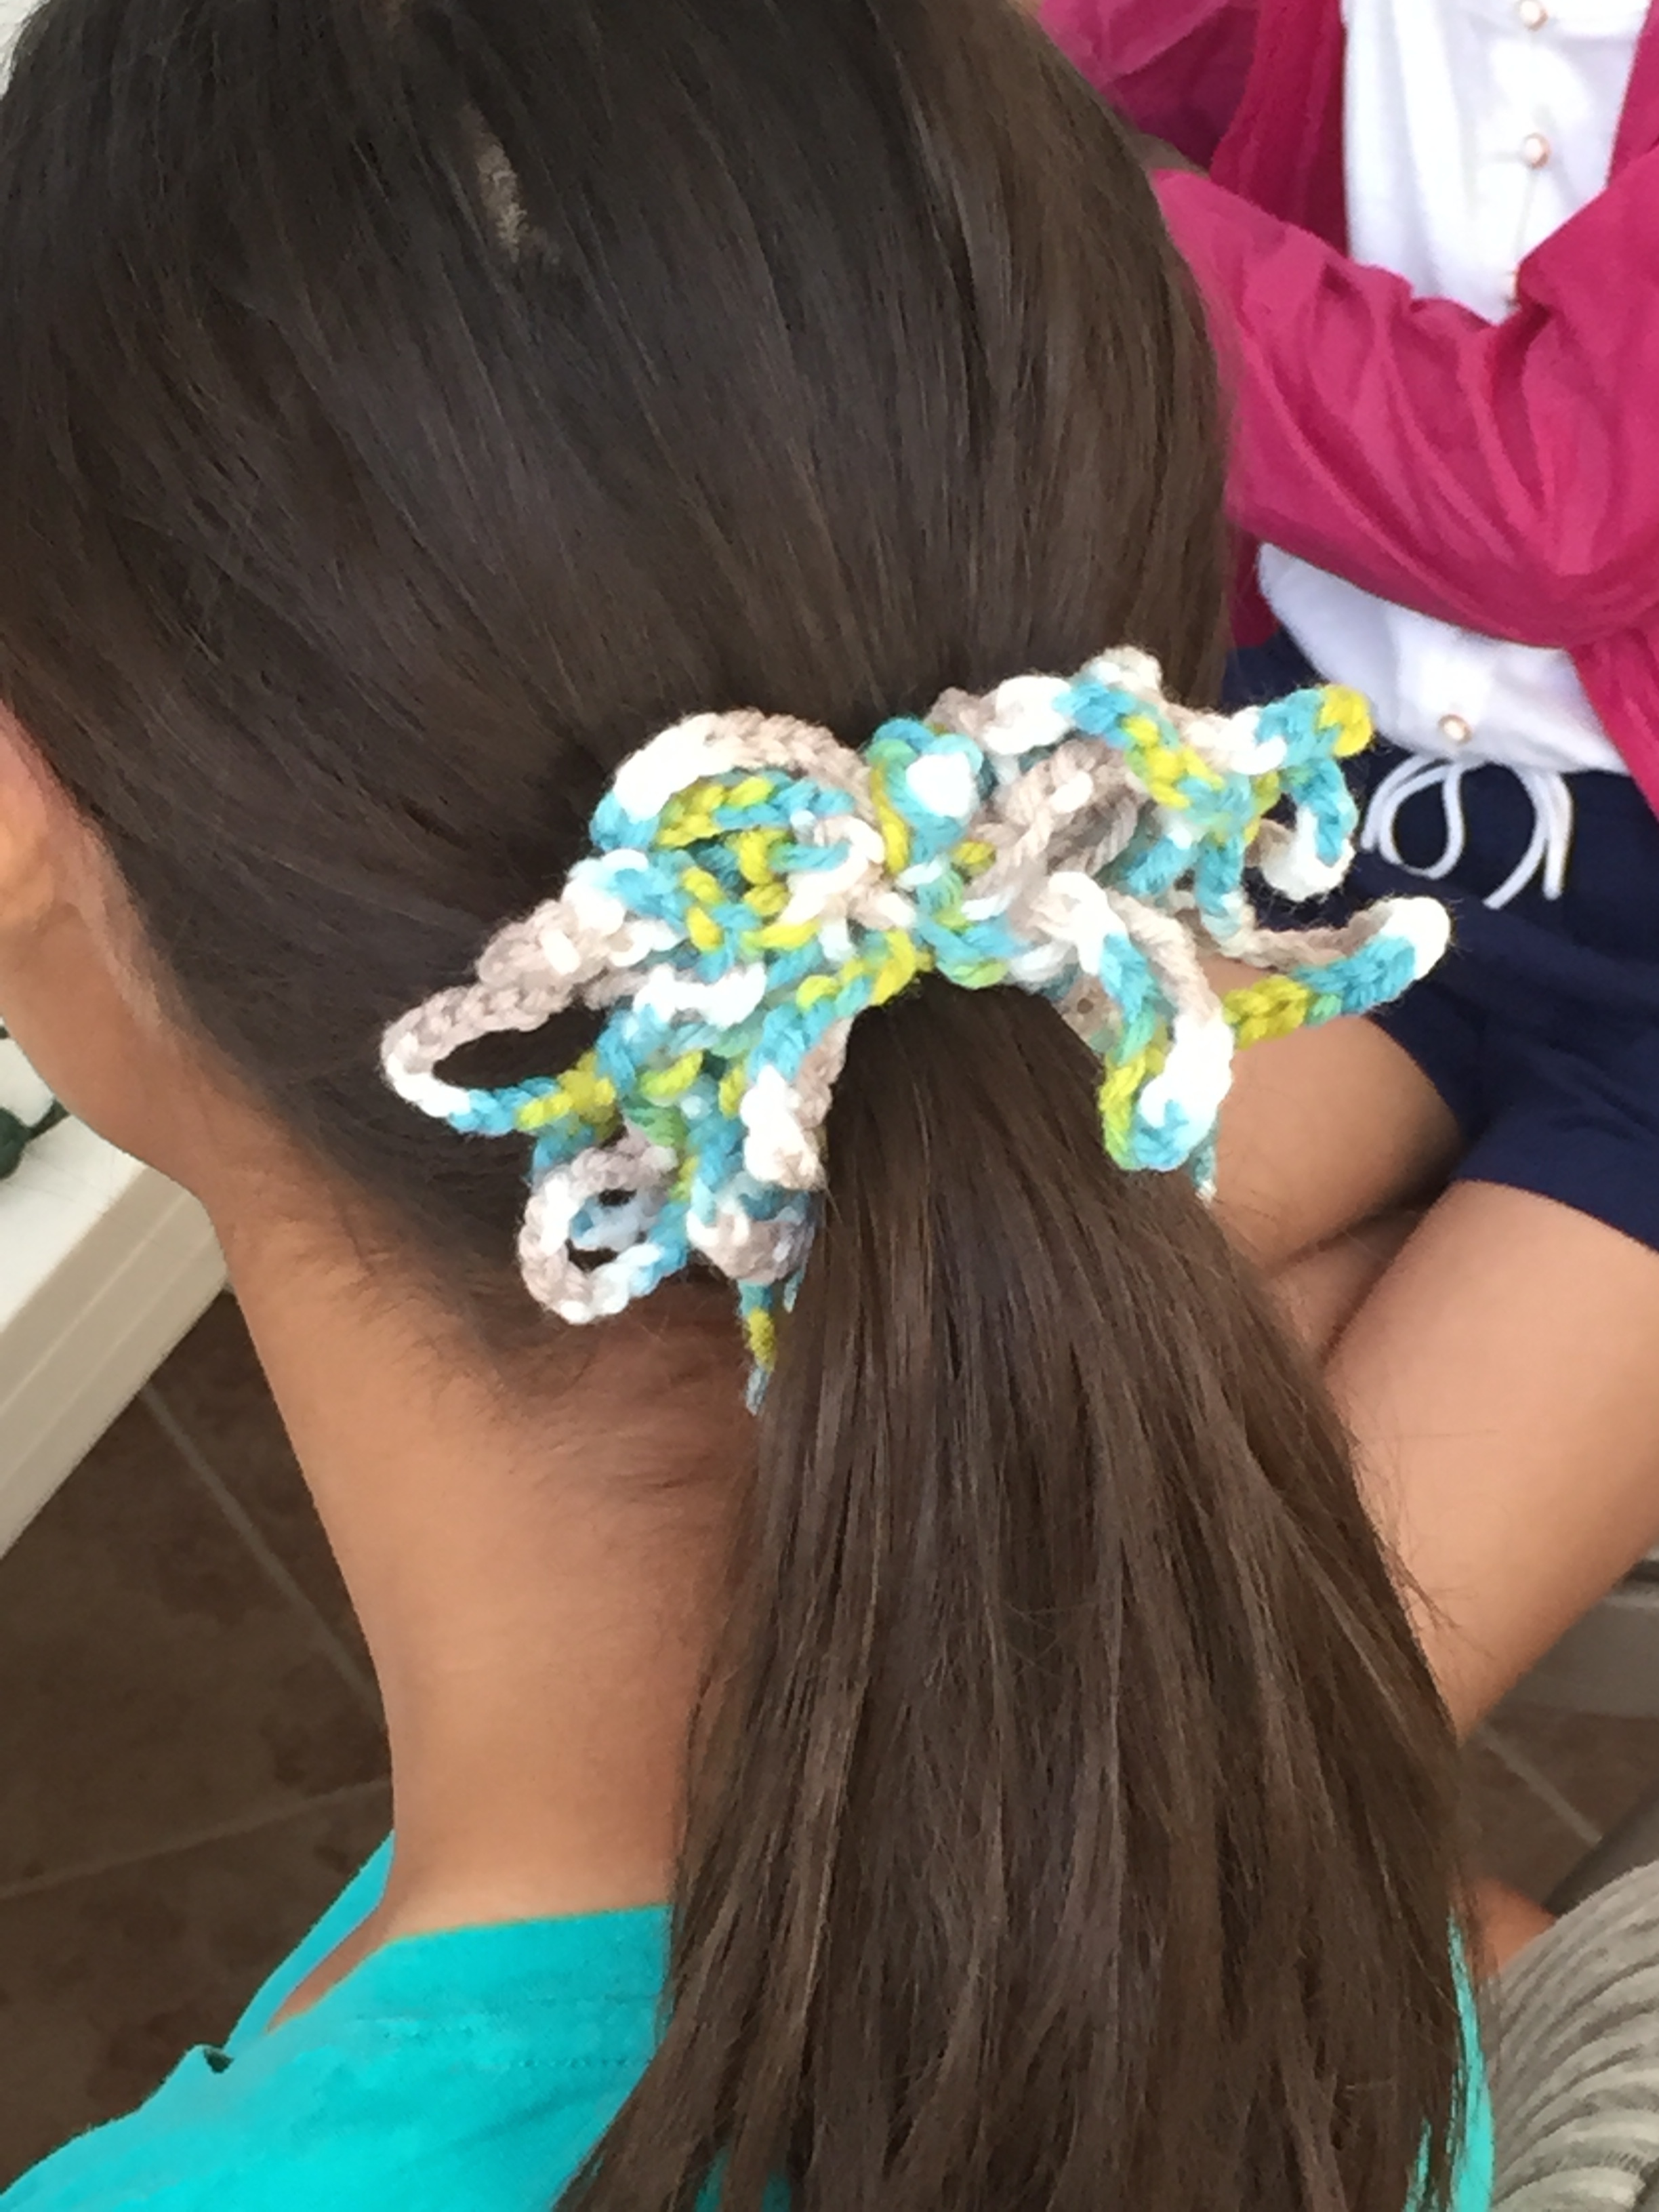
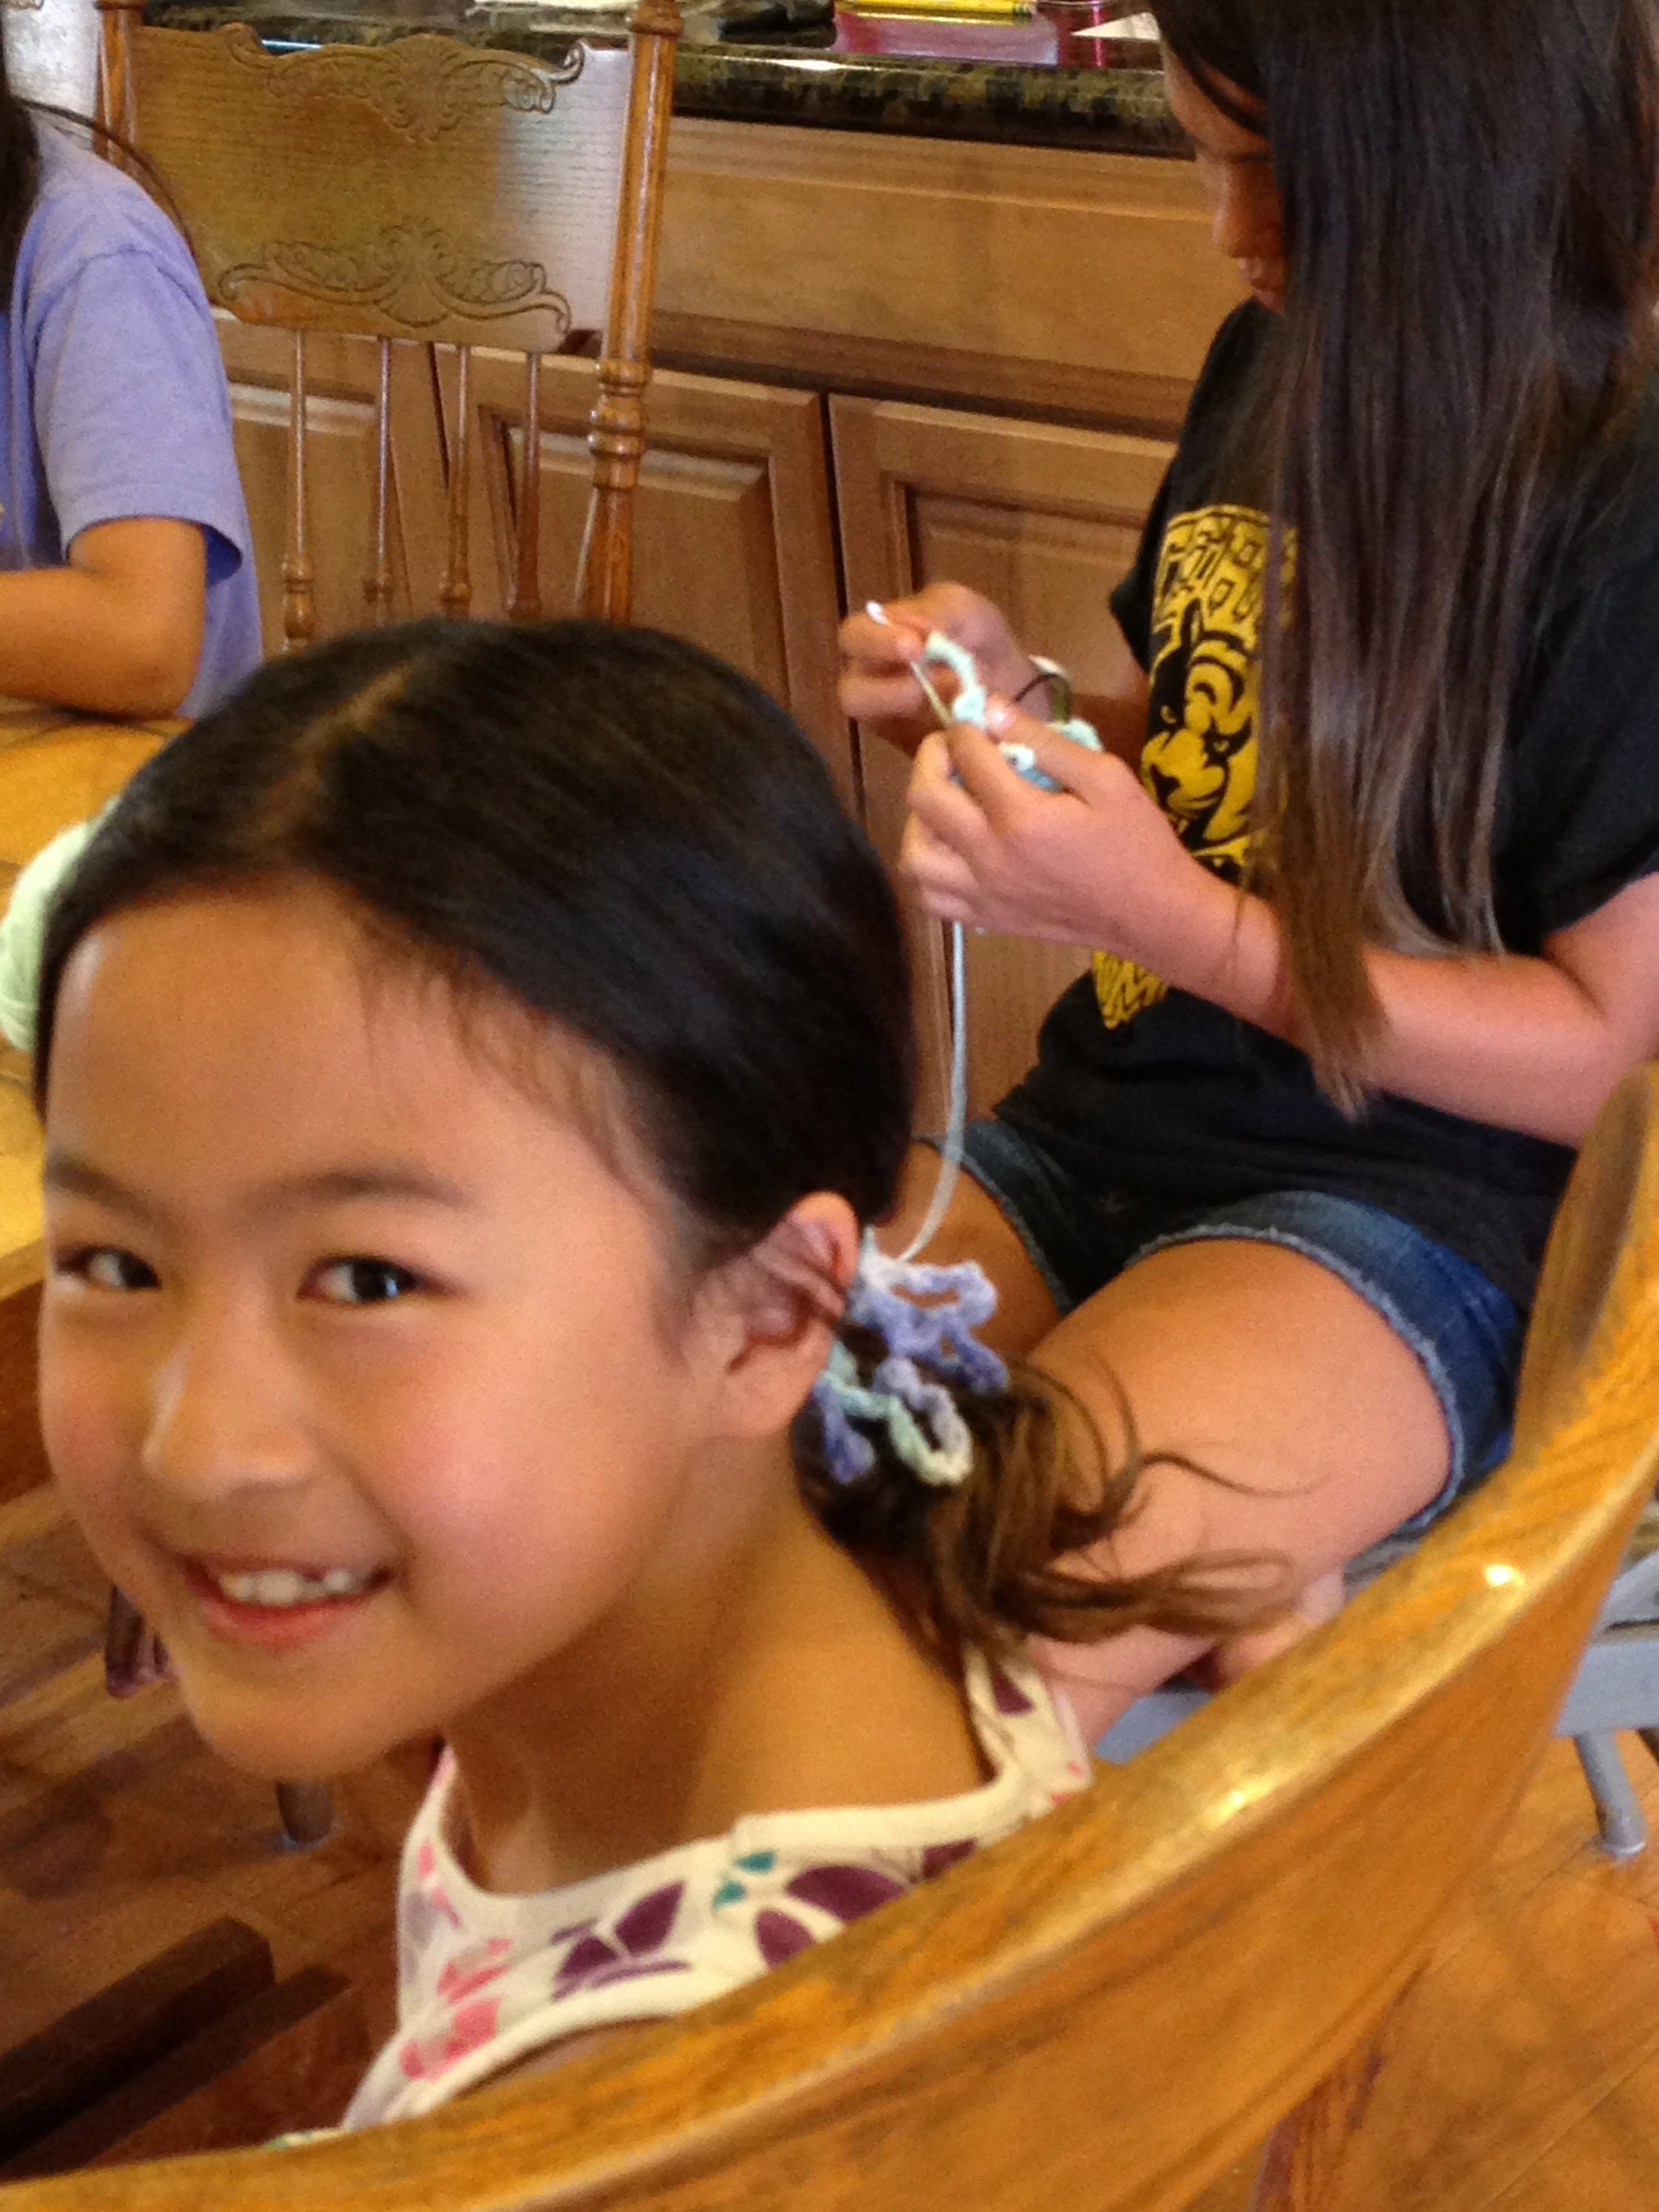
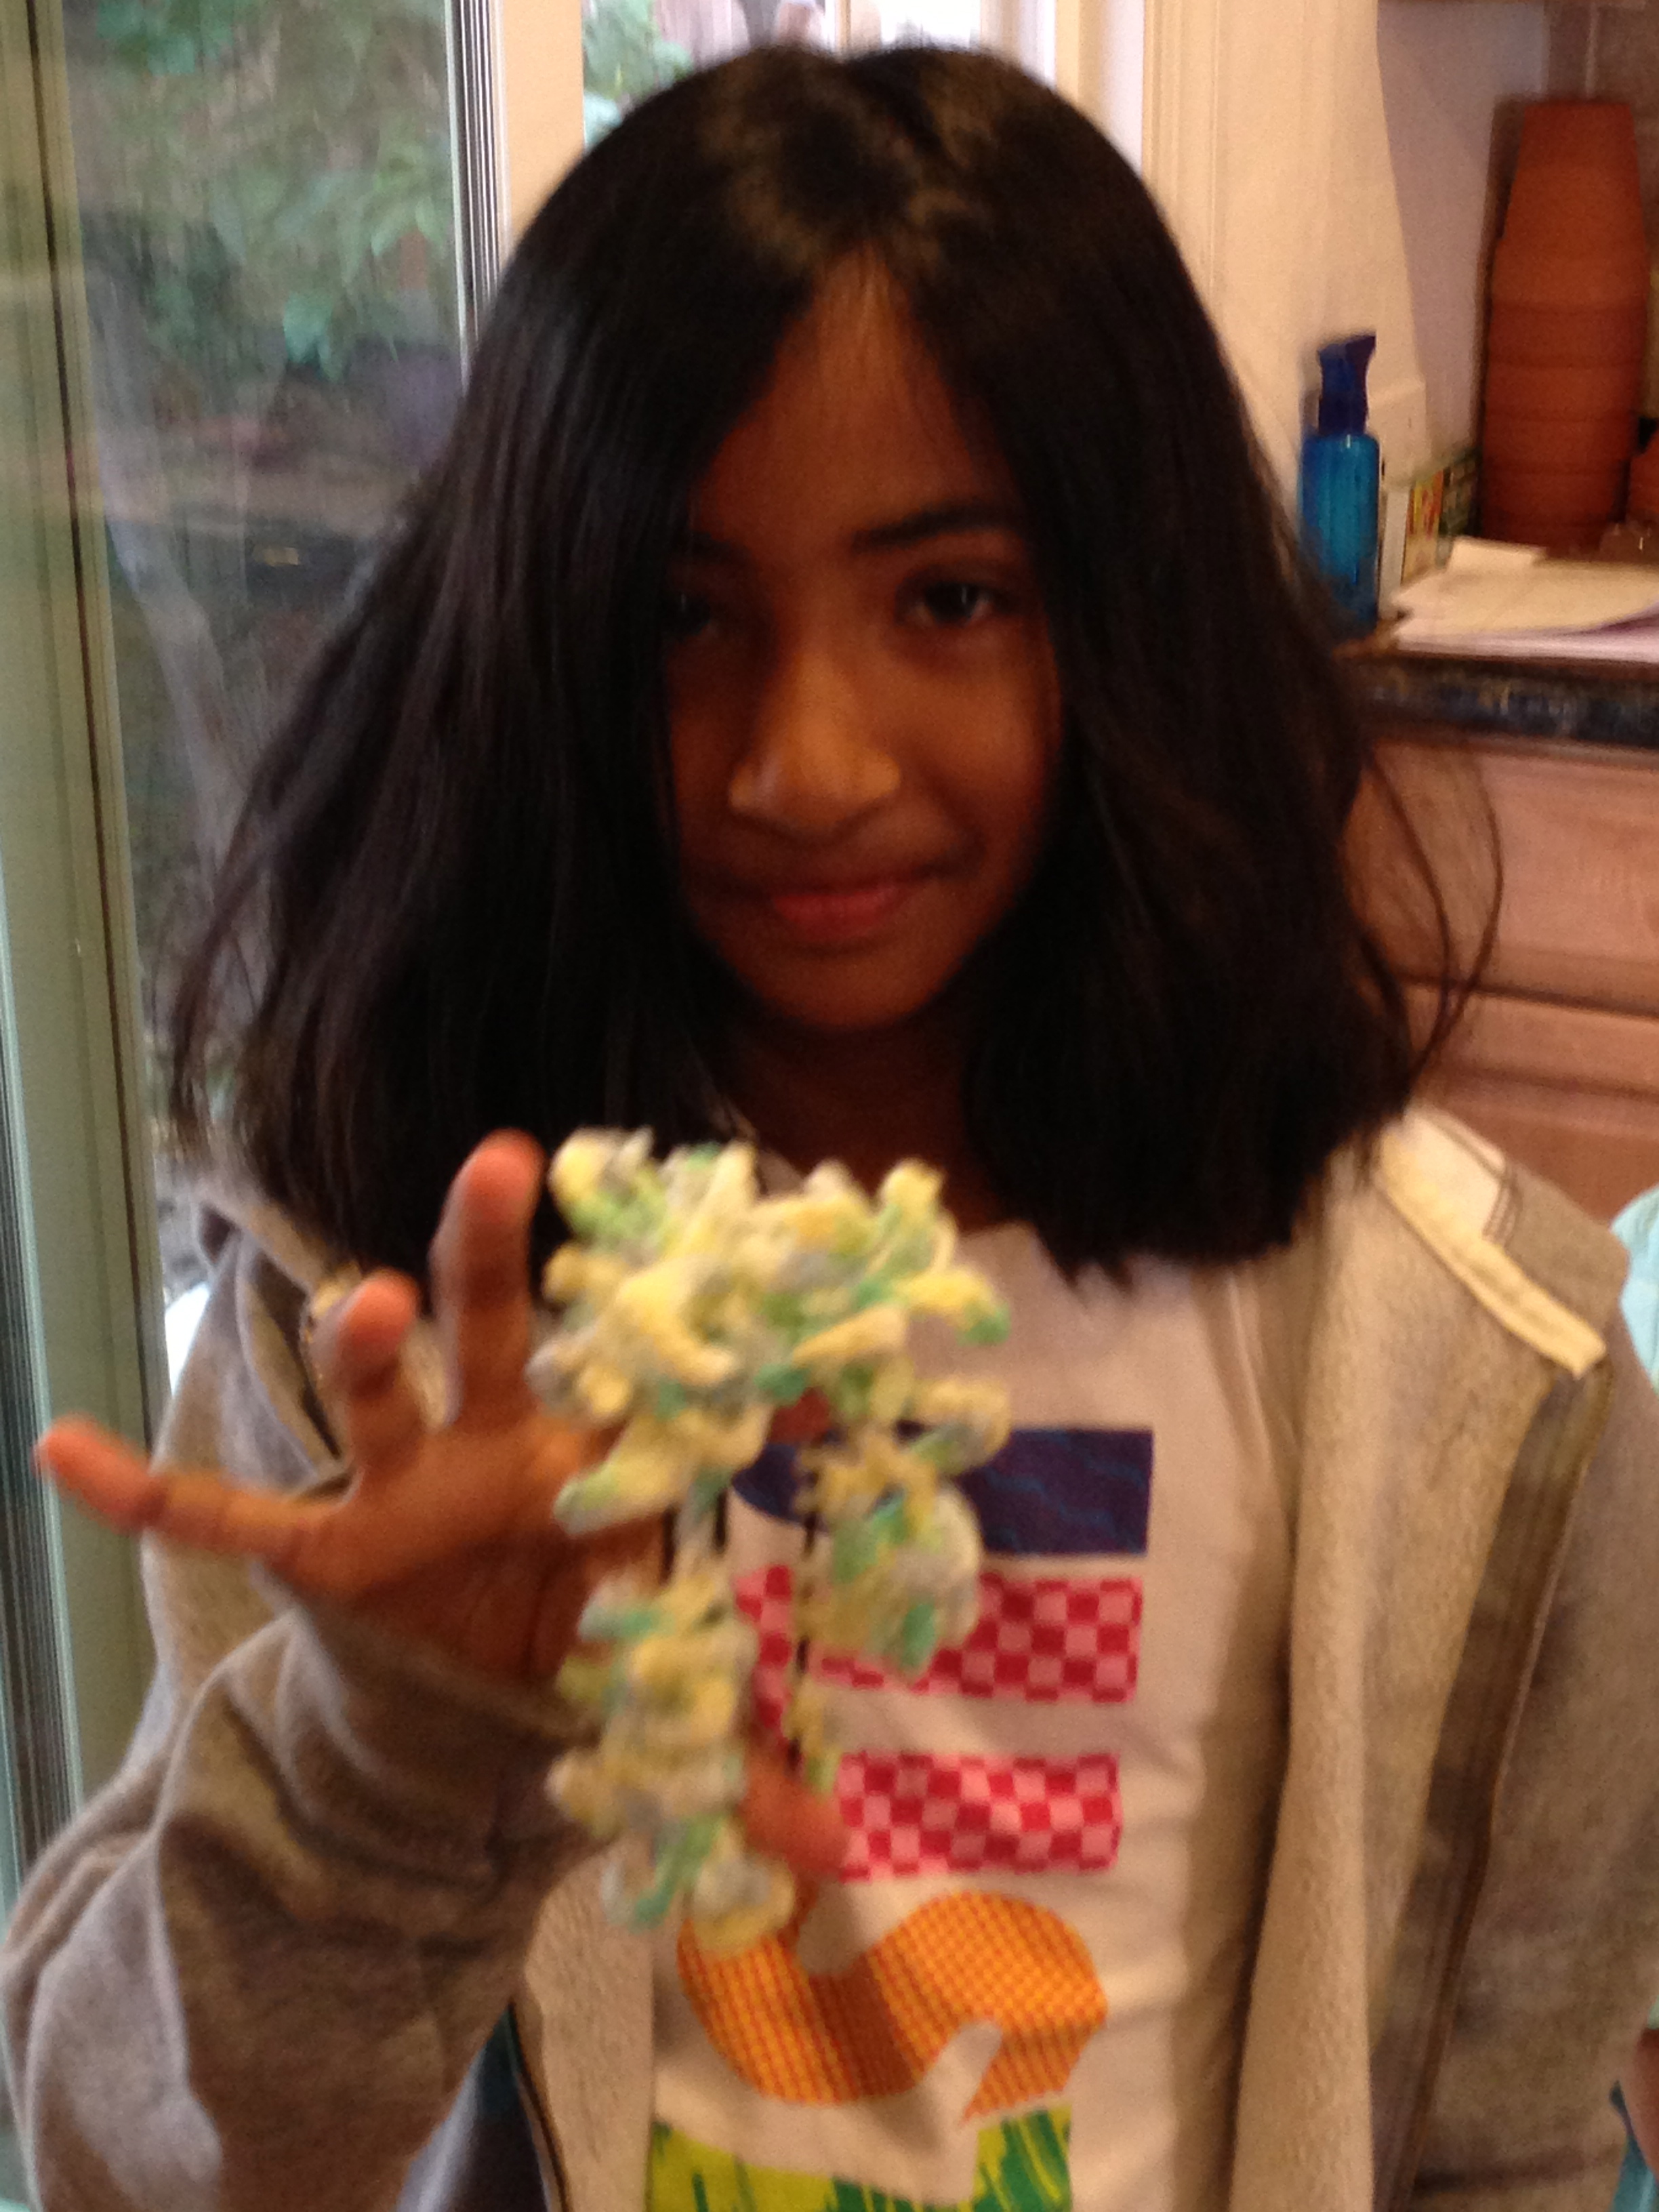
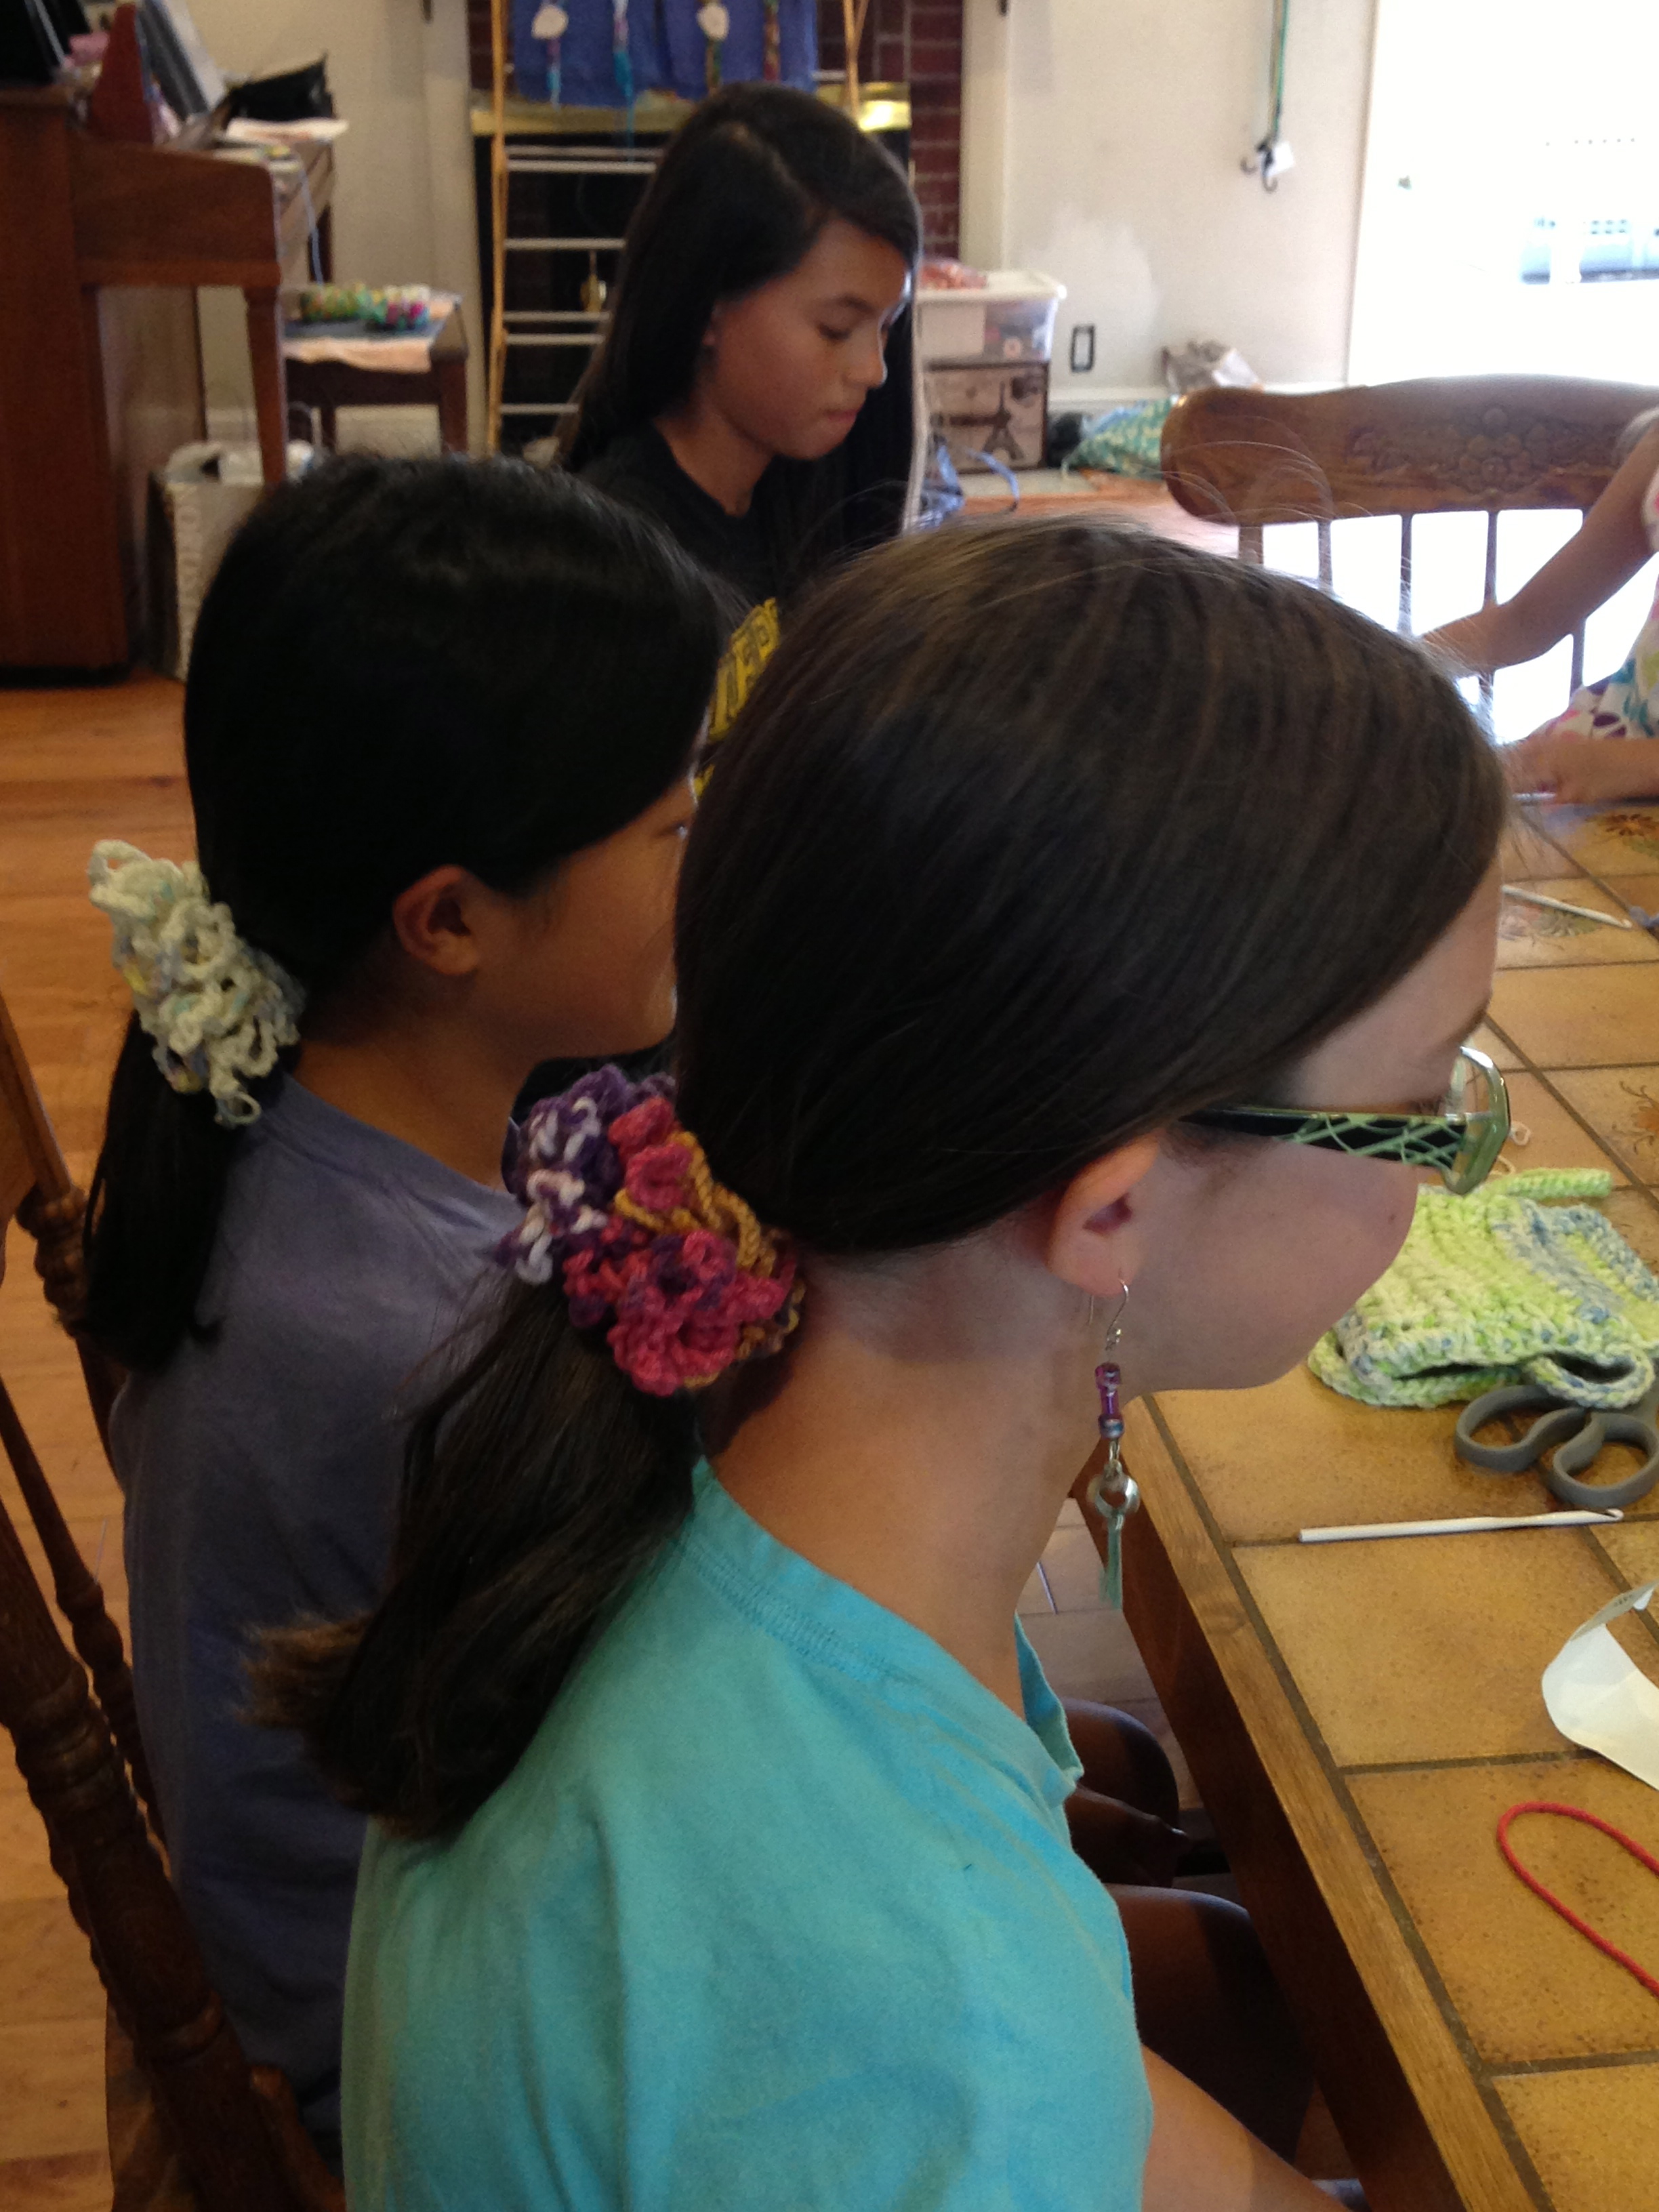
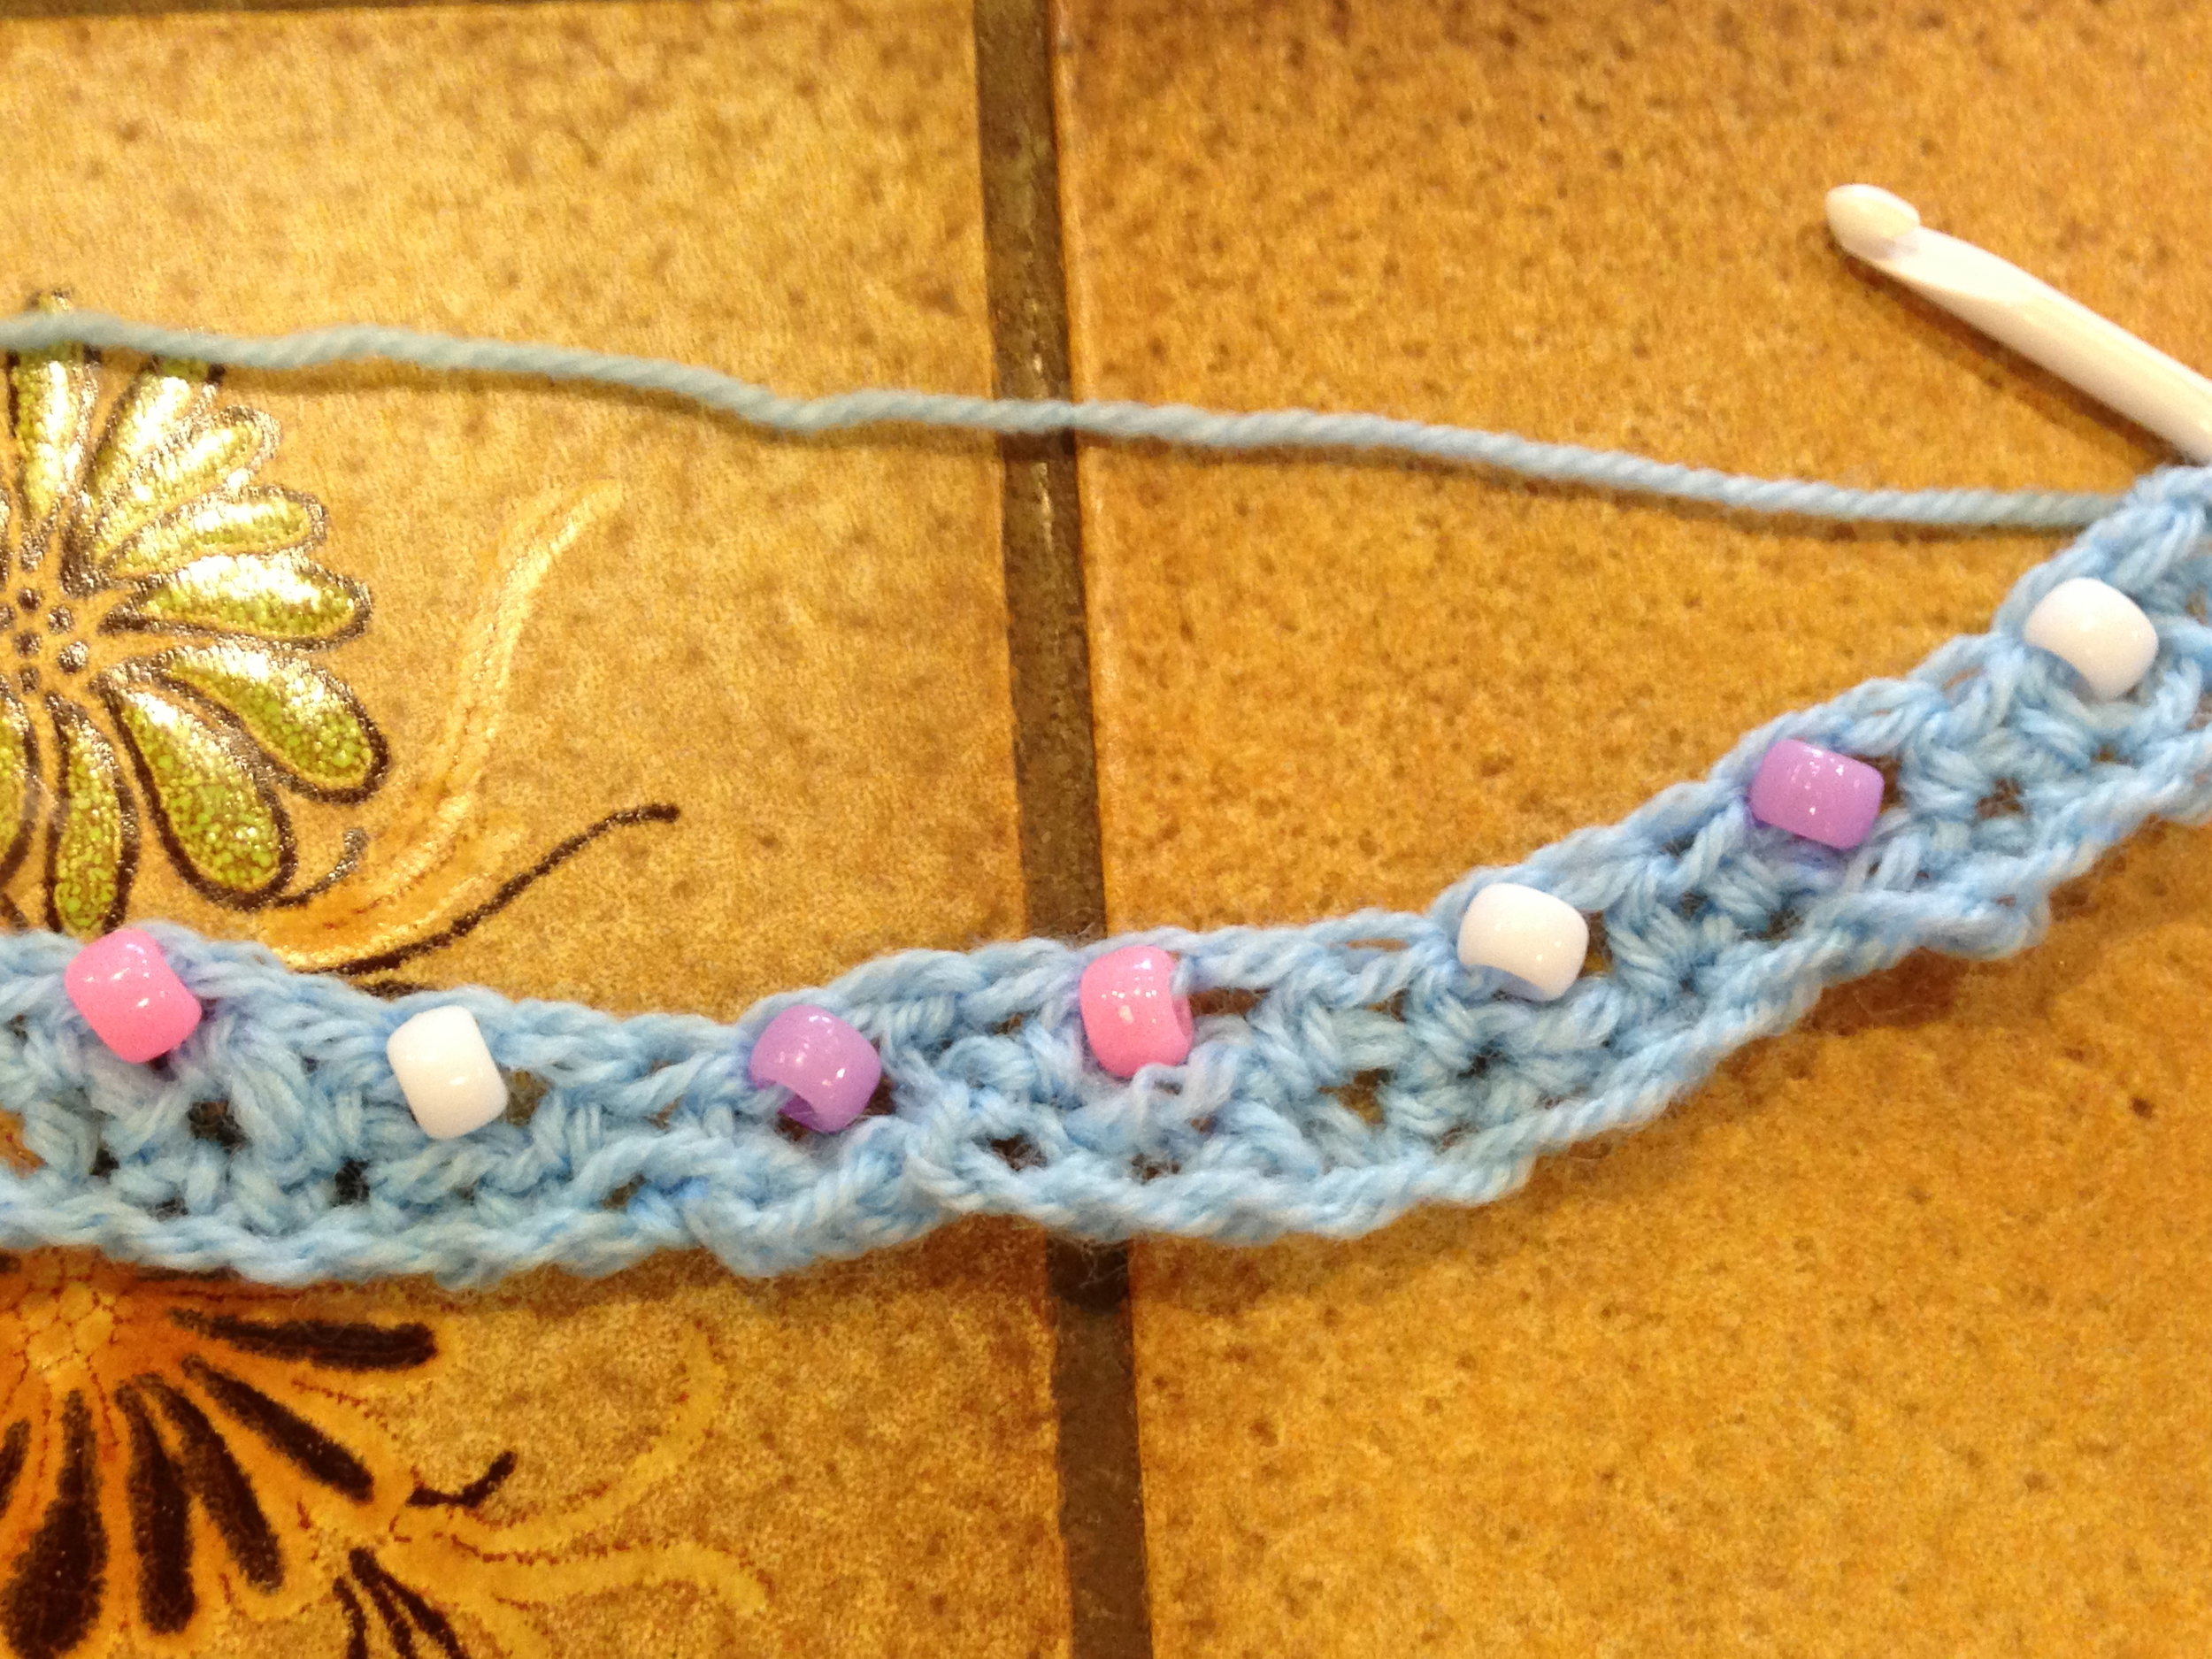
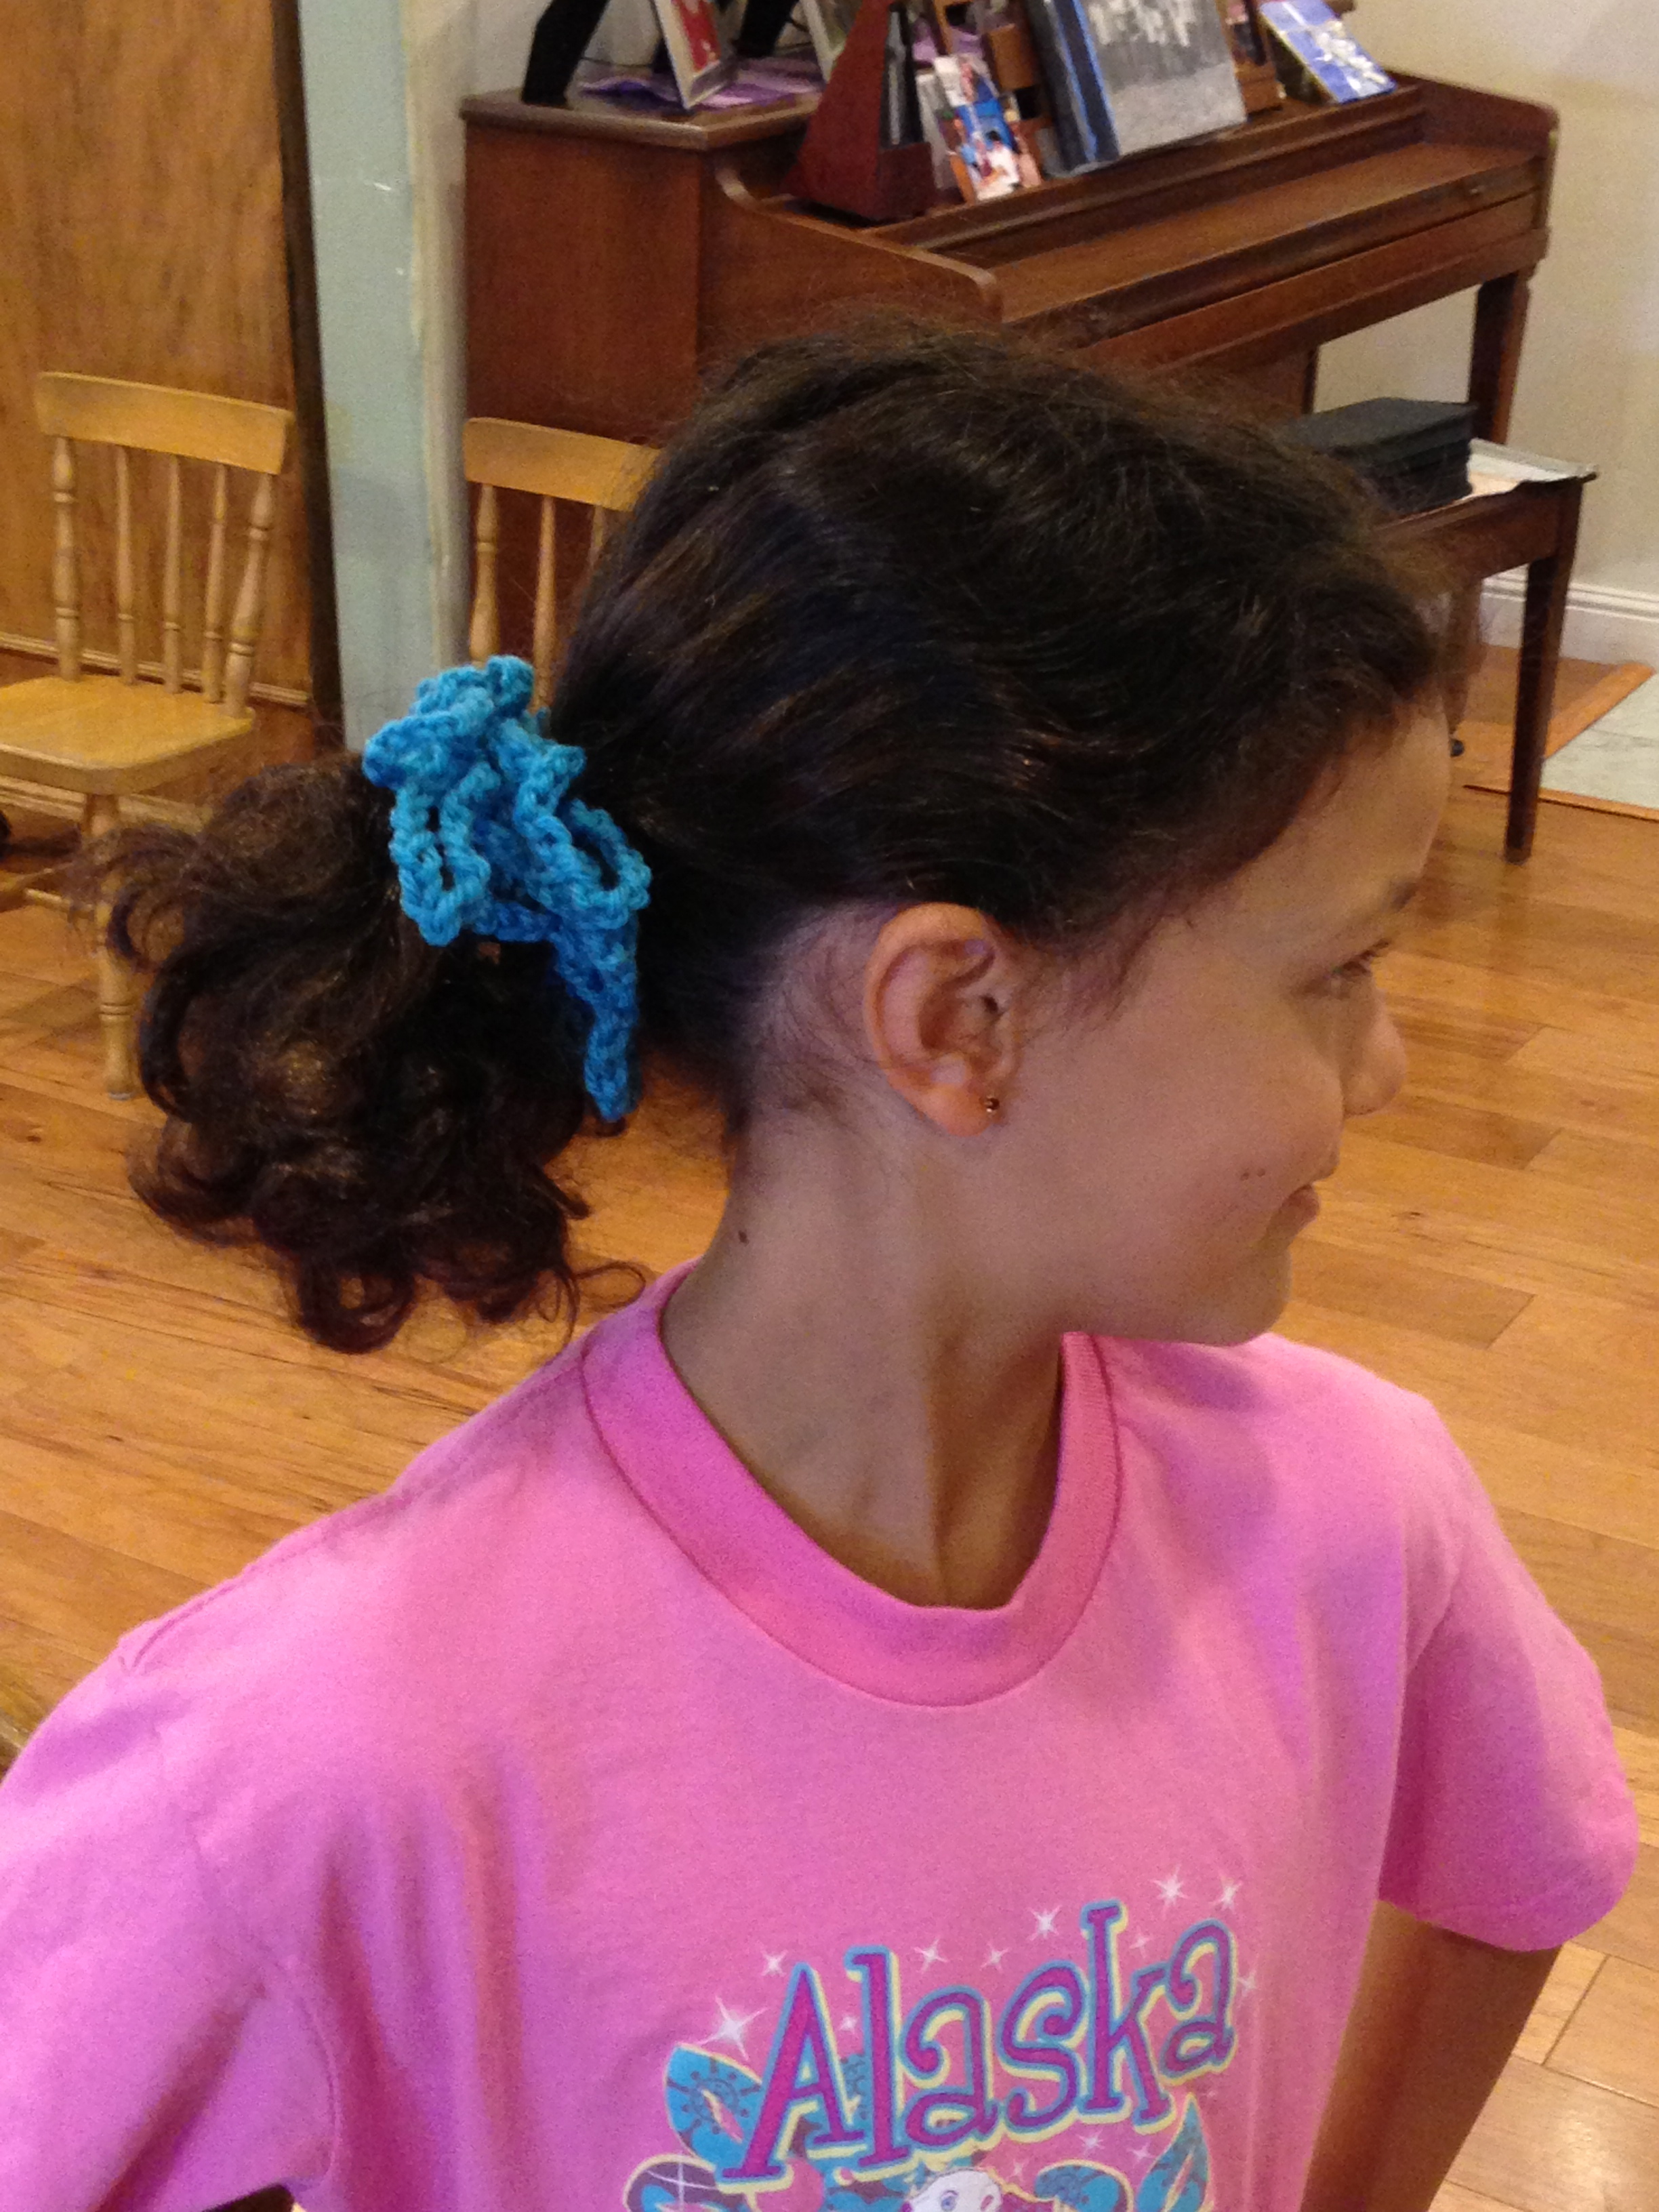
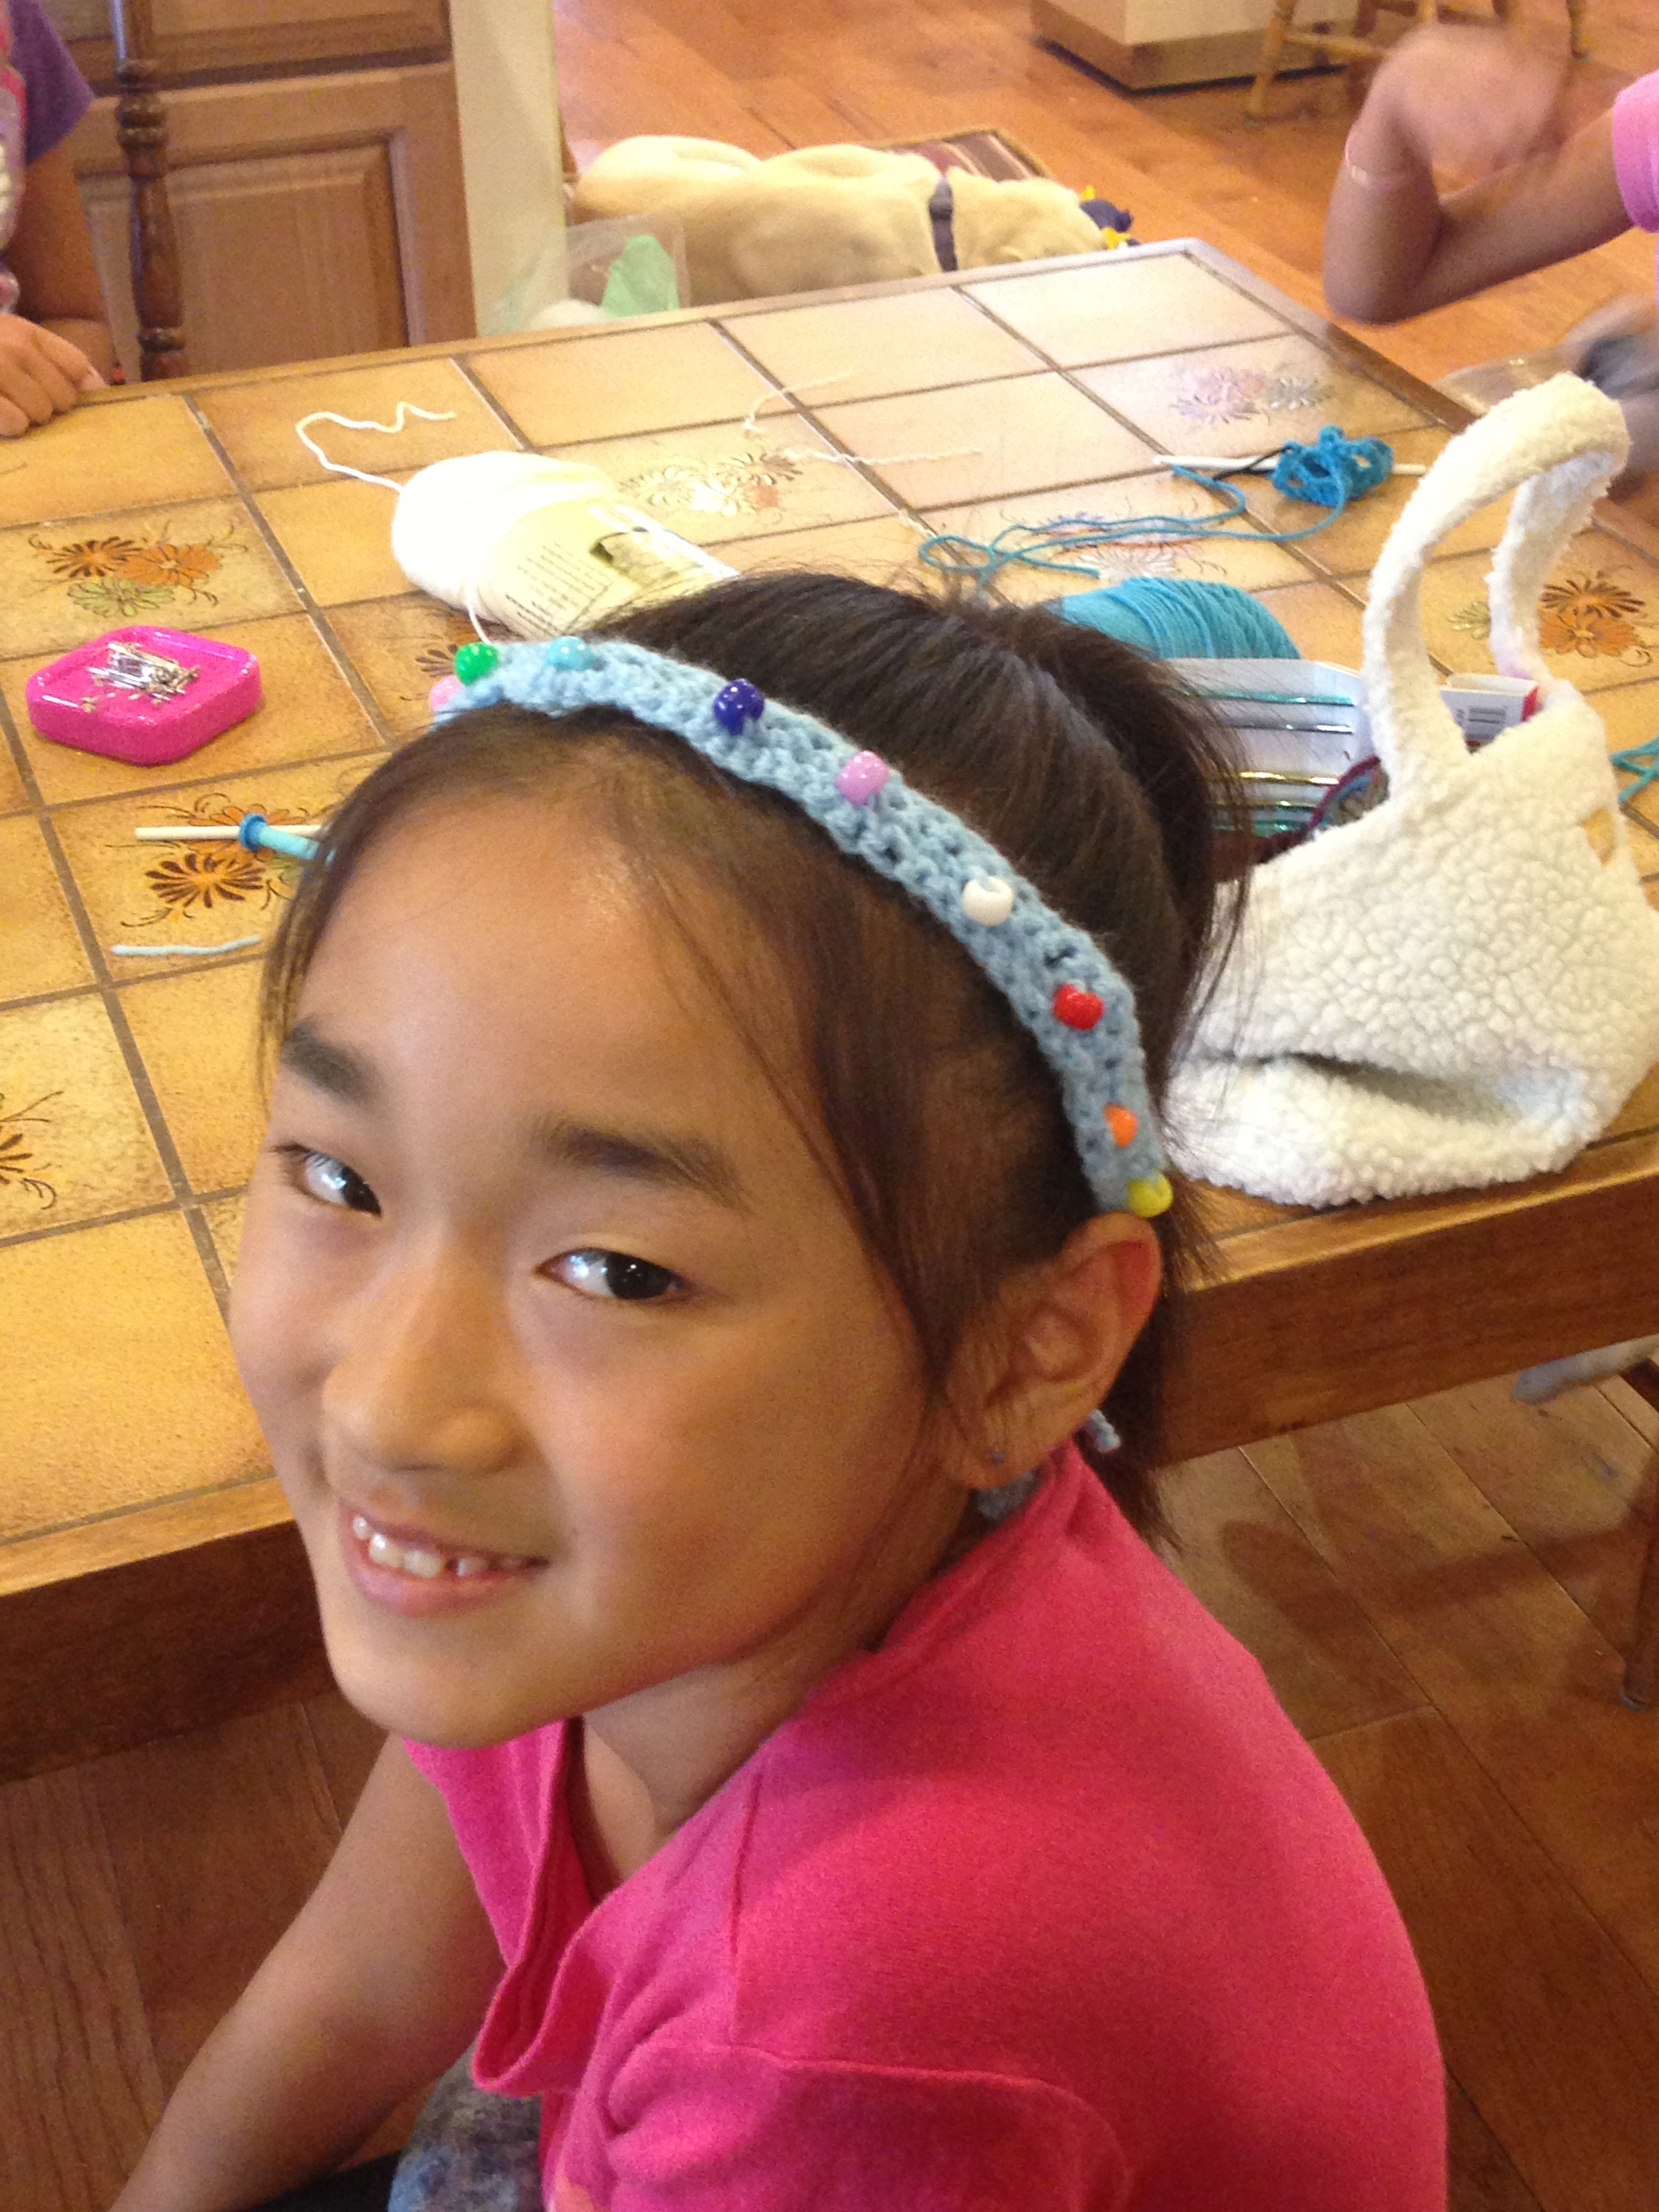
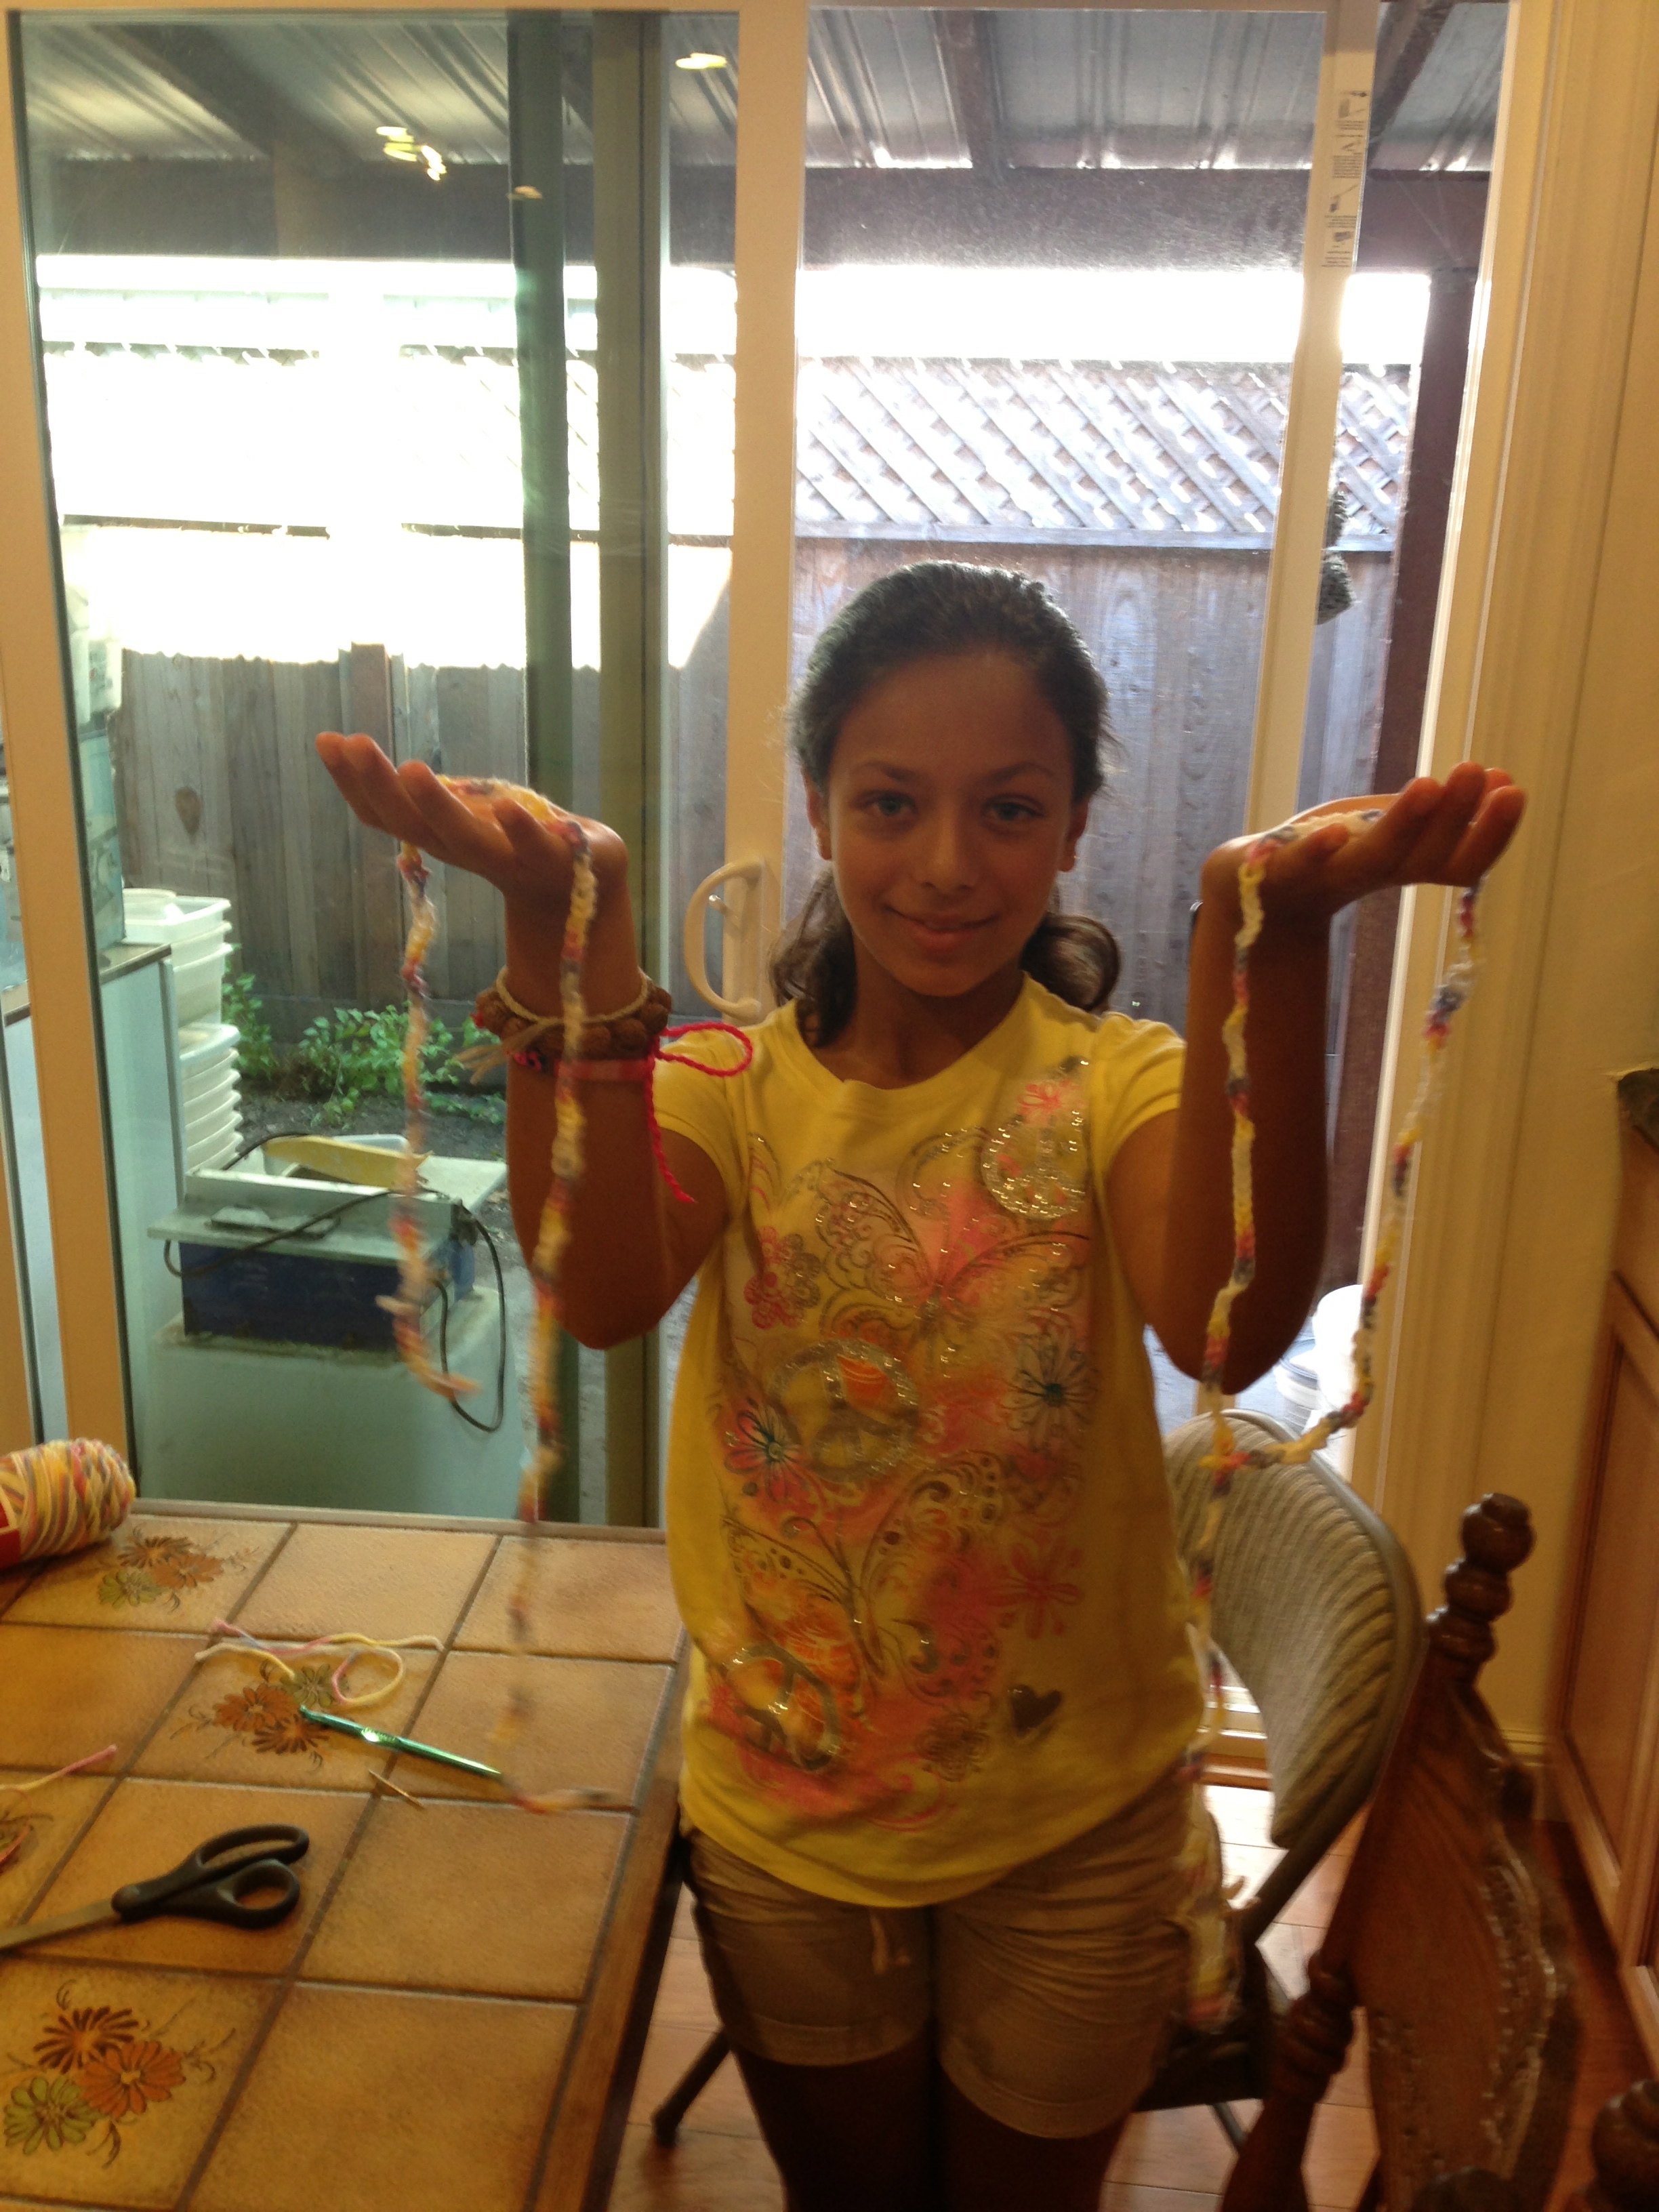
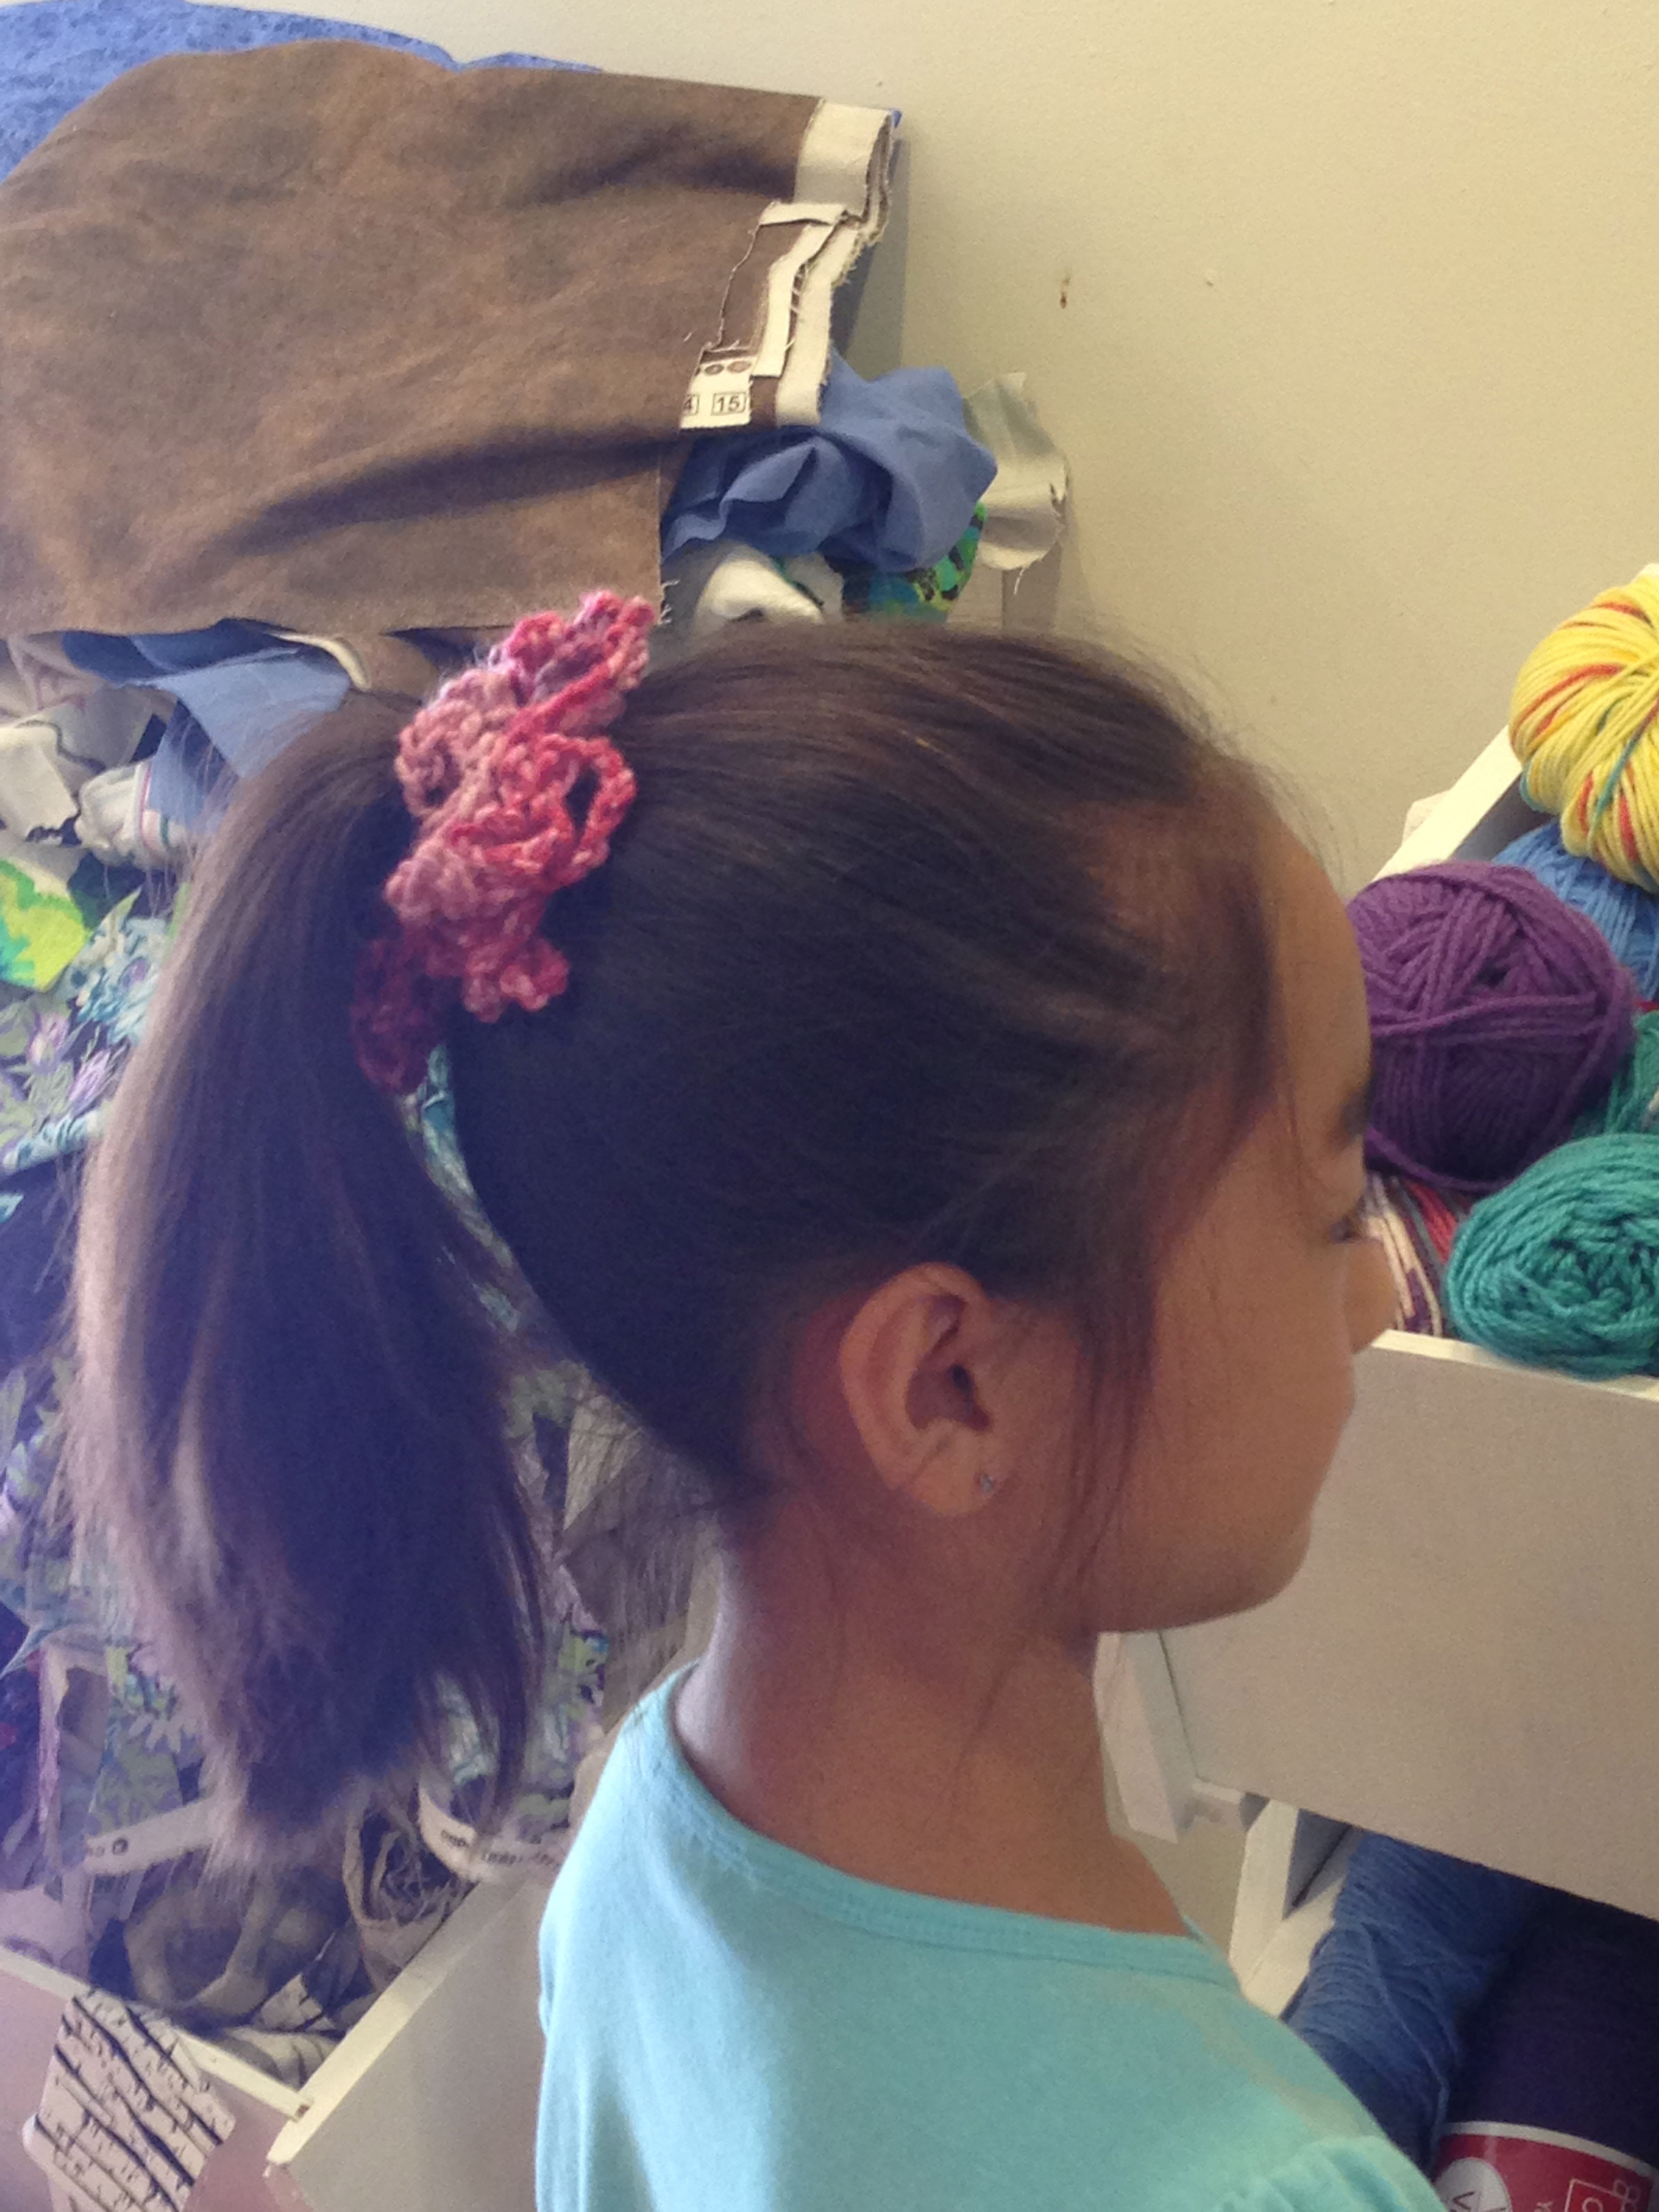
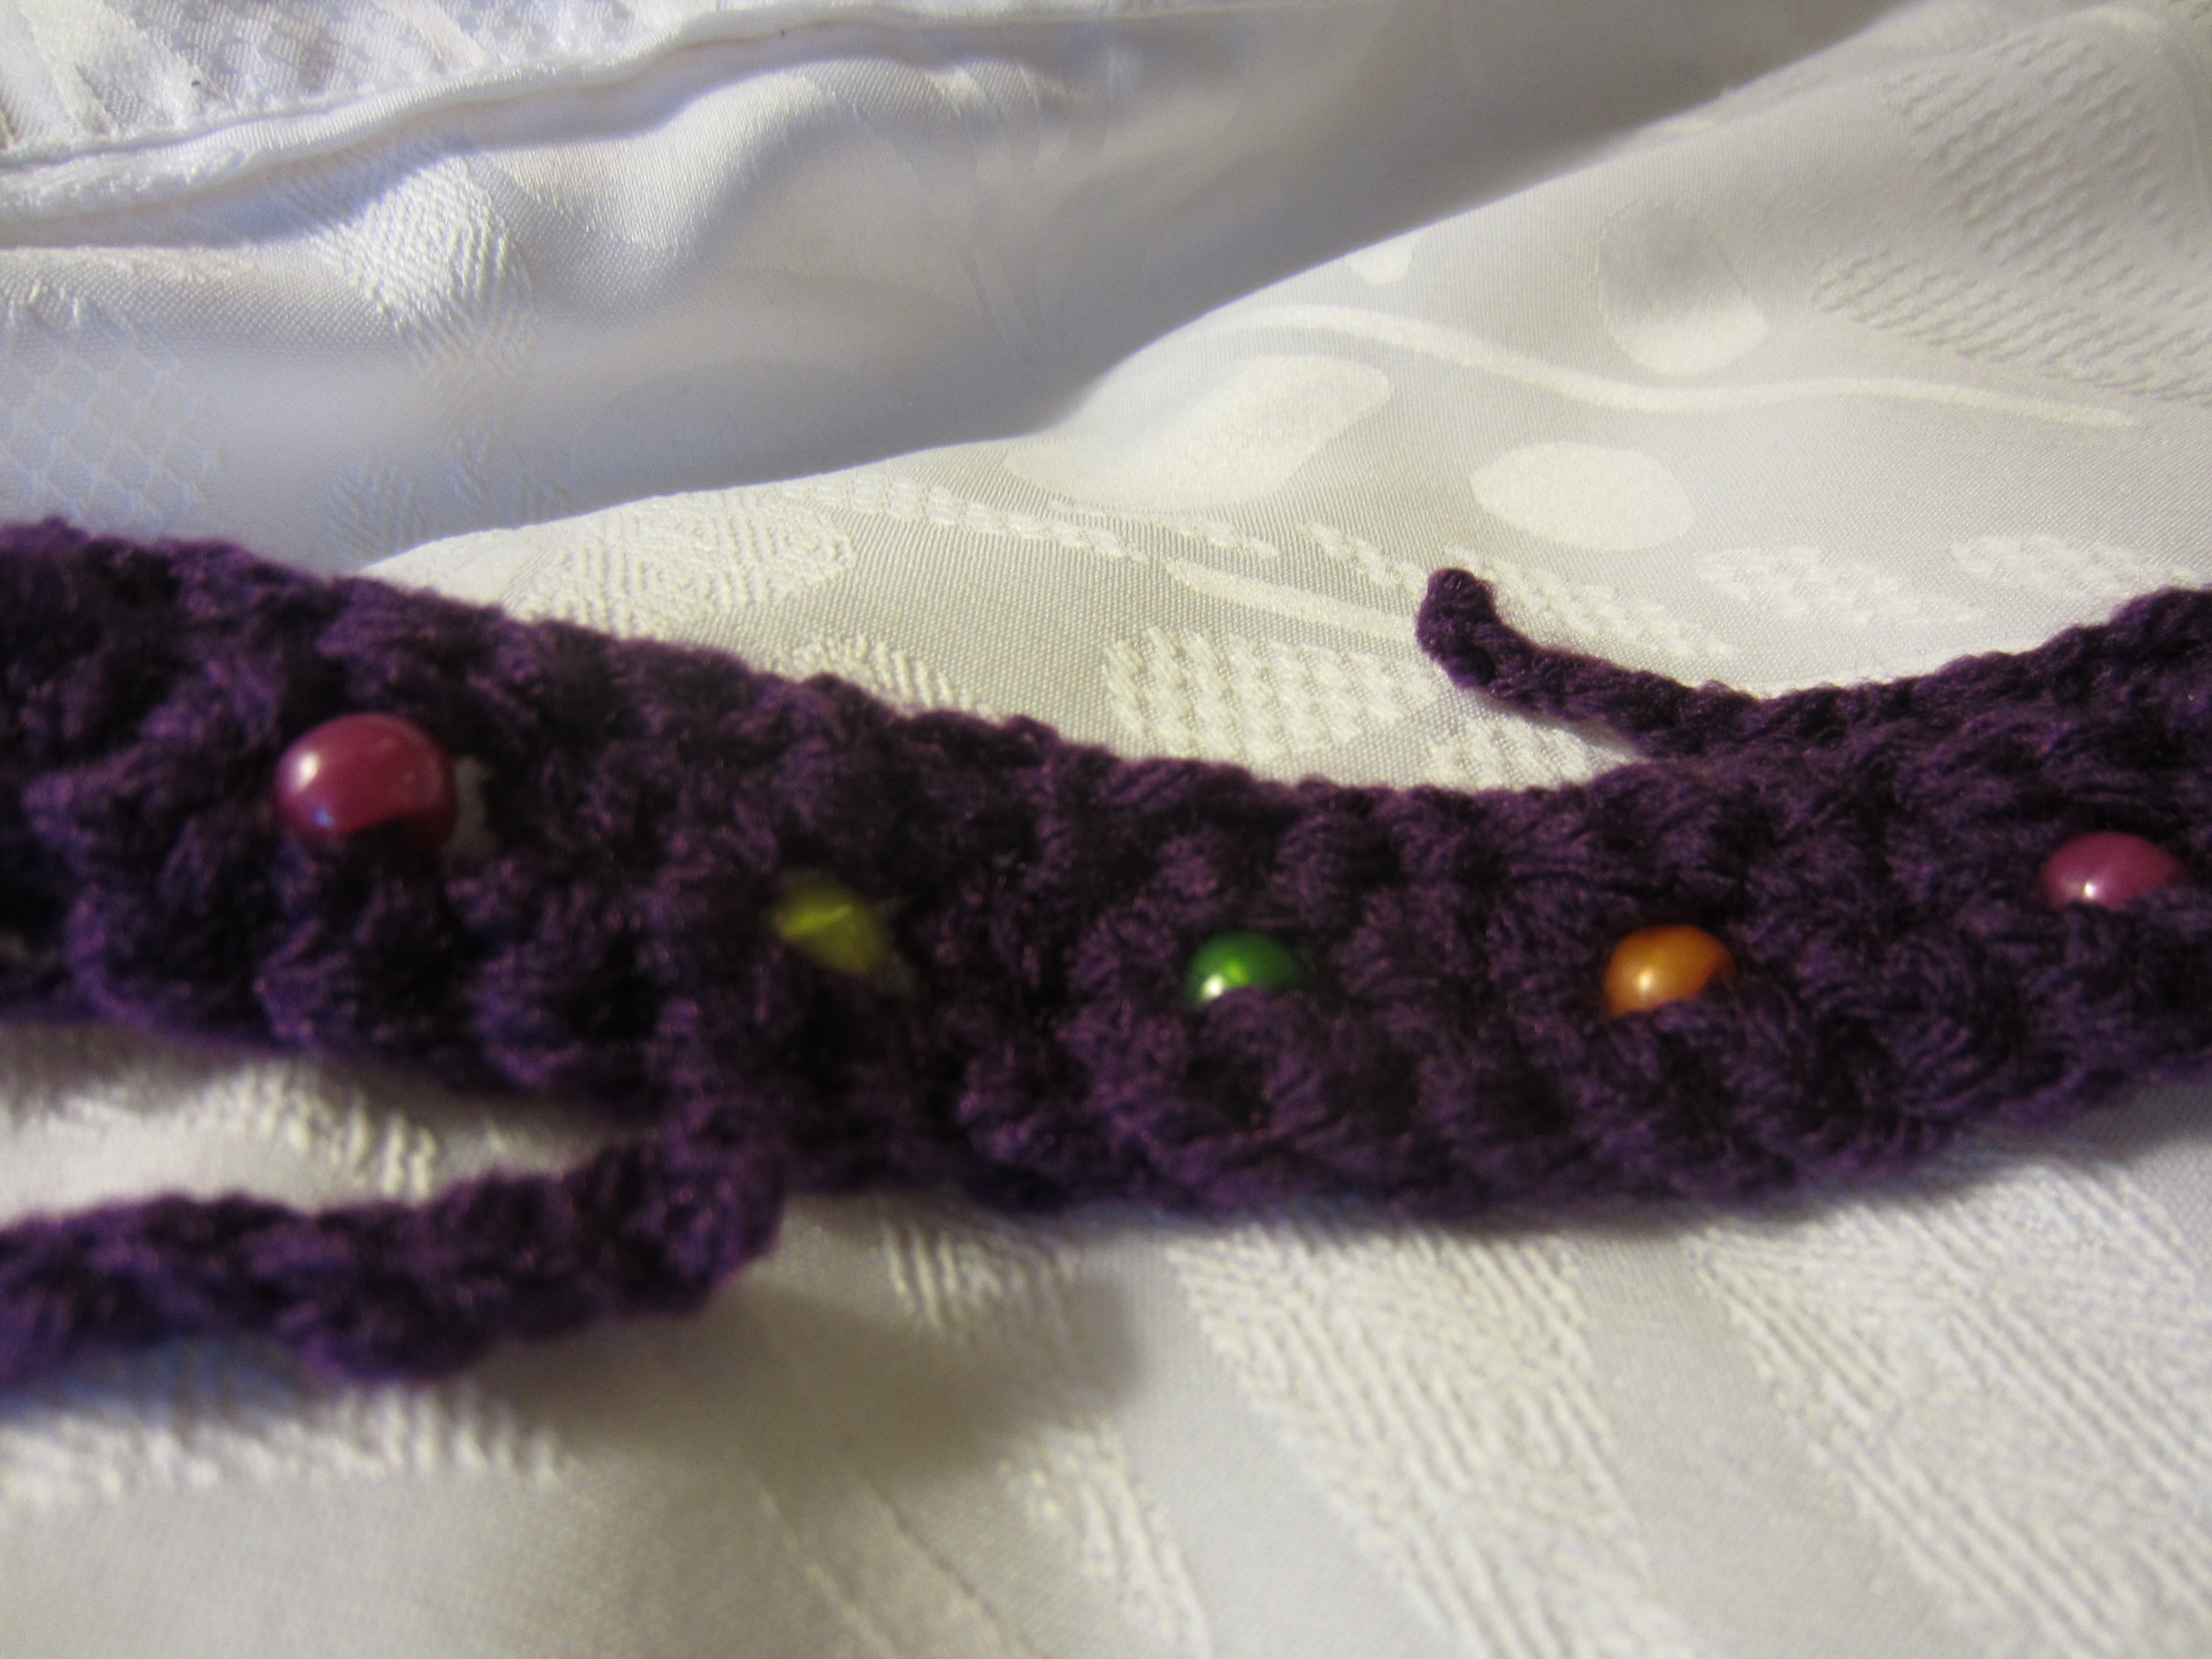
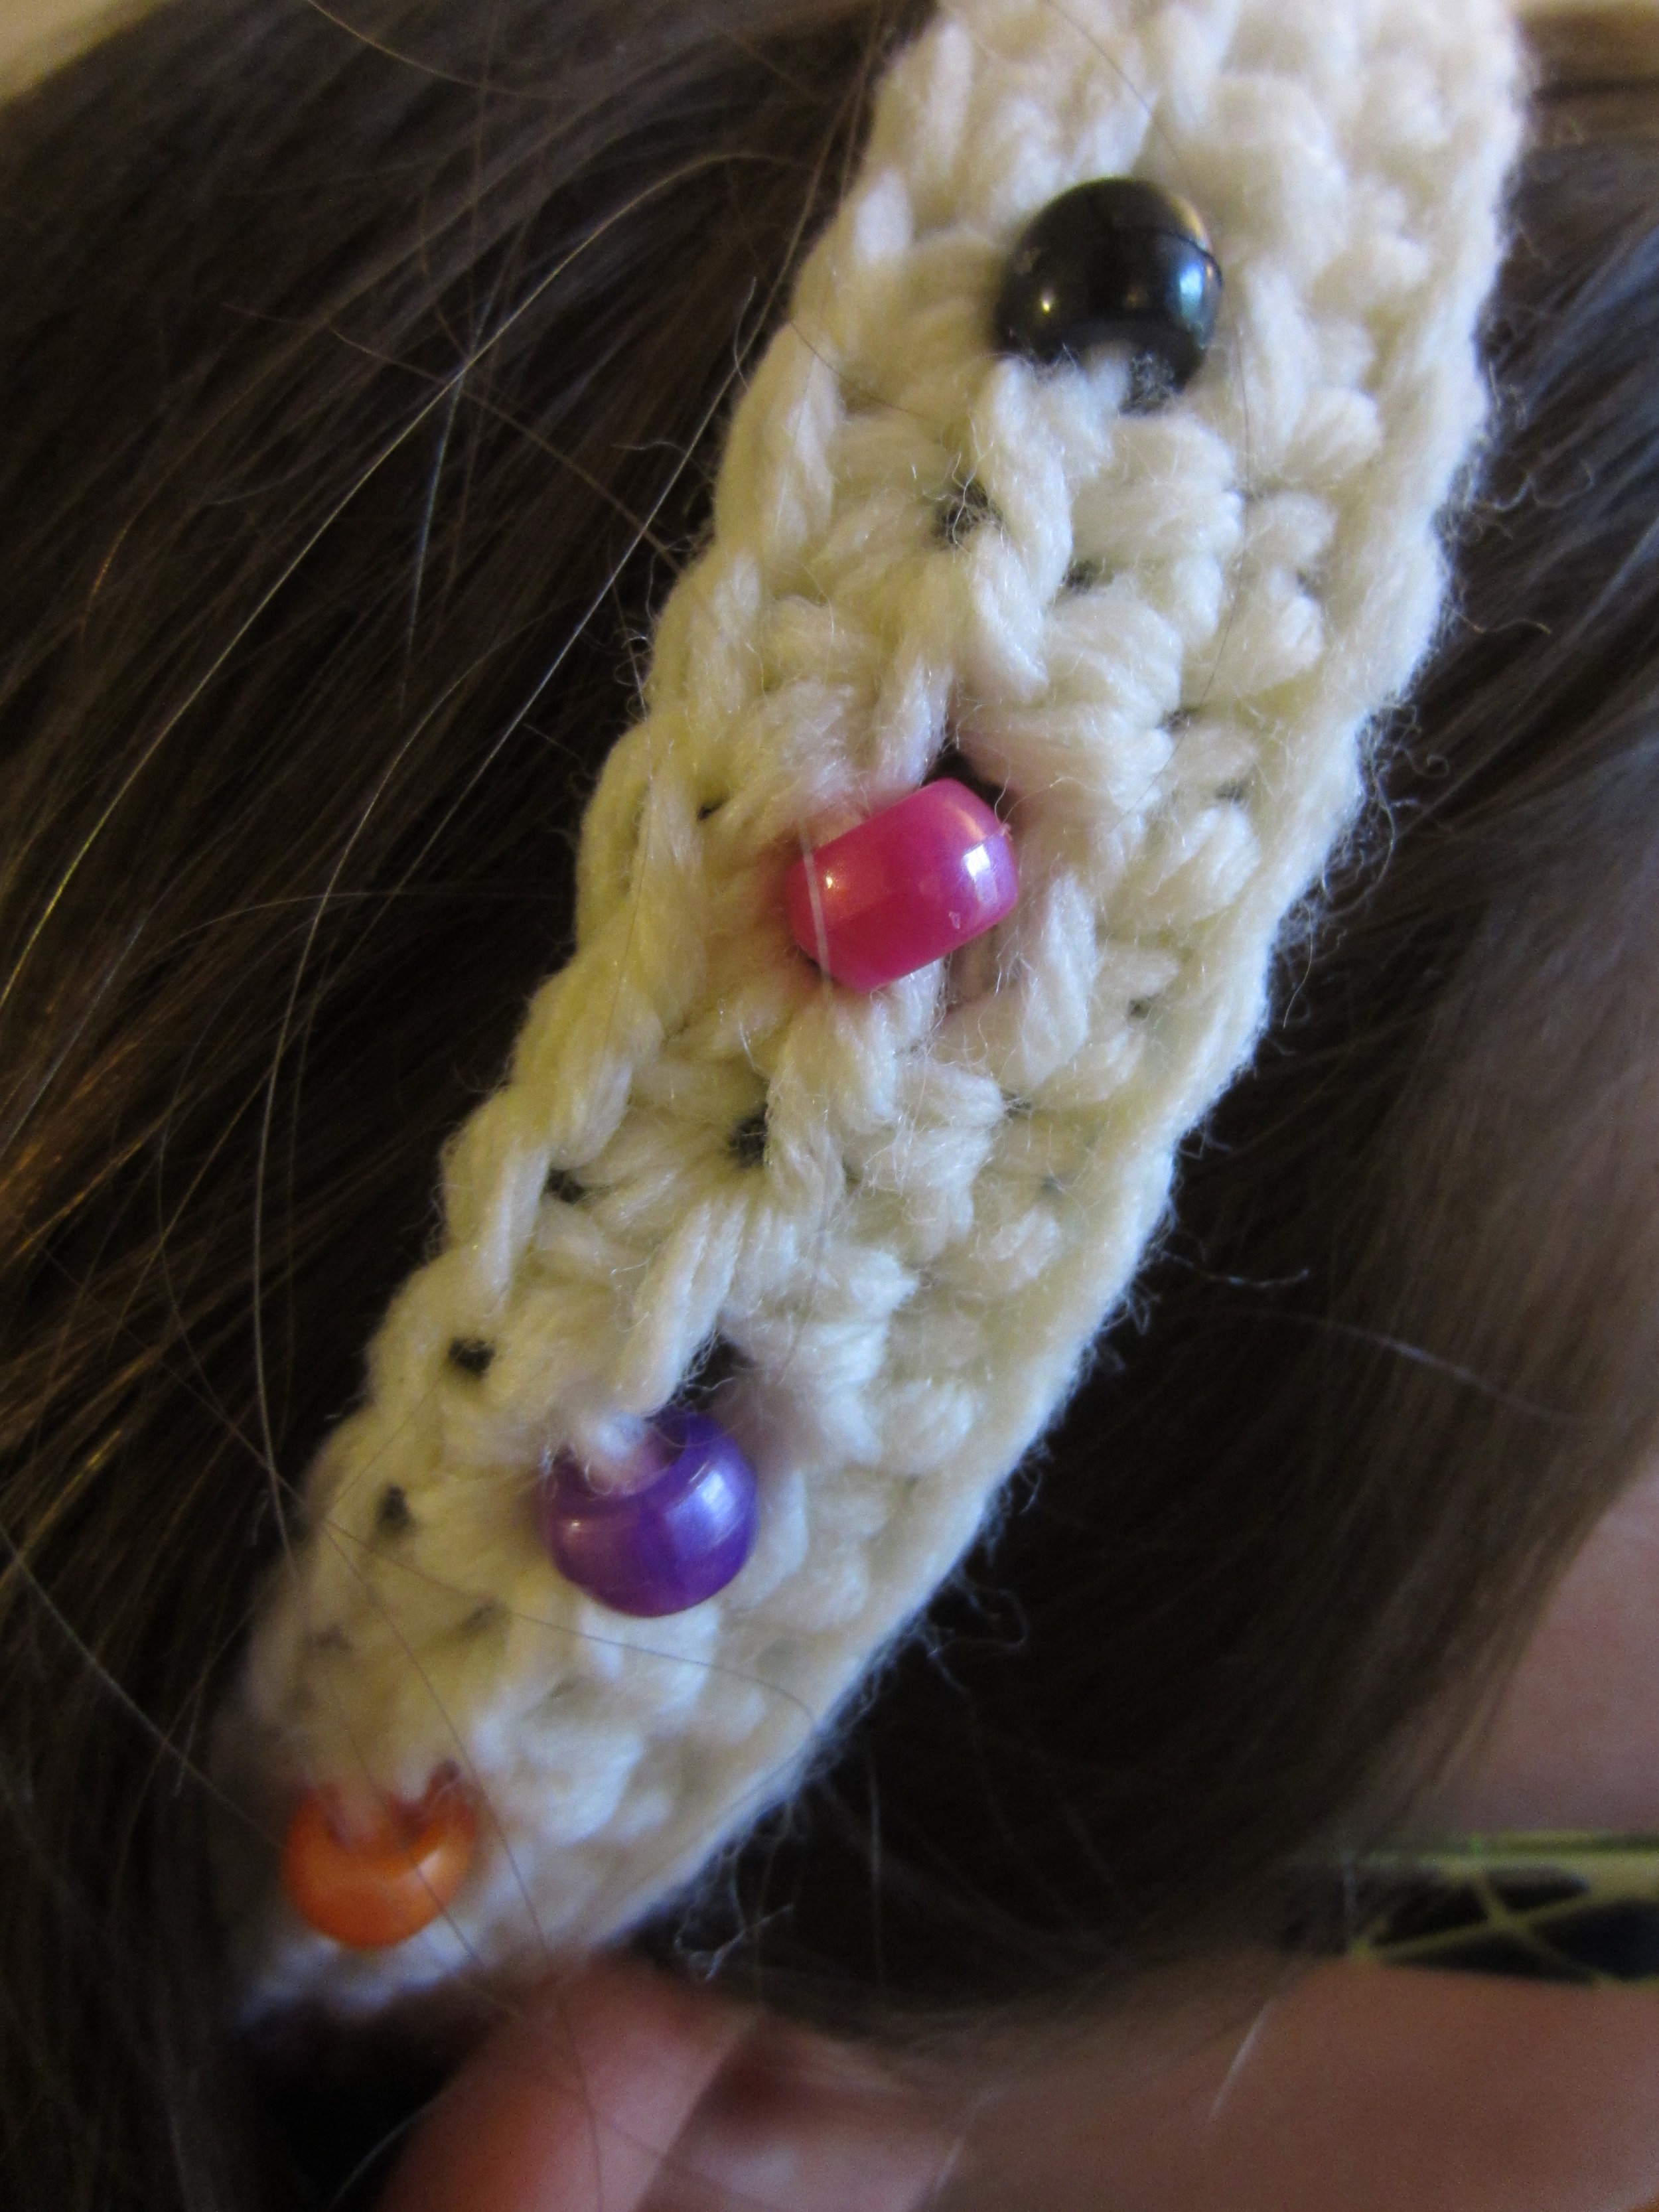
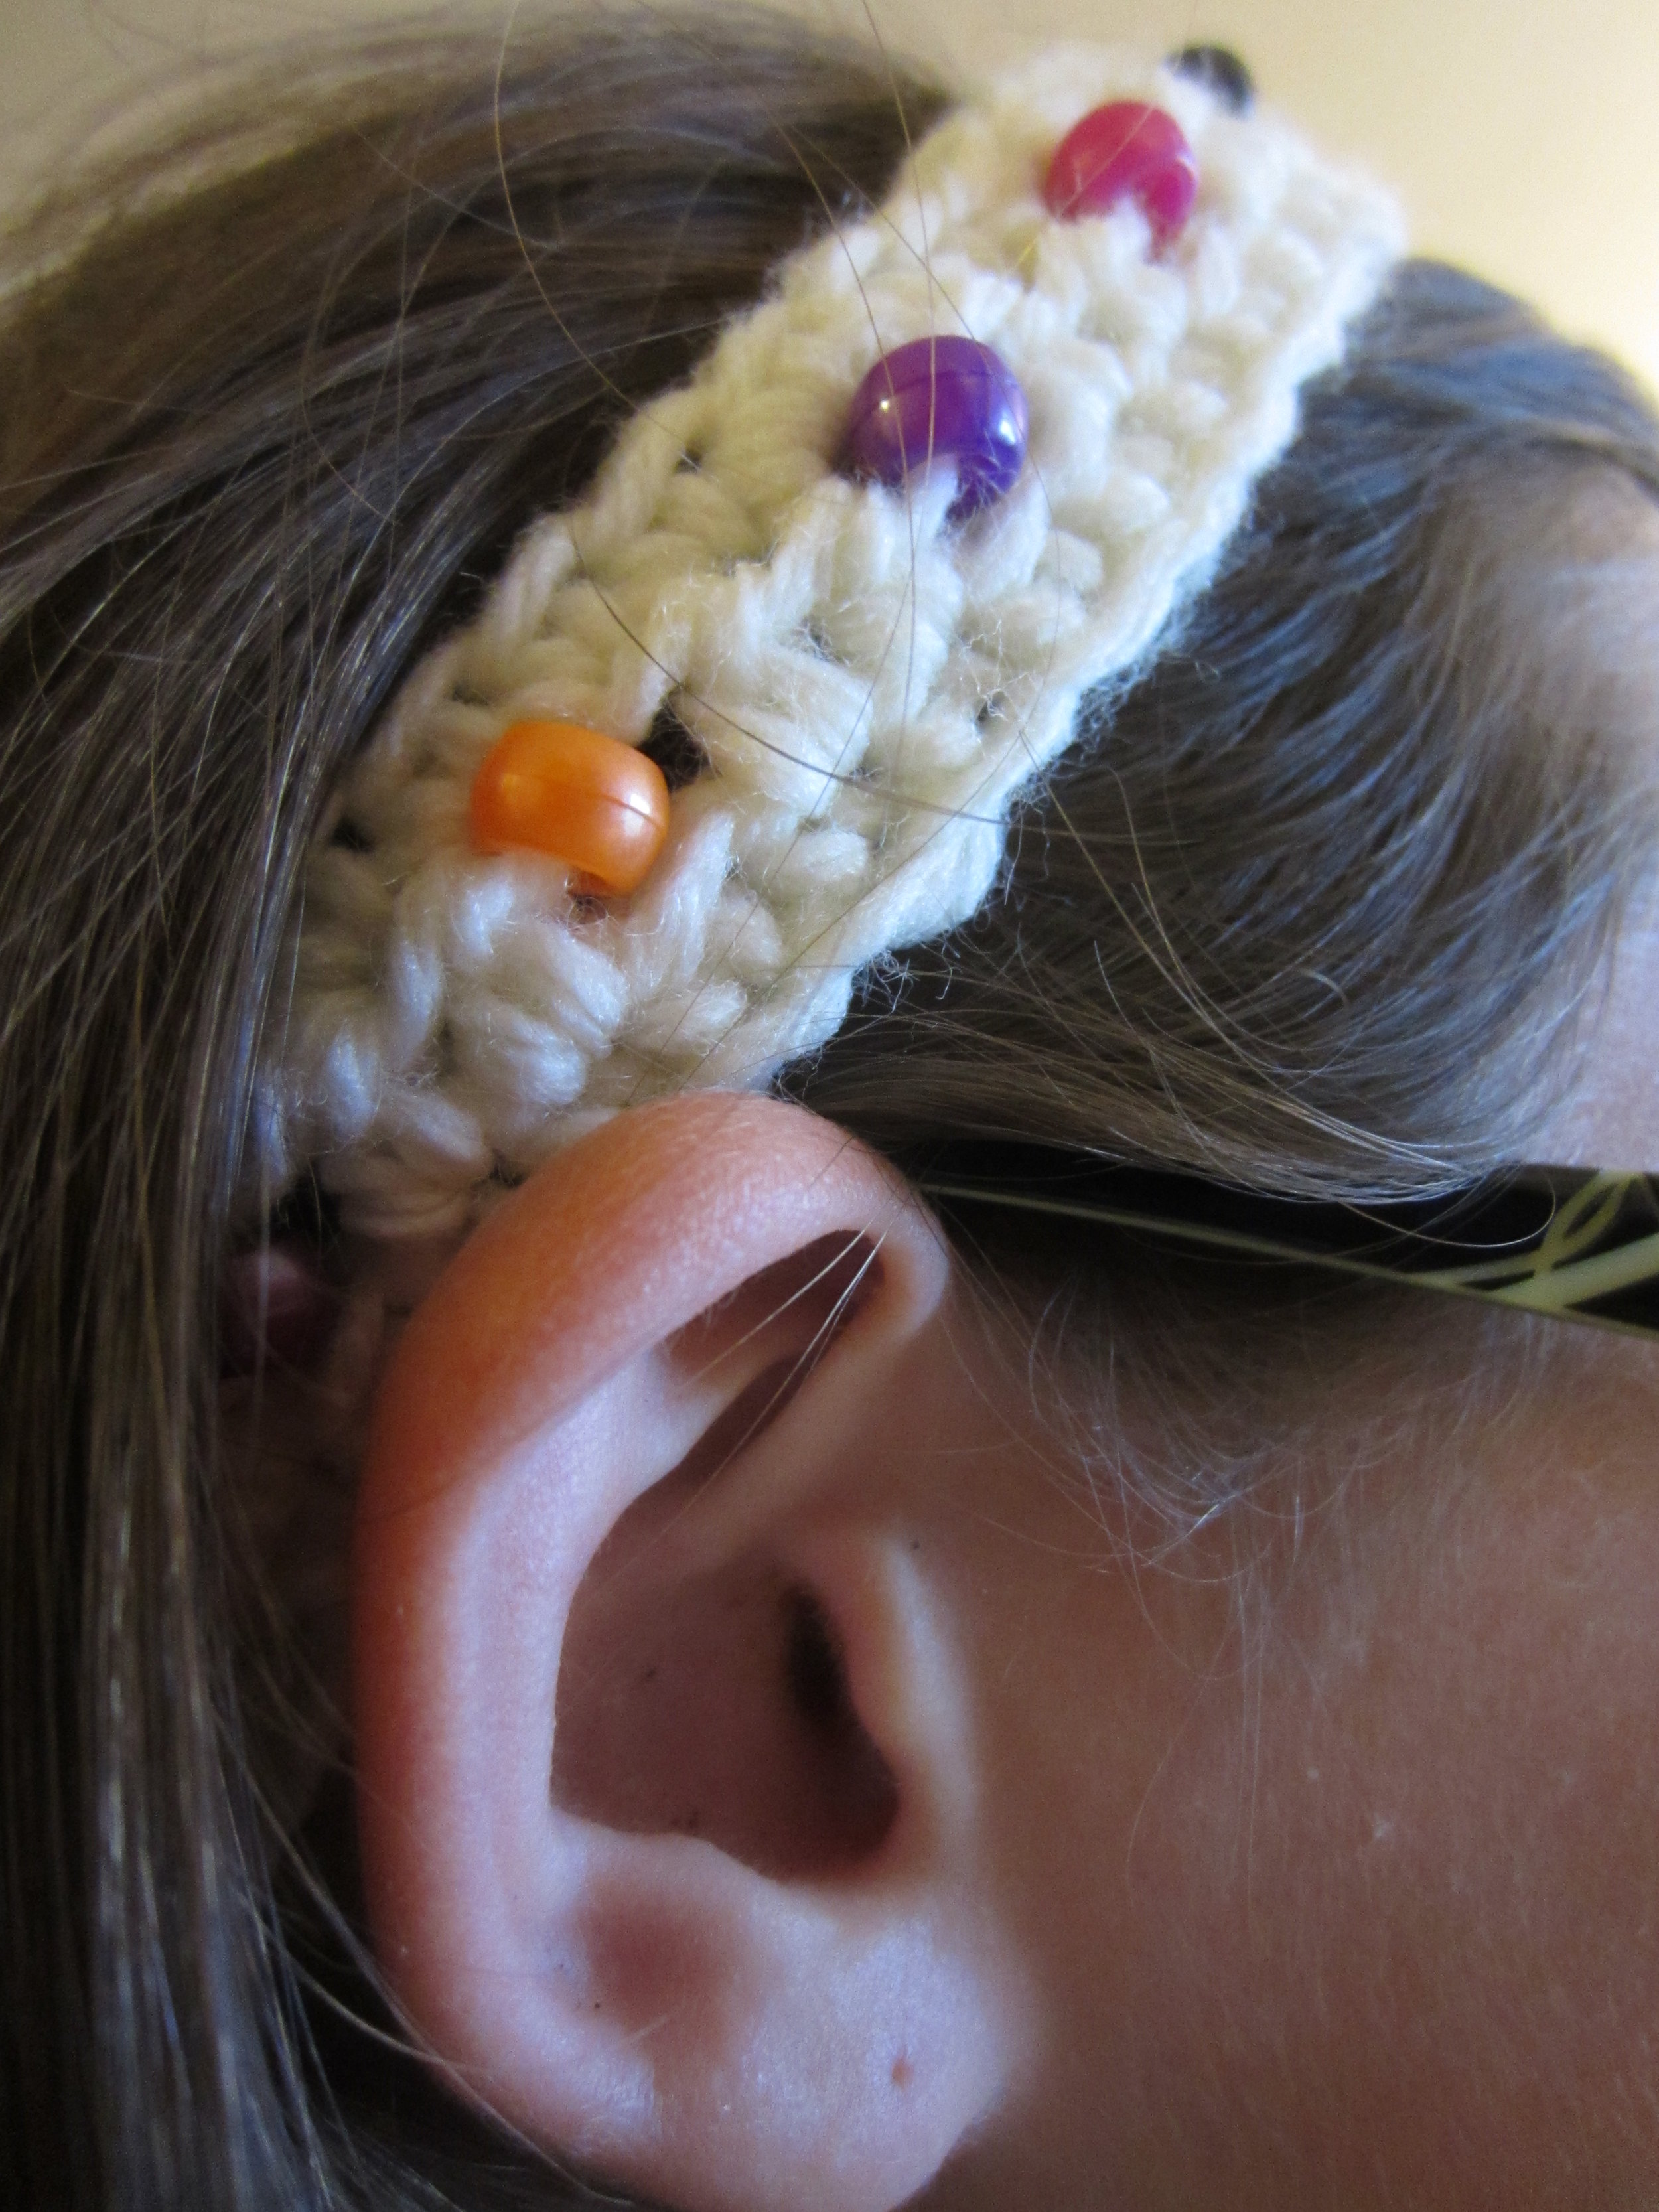
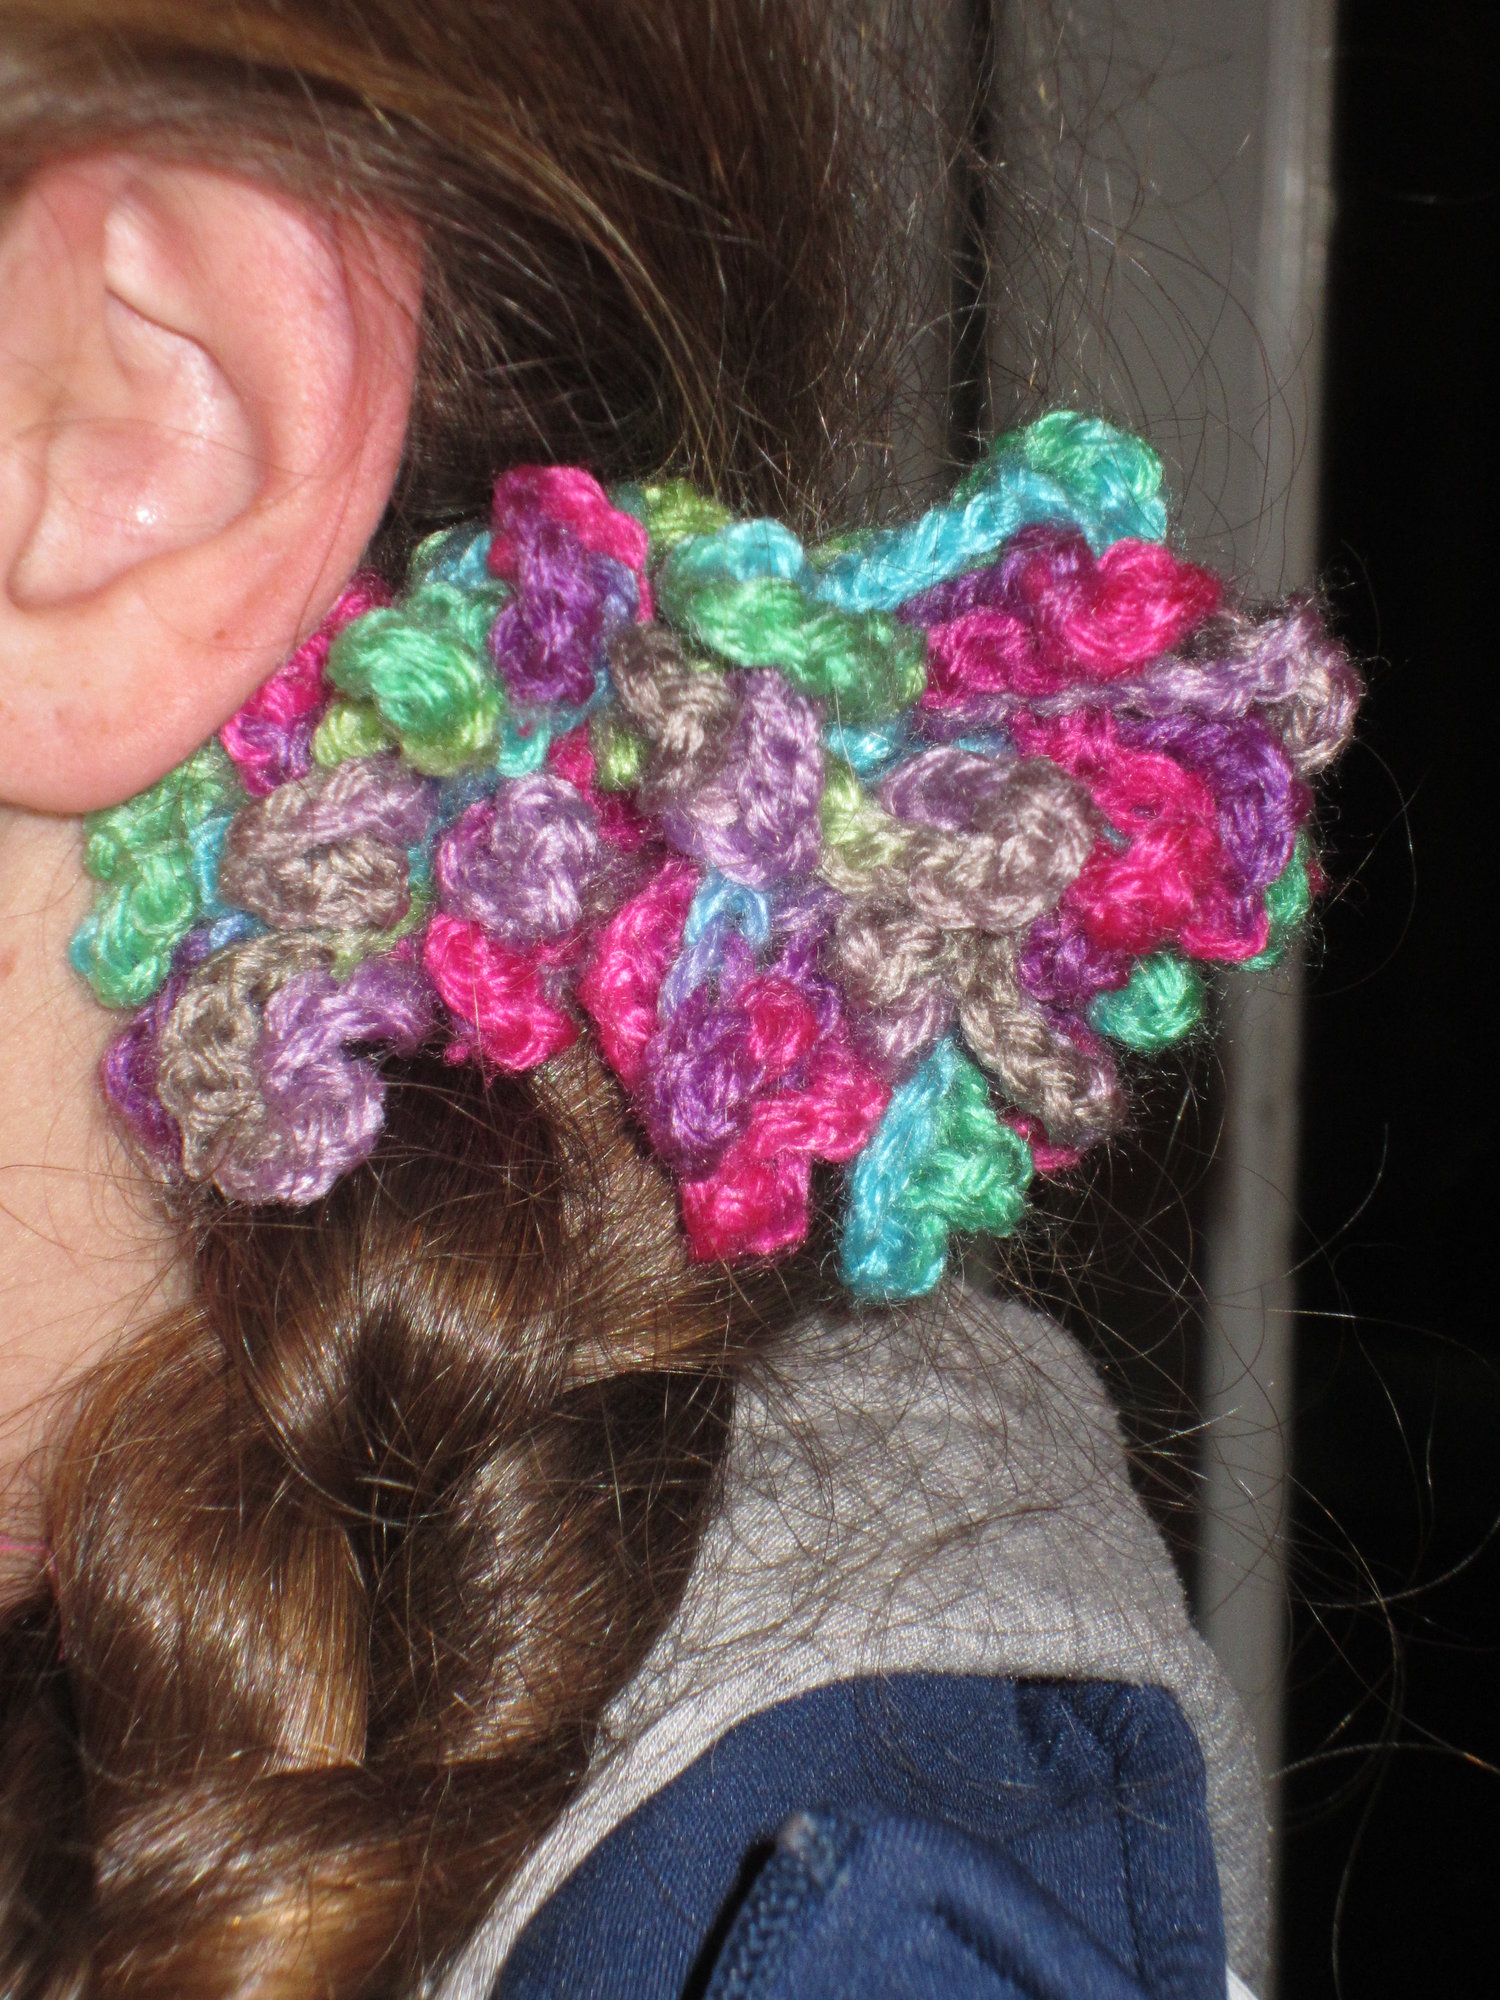
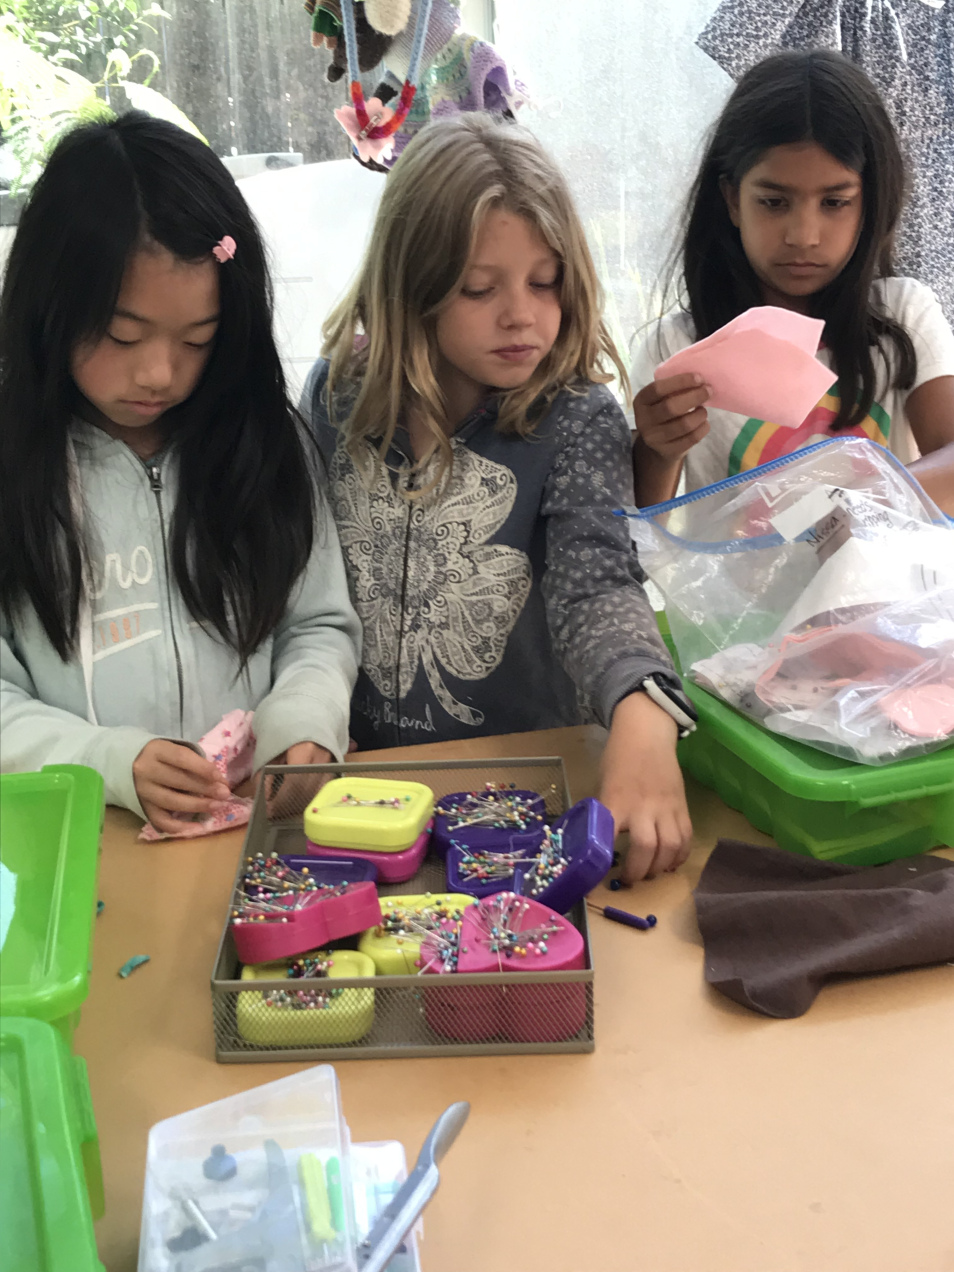
Bracelets, Scrunchies and Head Bands!

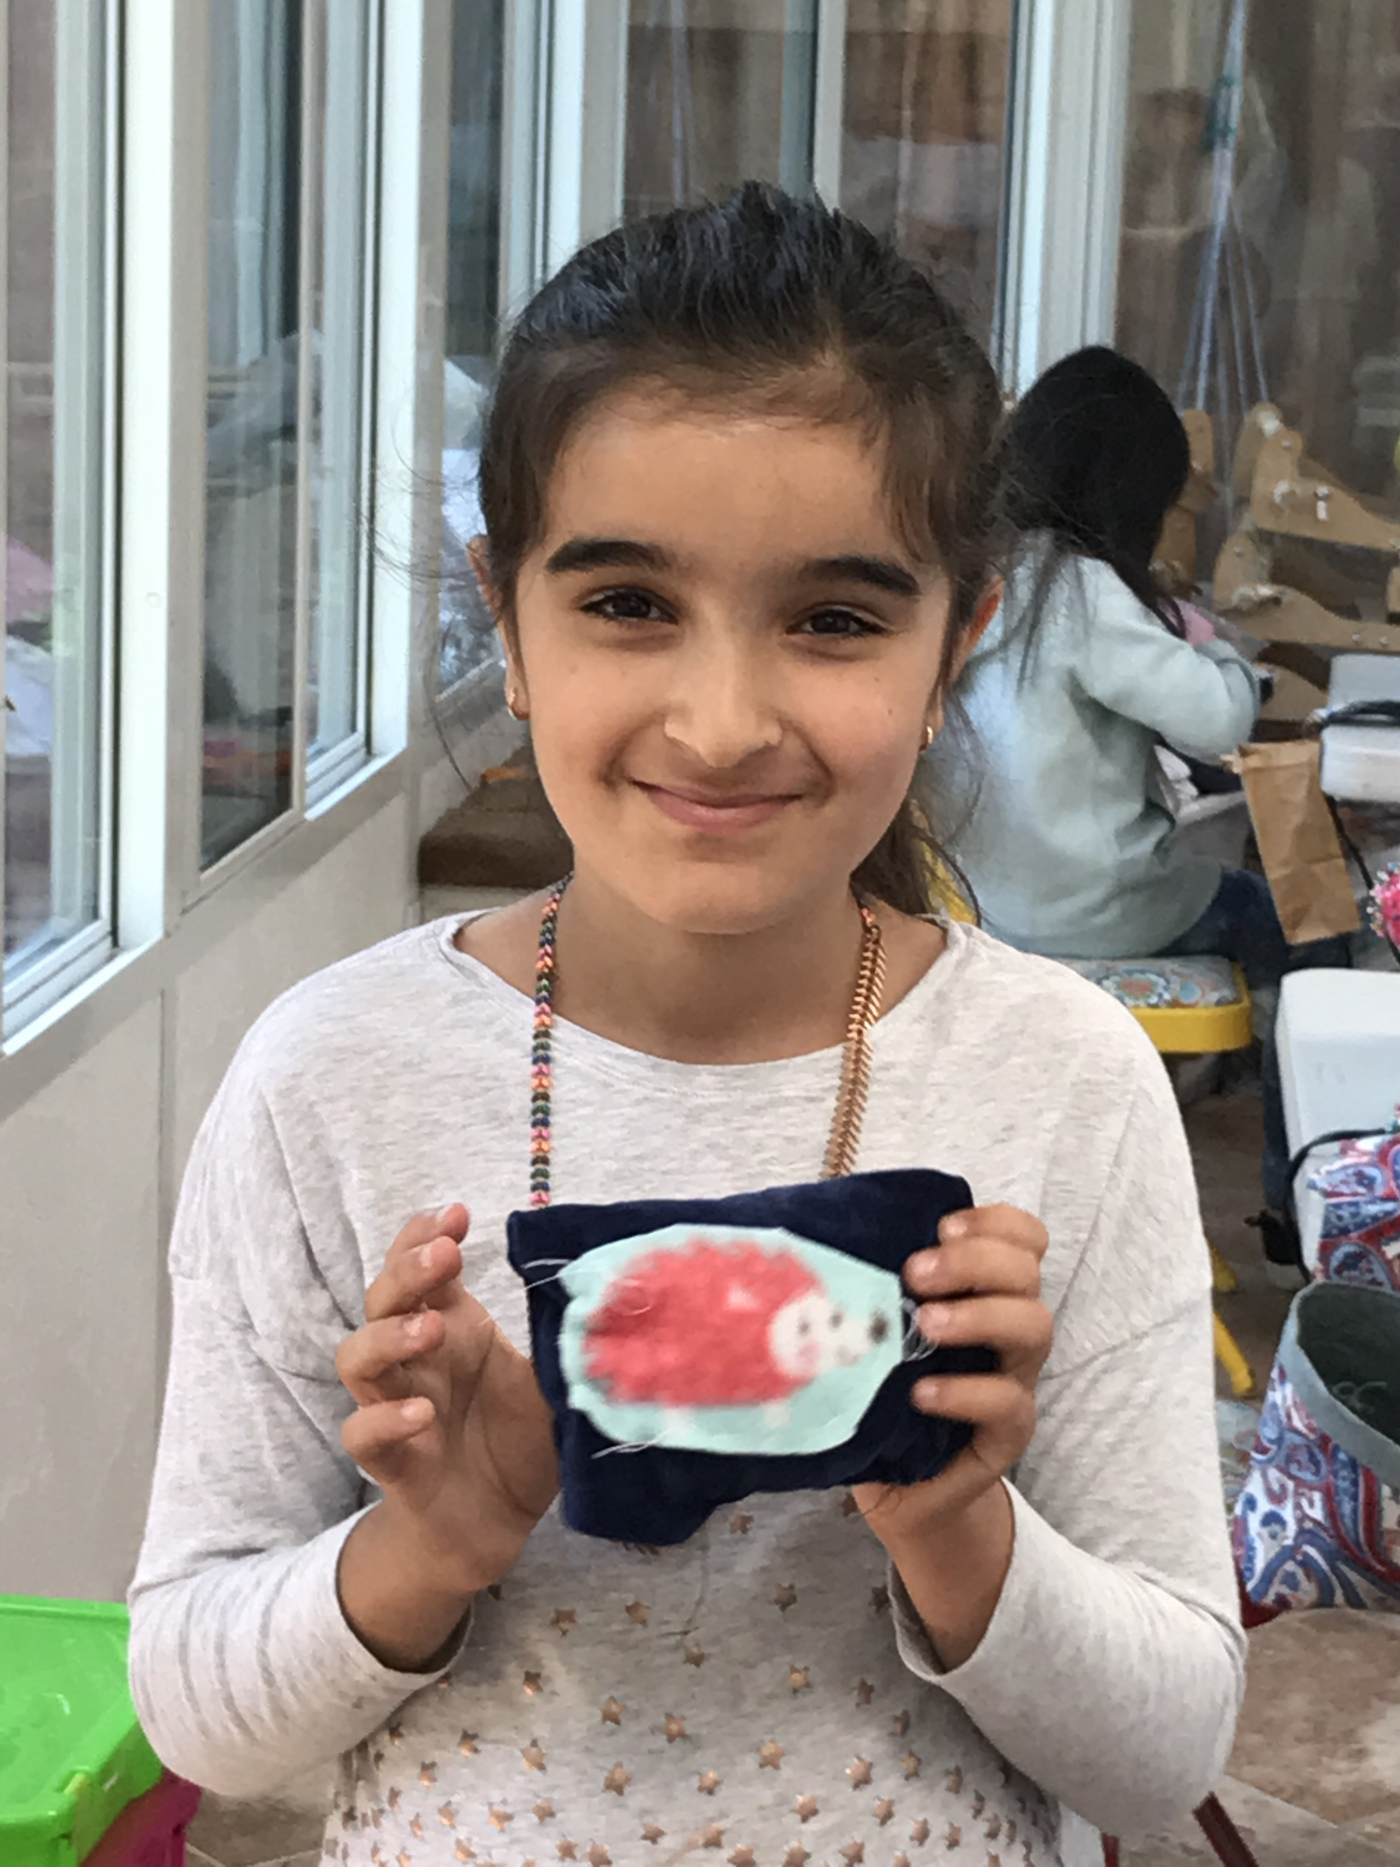
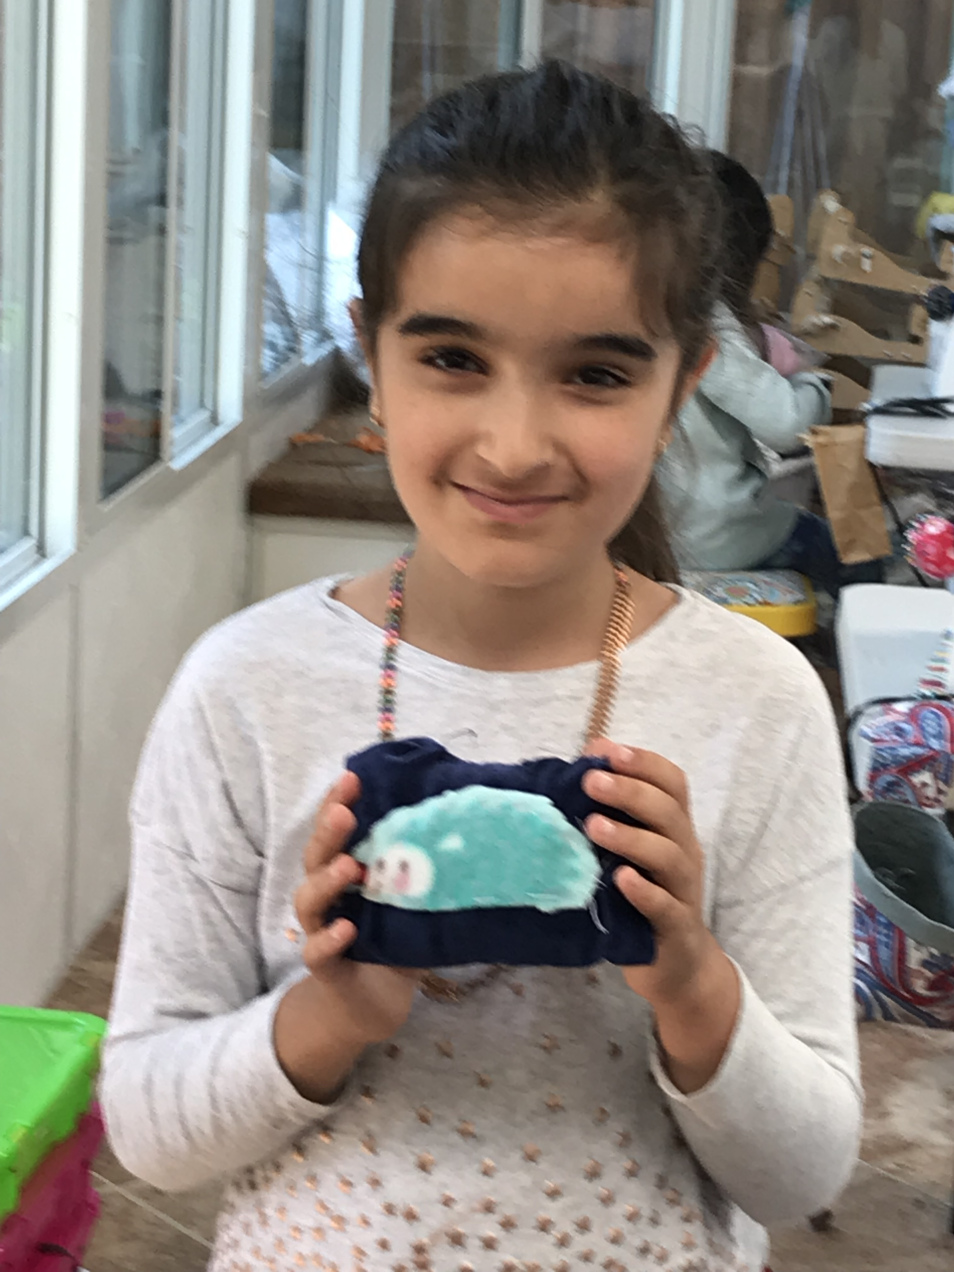
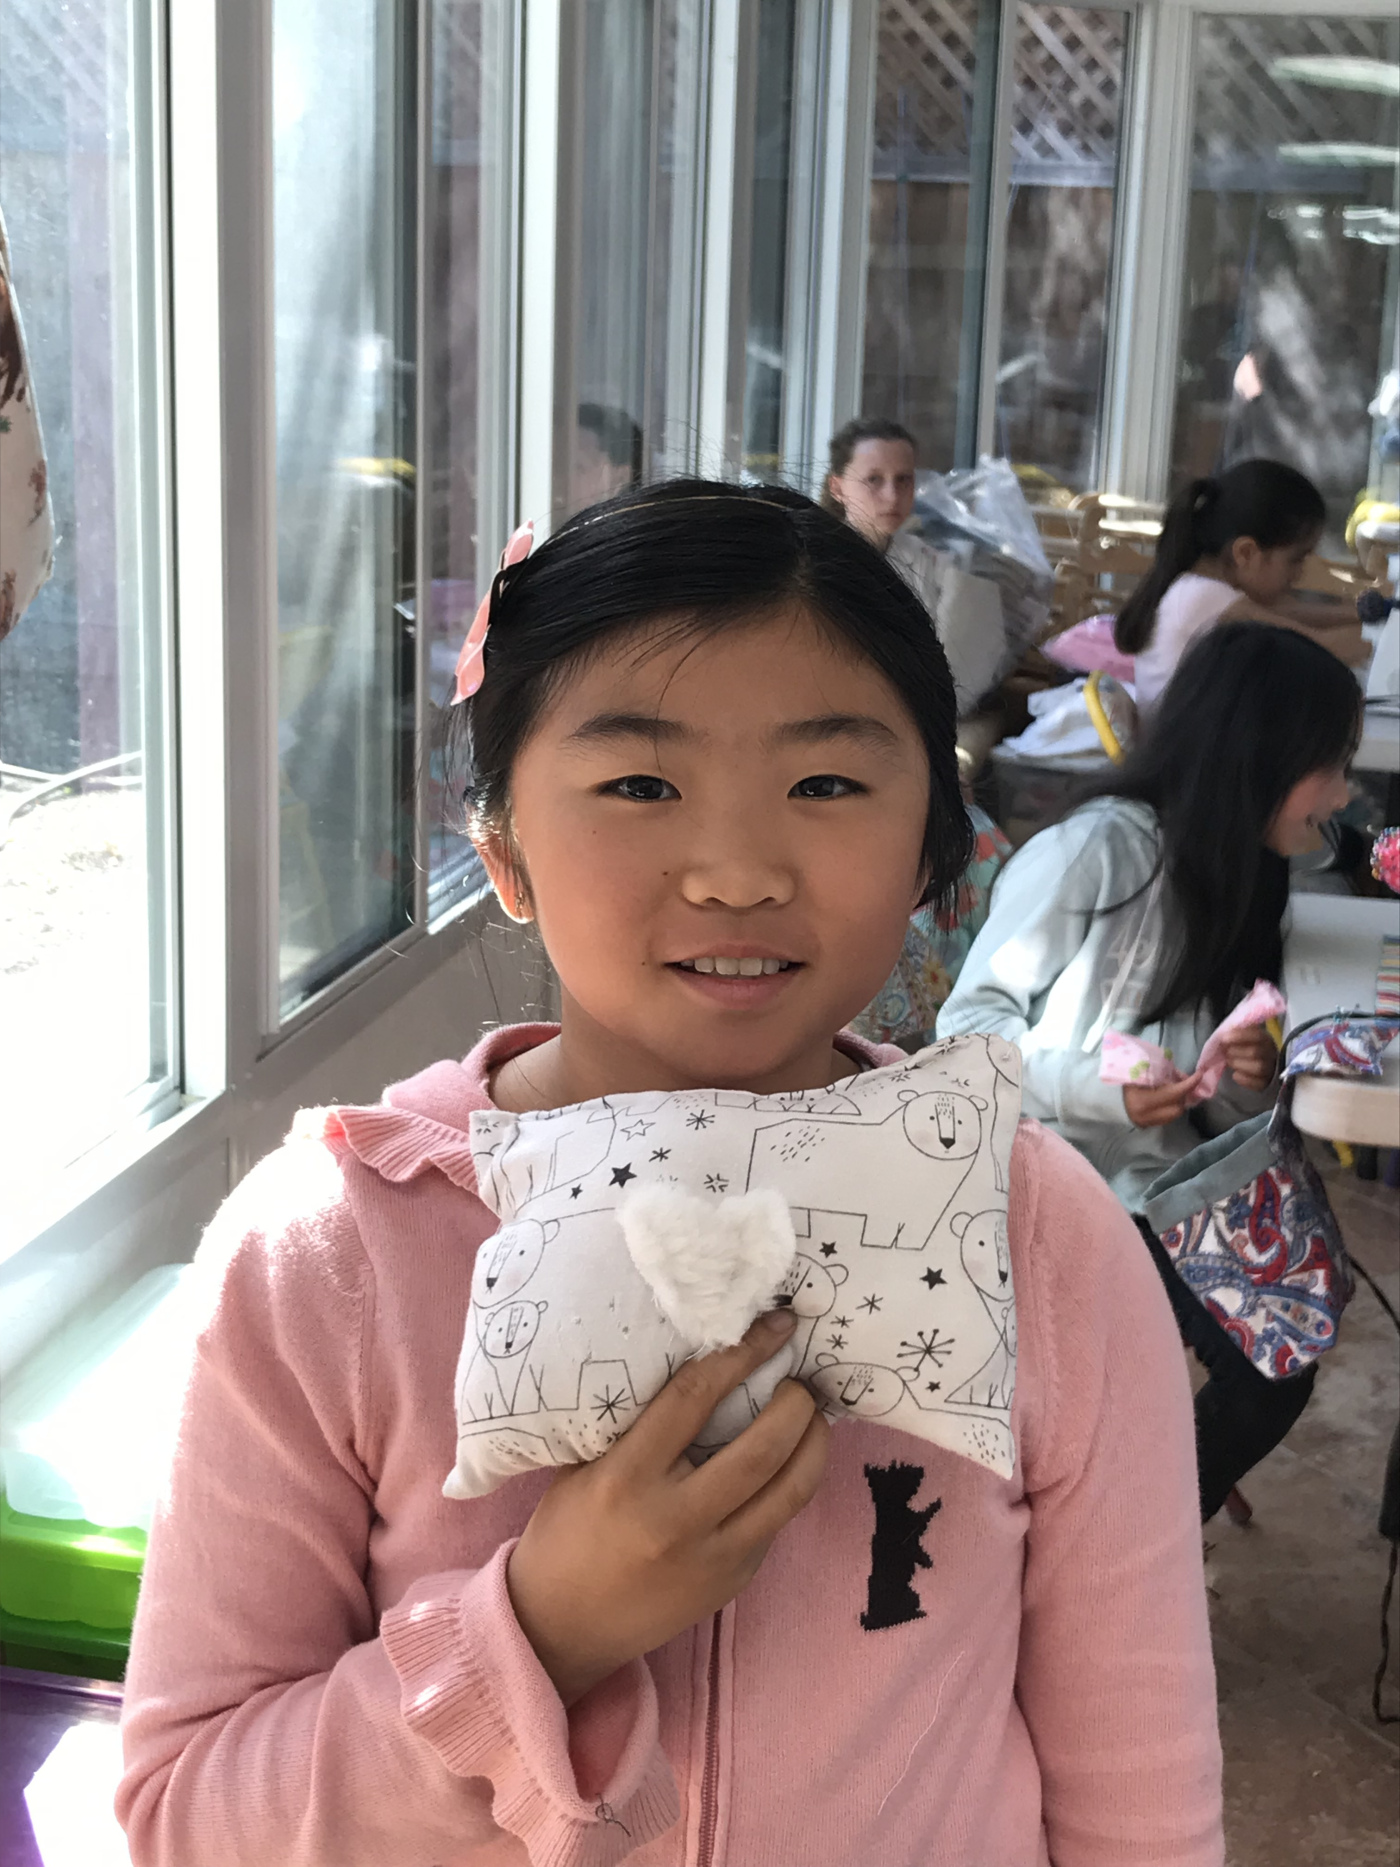
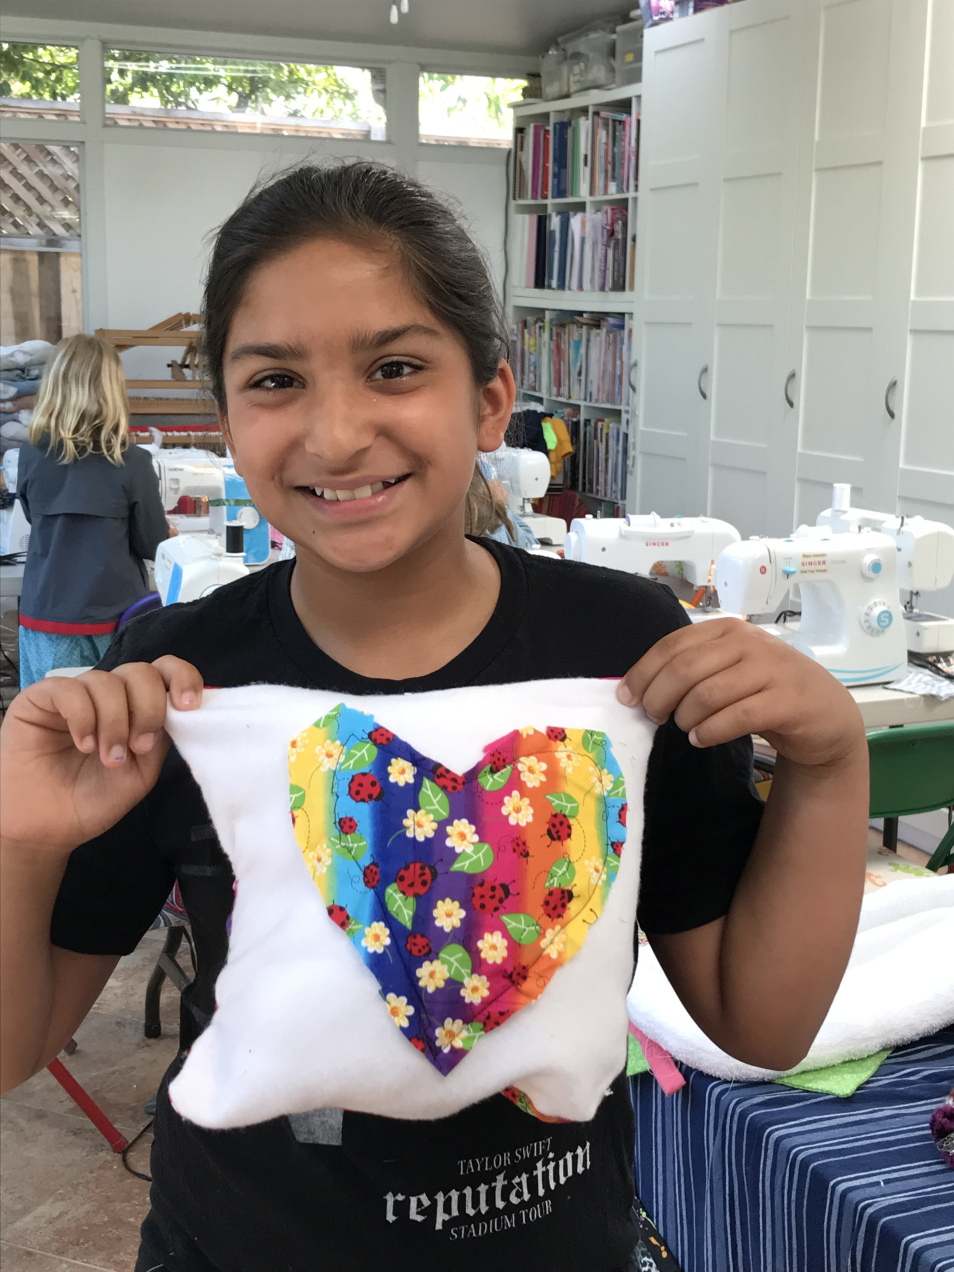
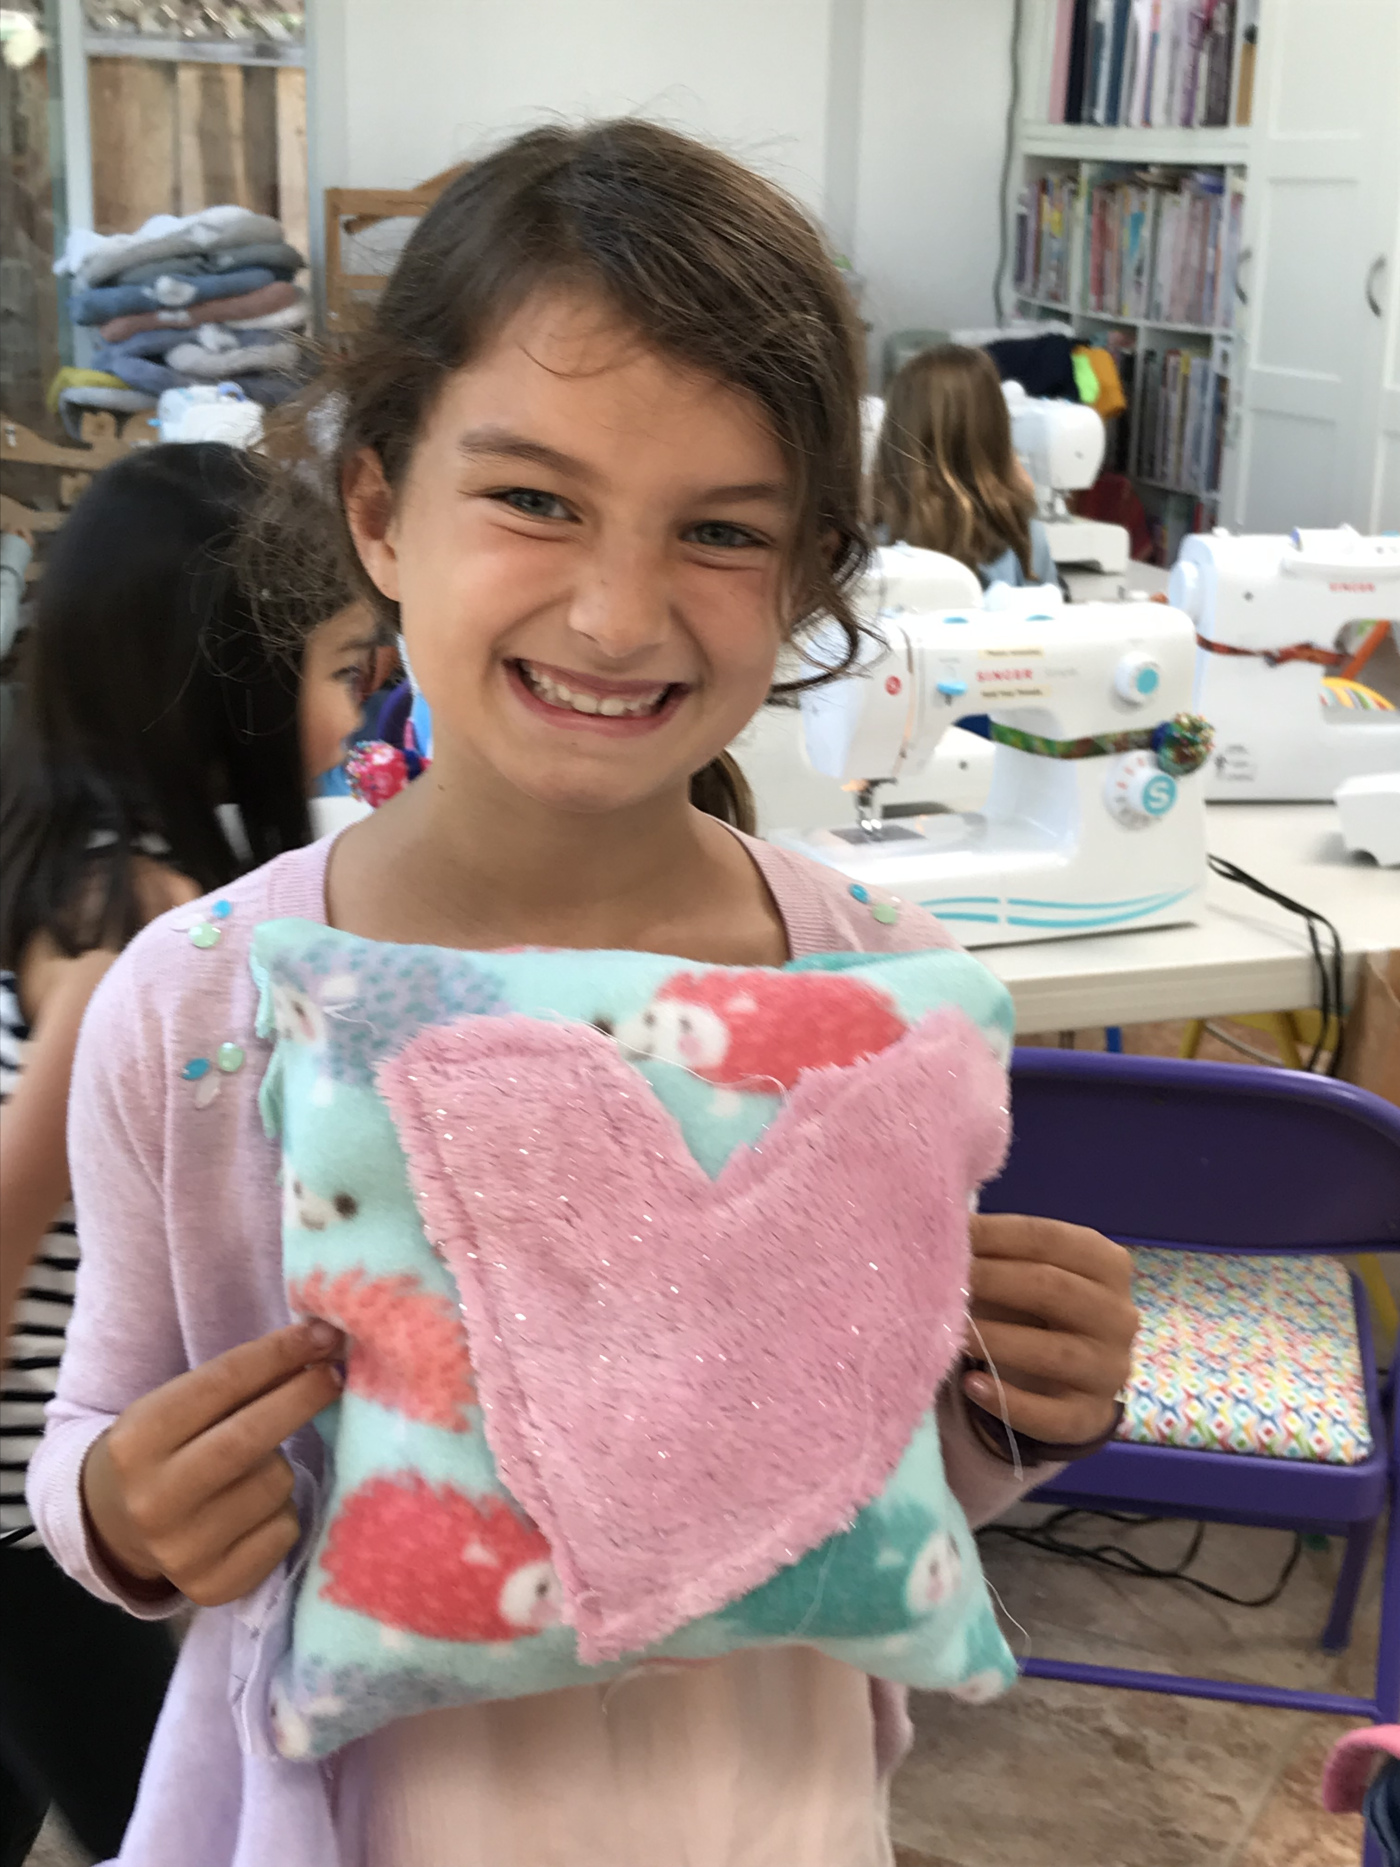
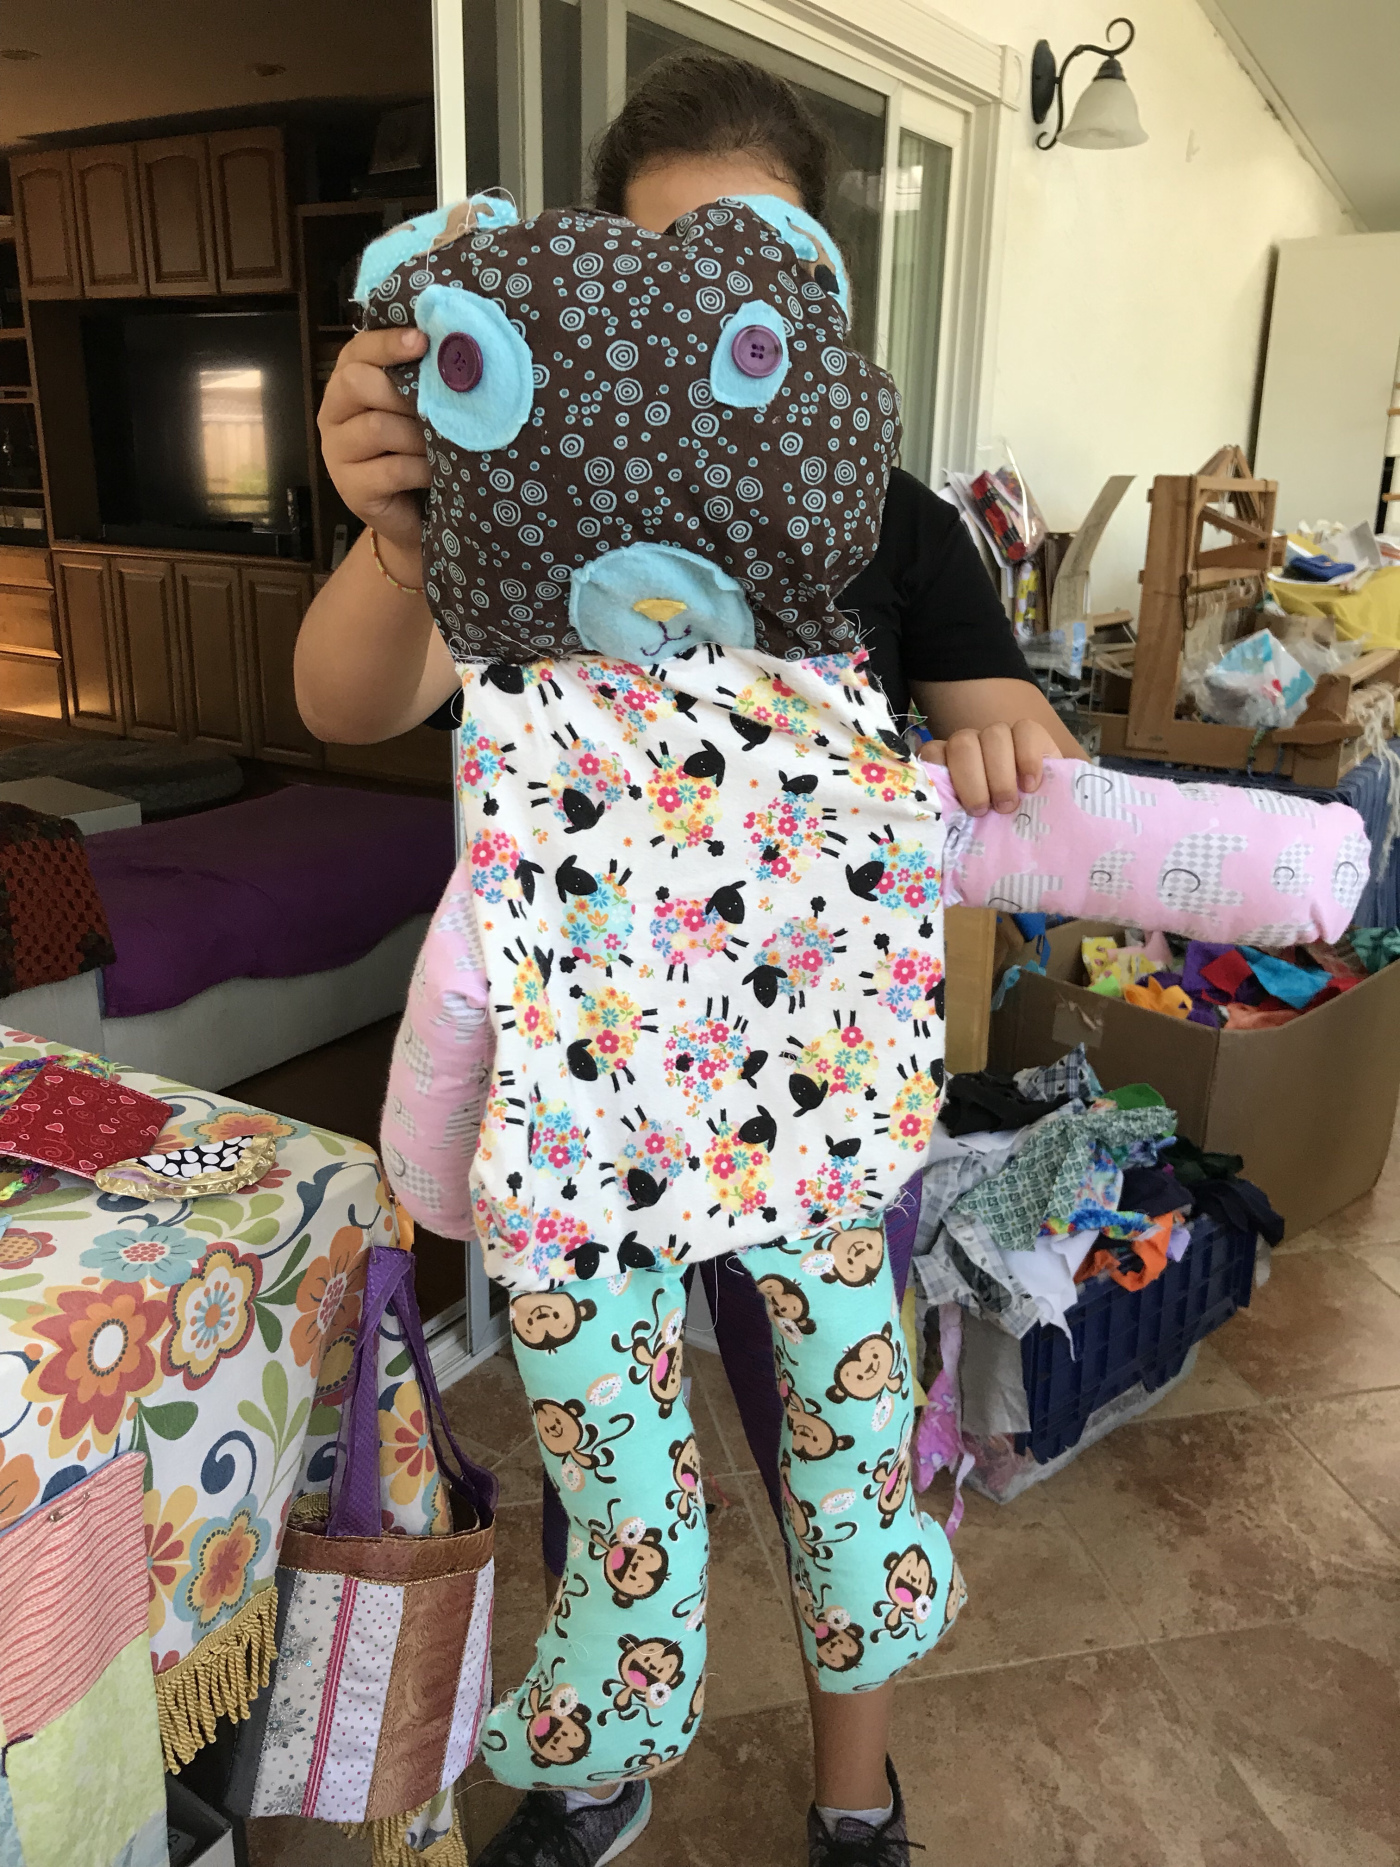
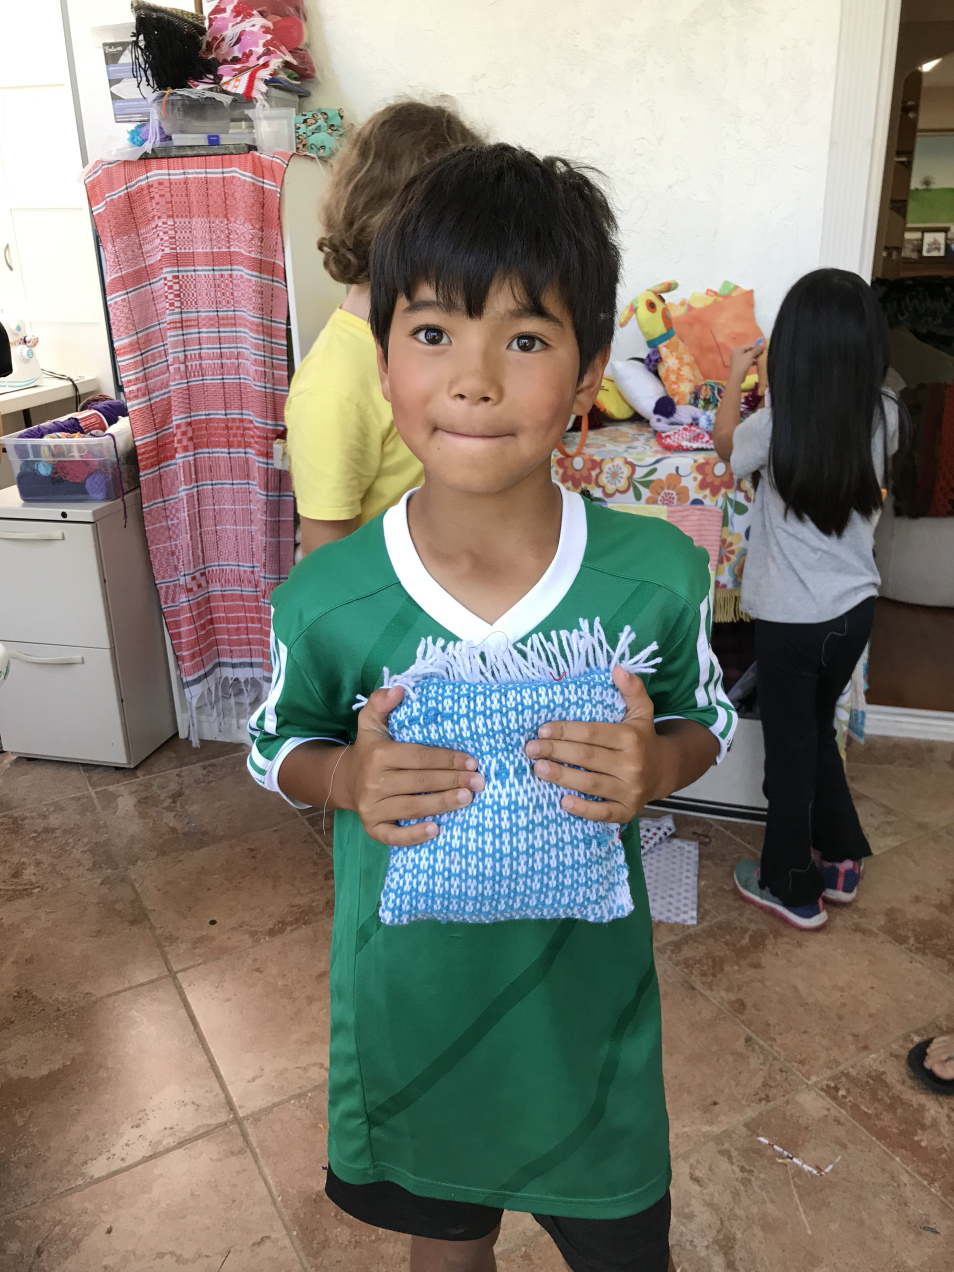
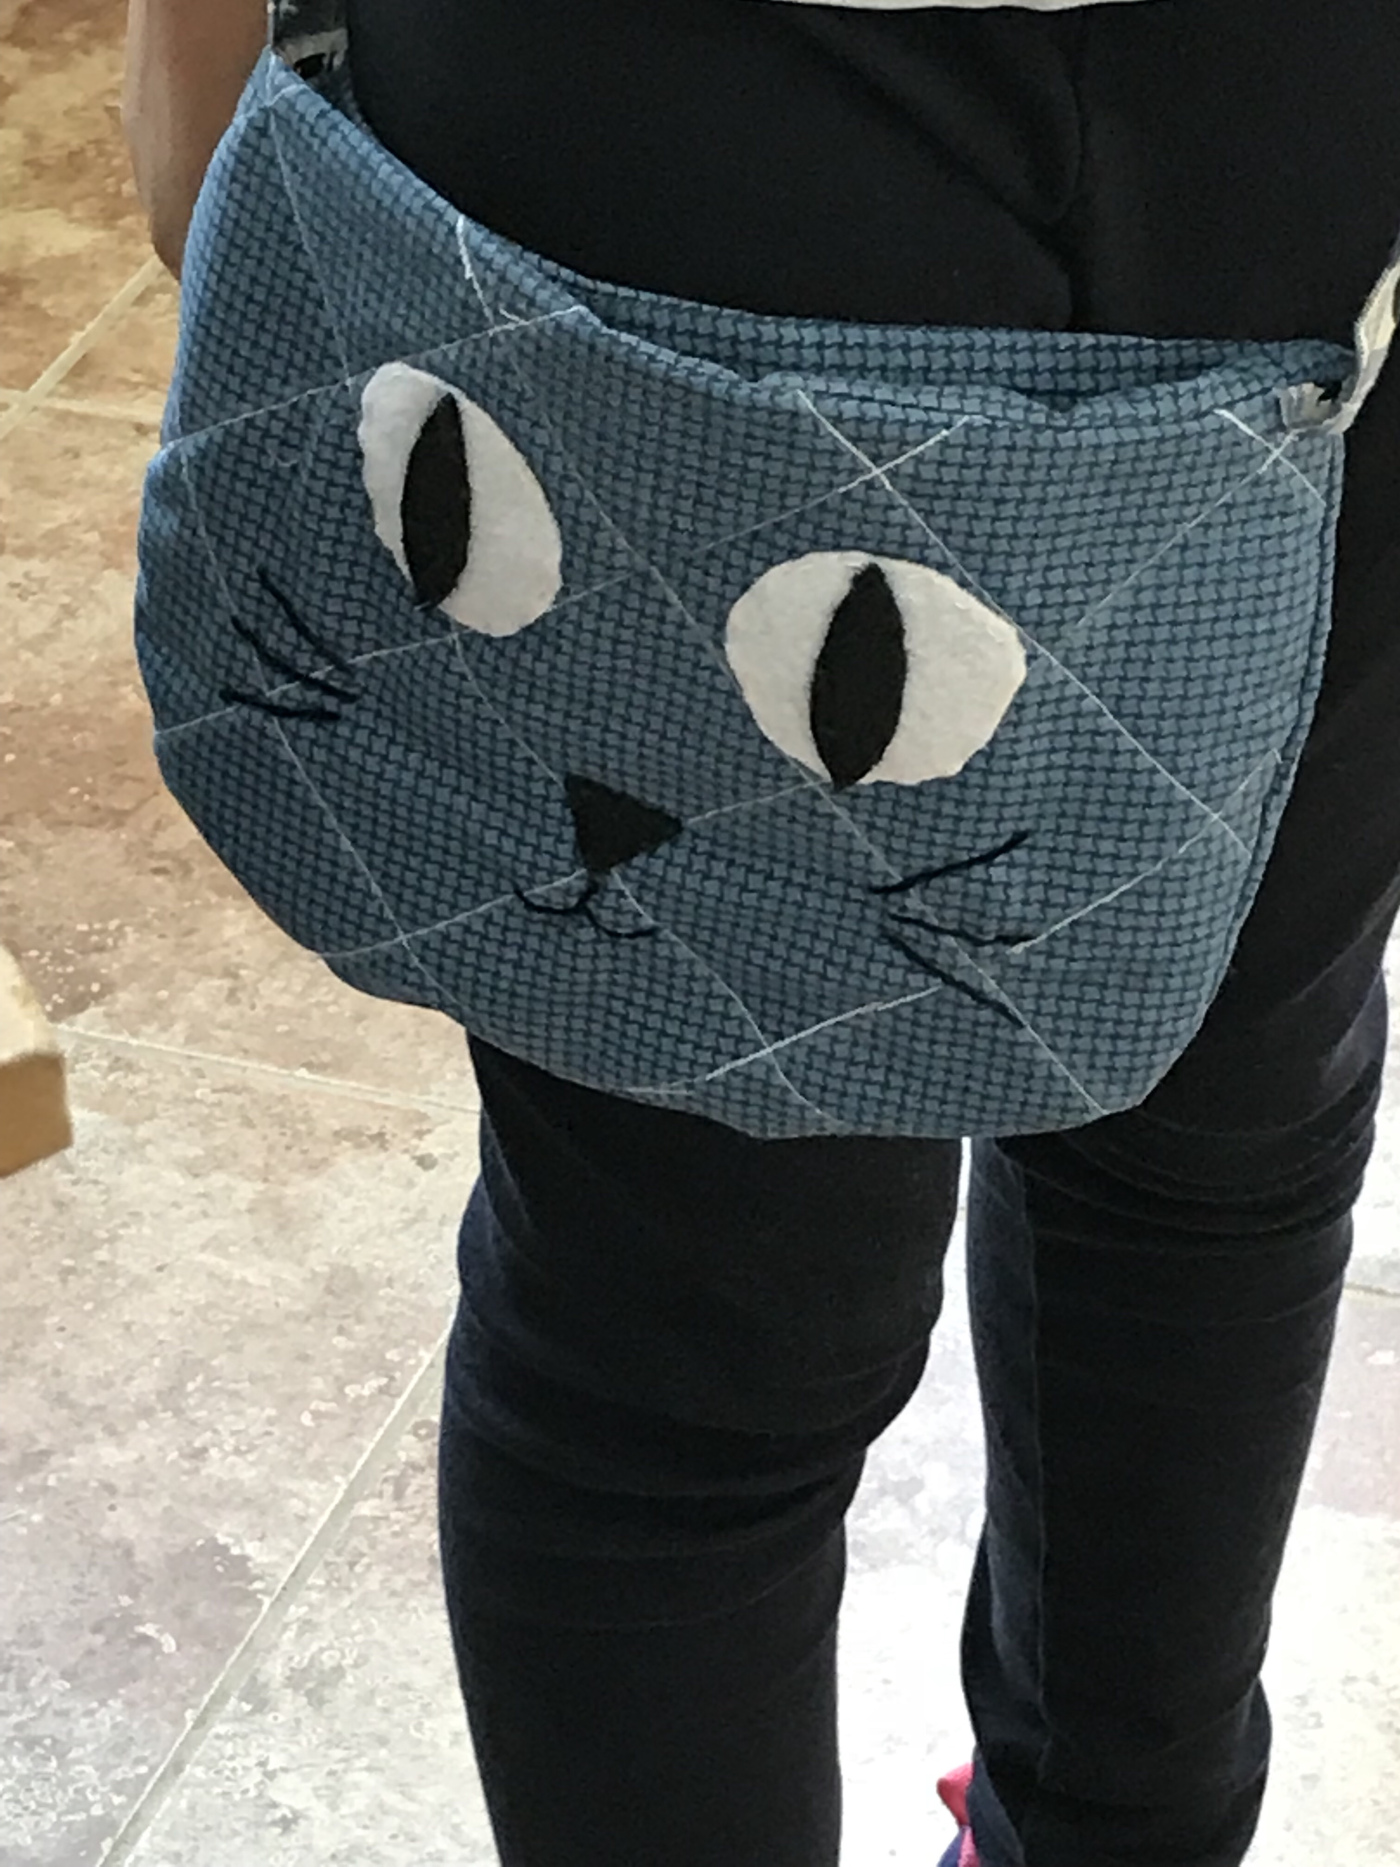
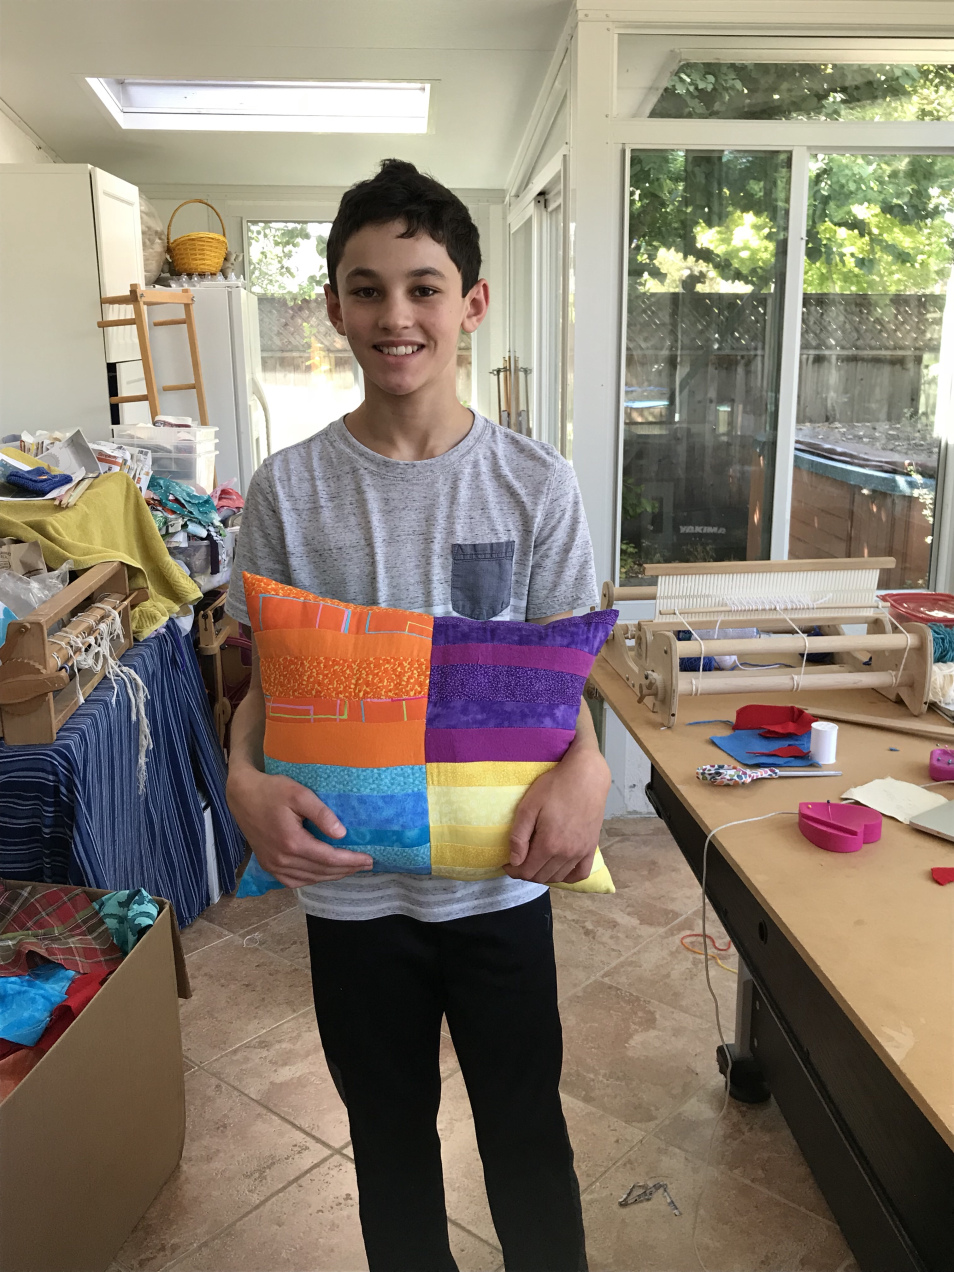
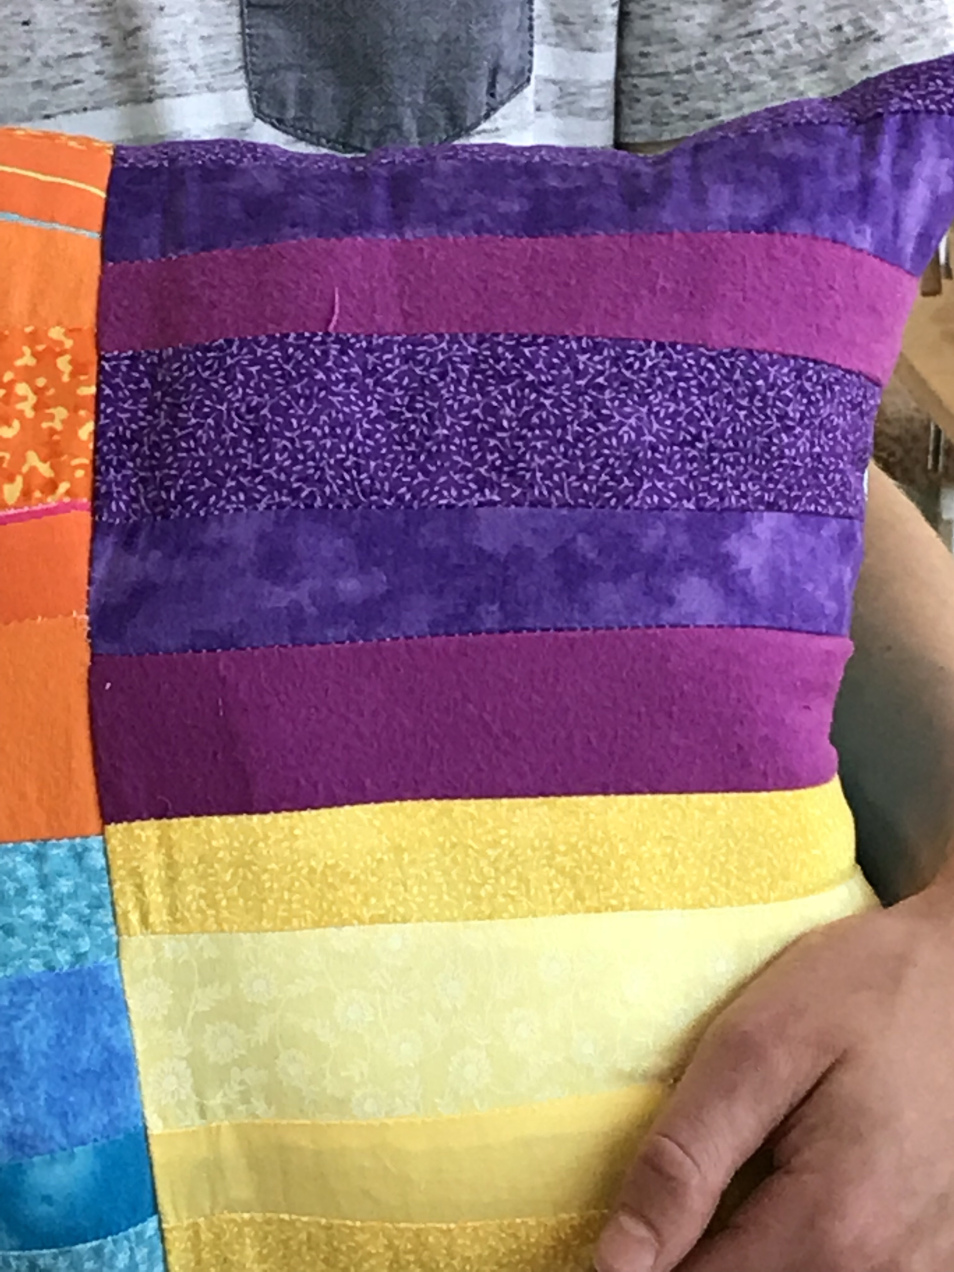
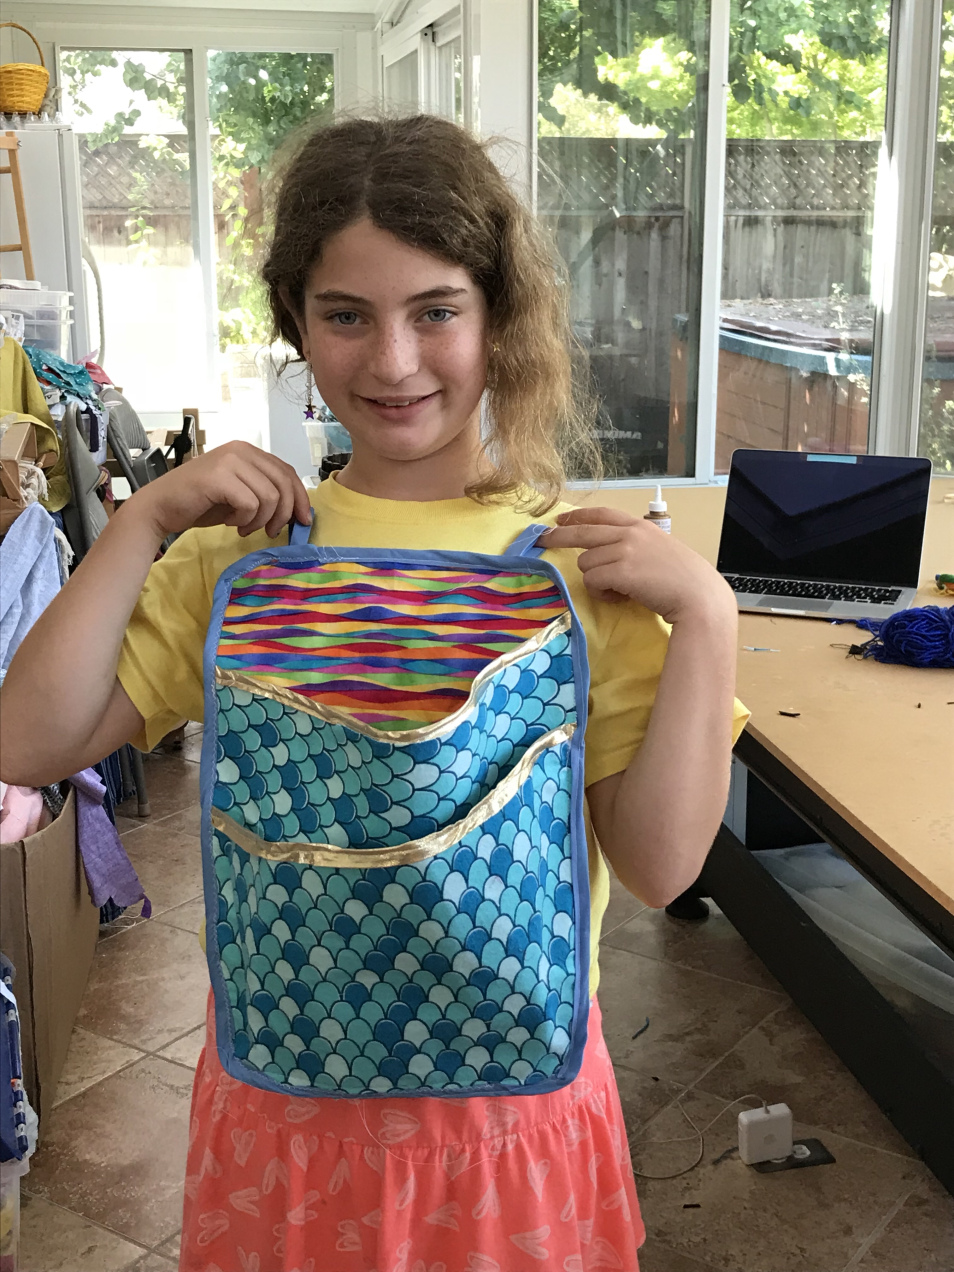
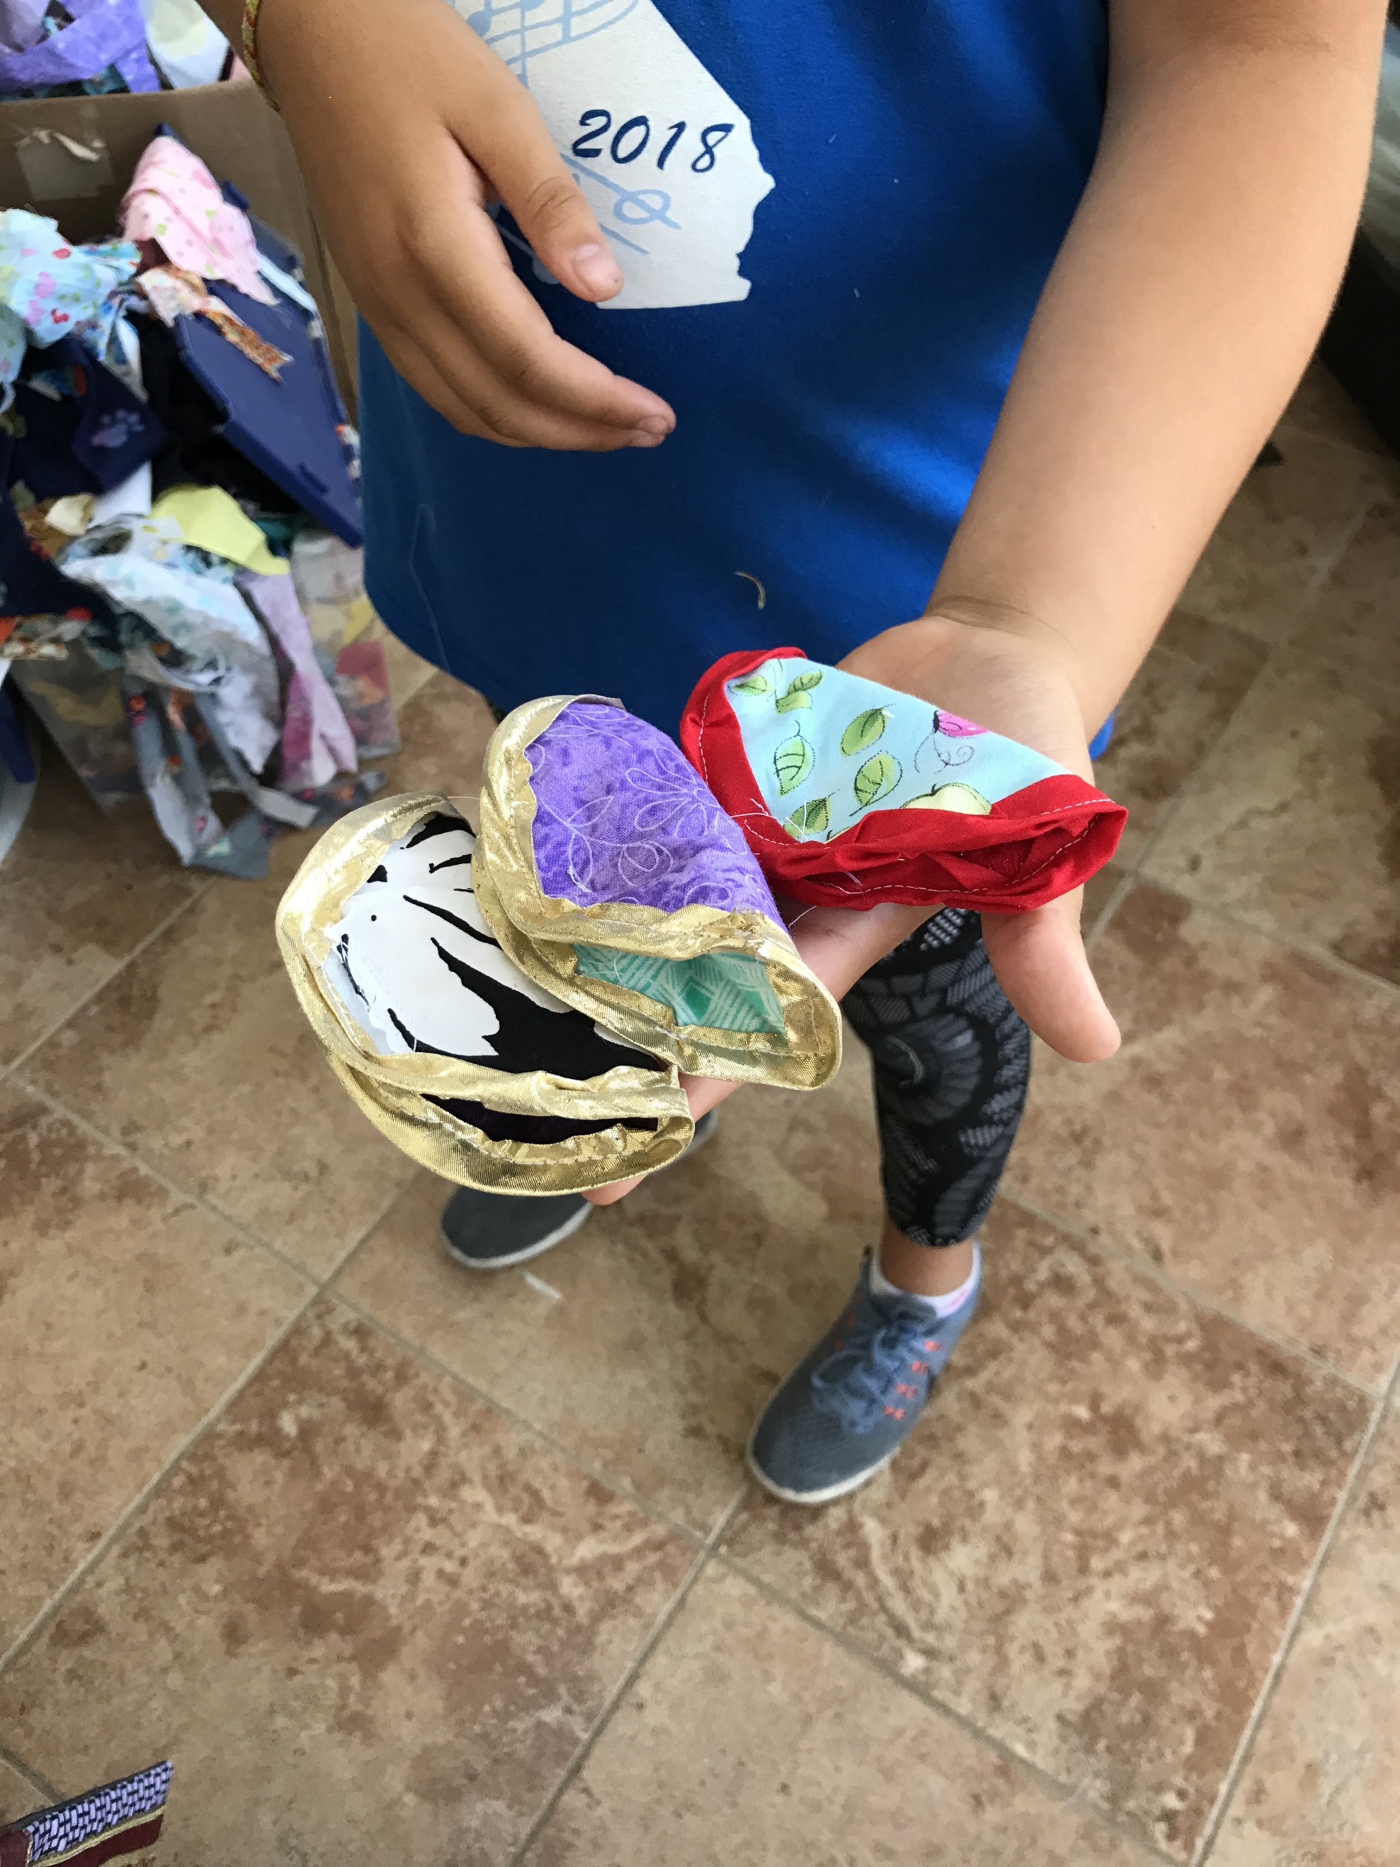
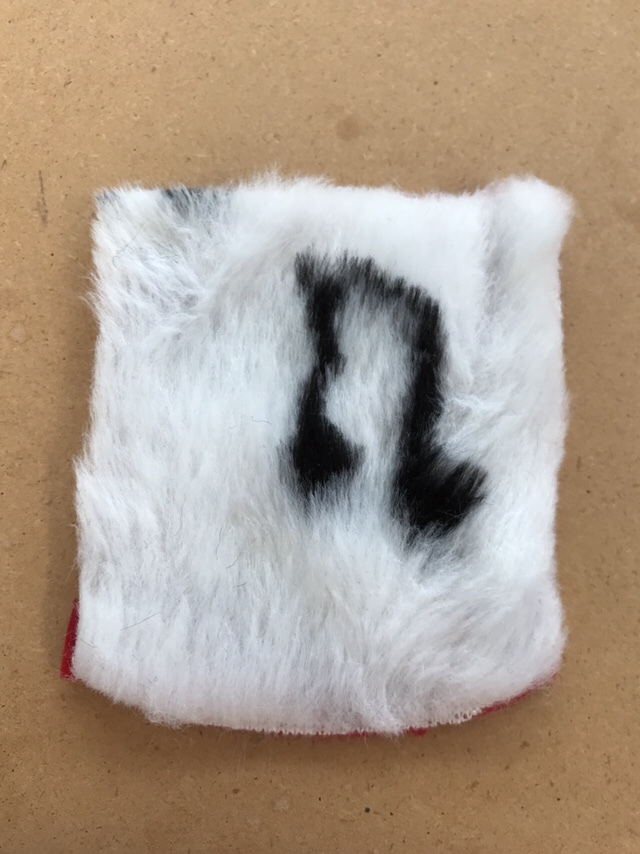
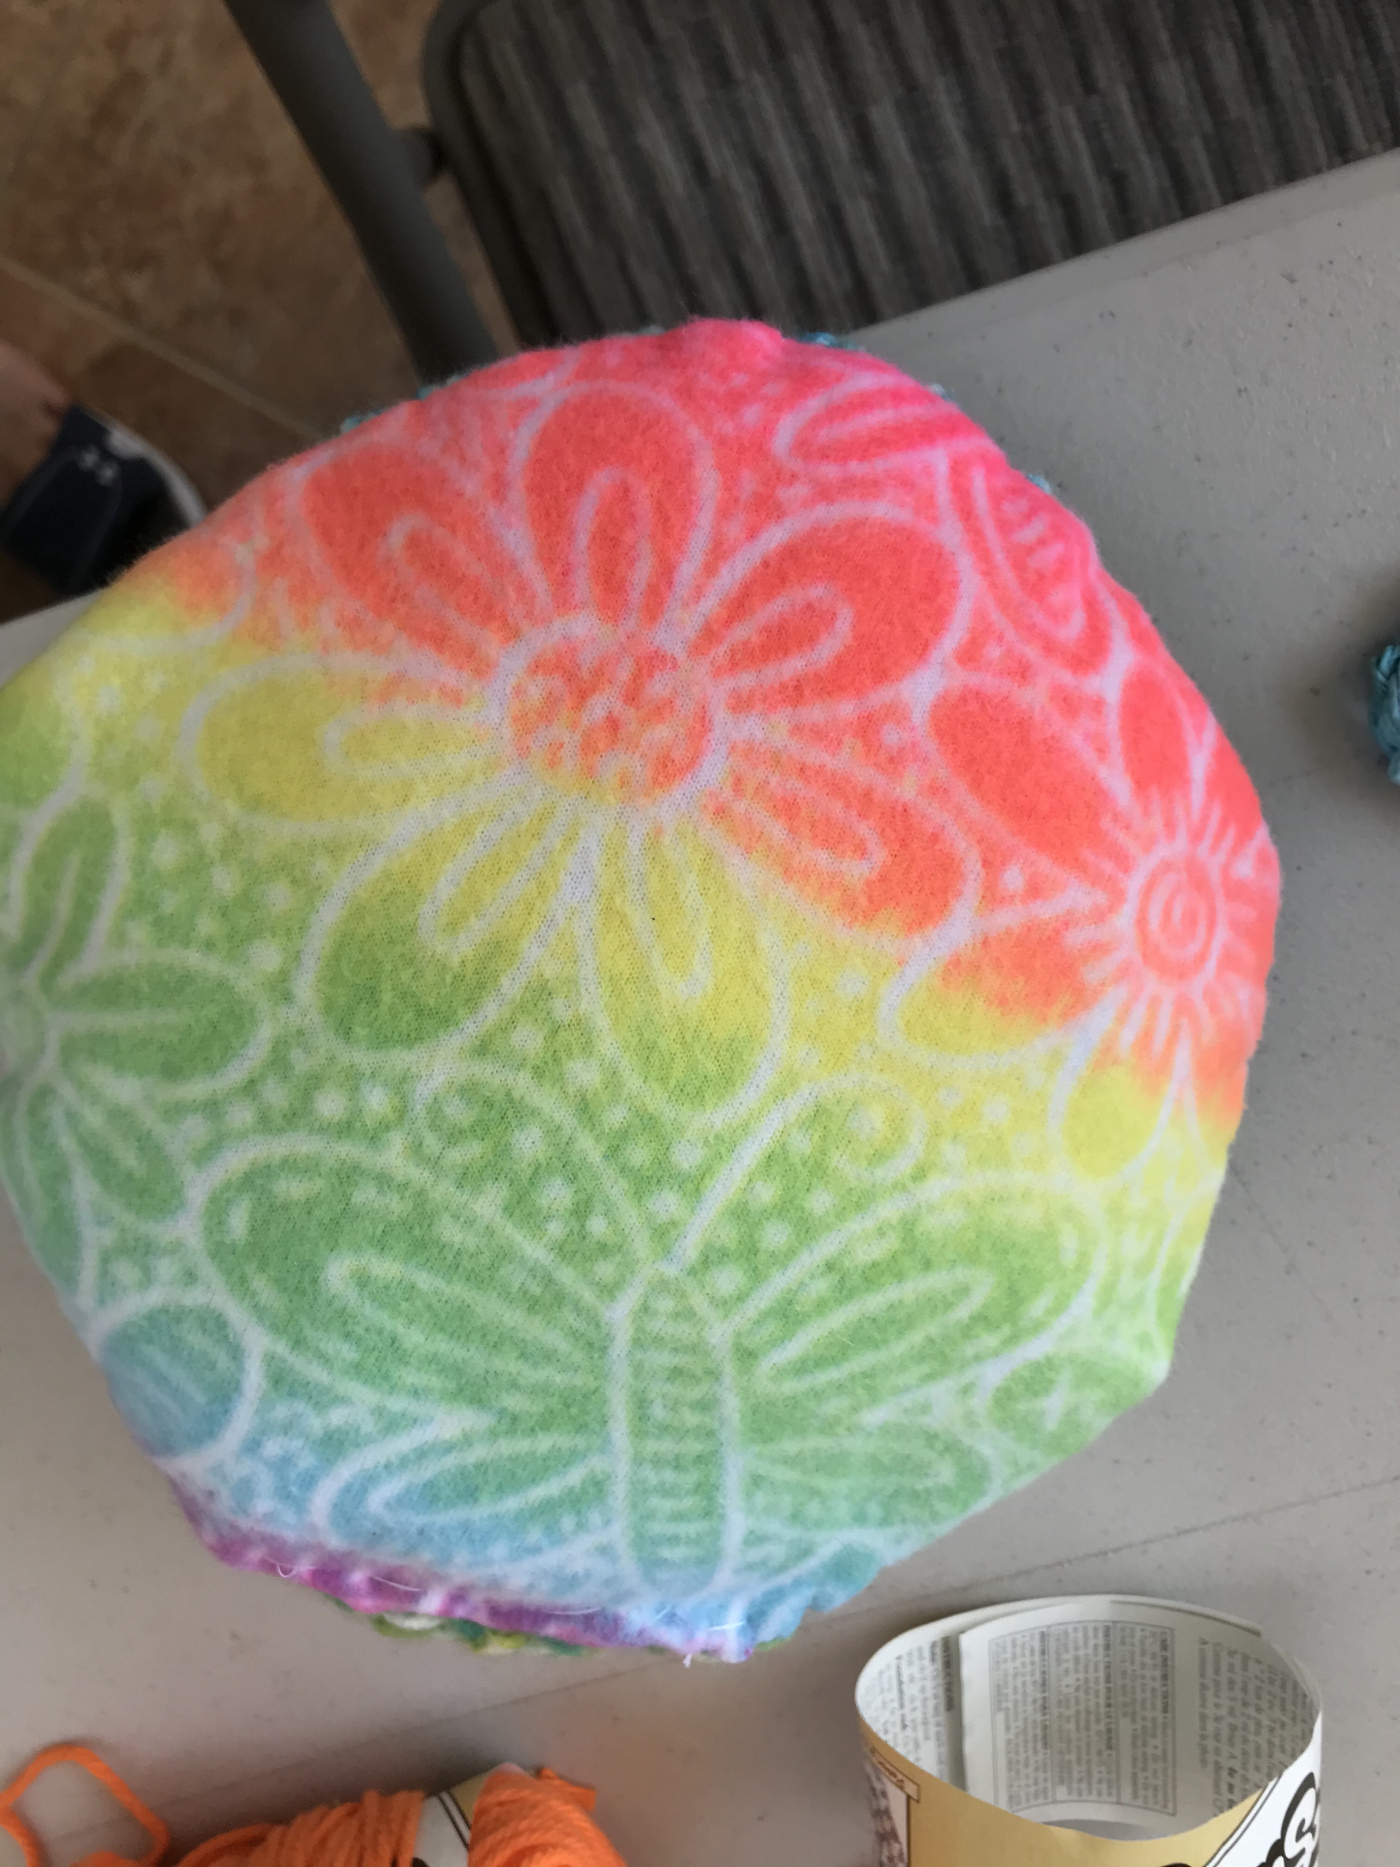
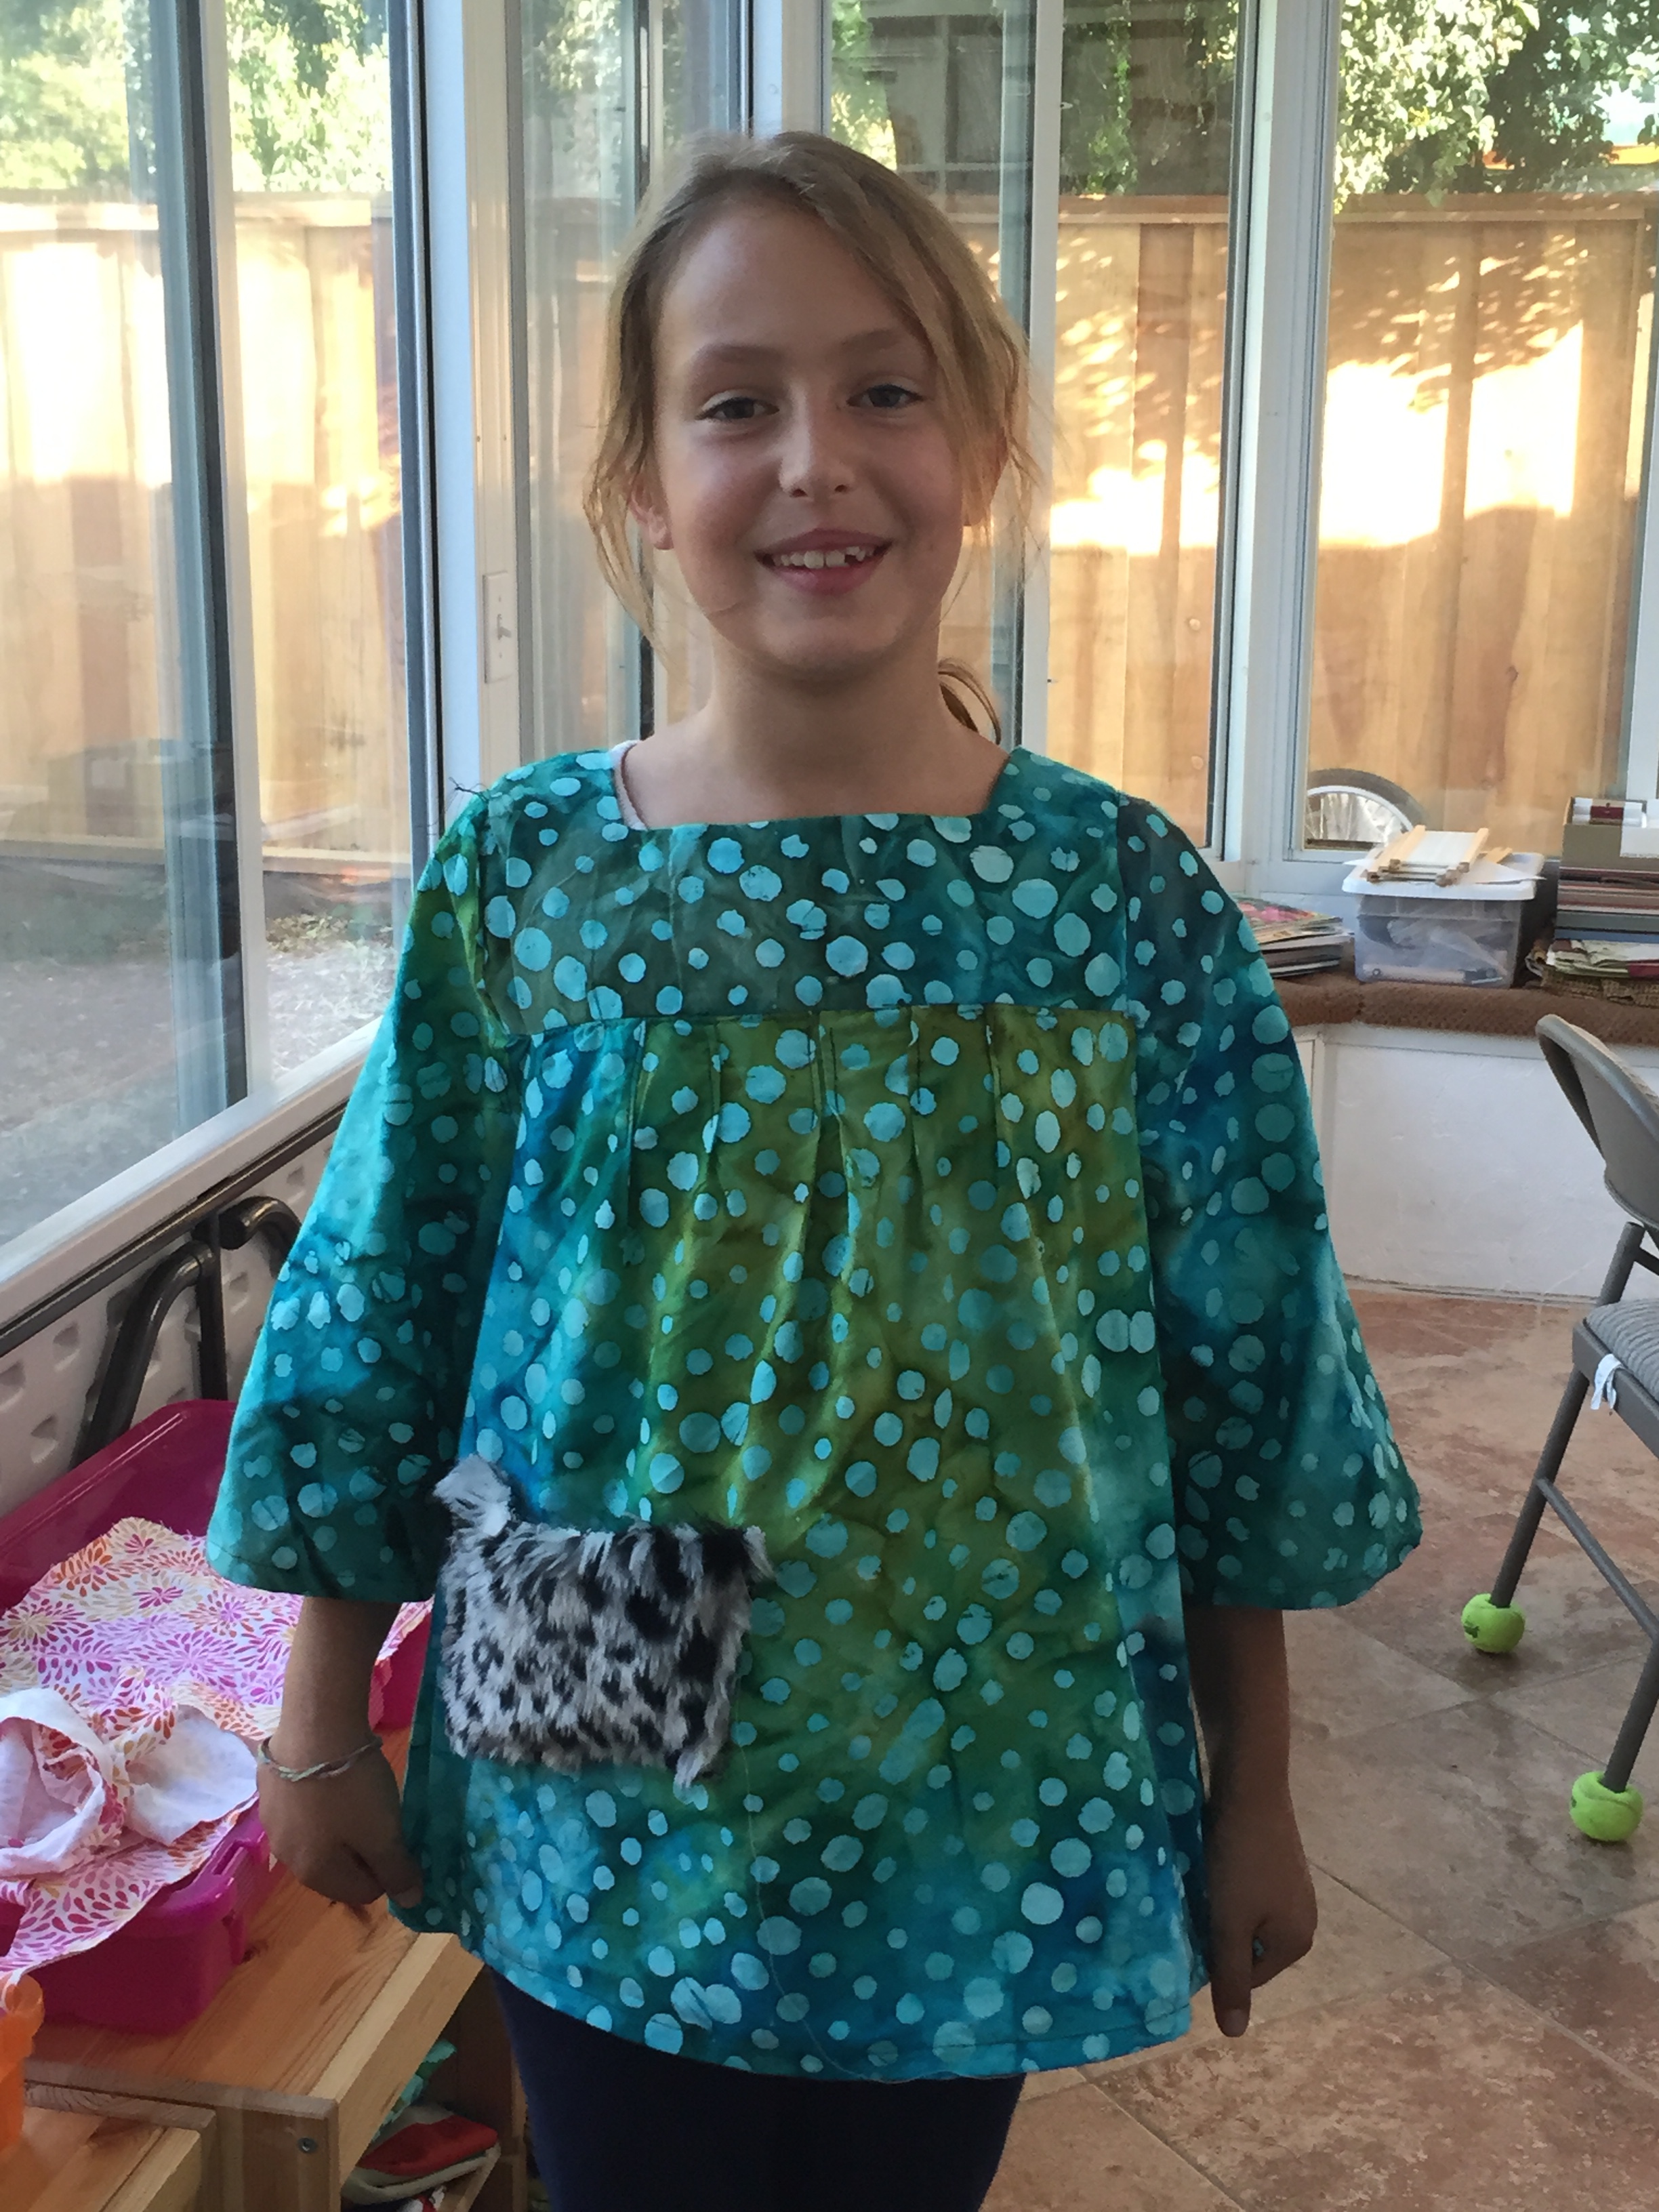
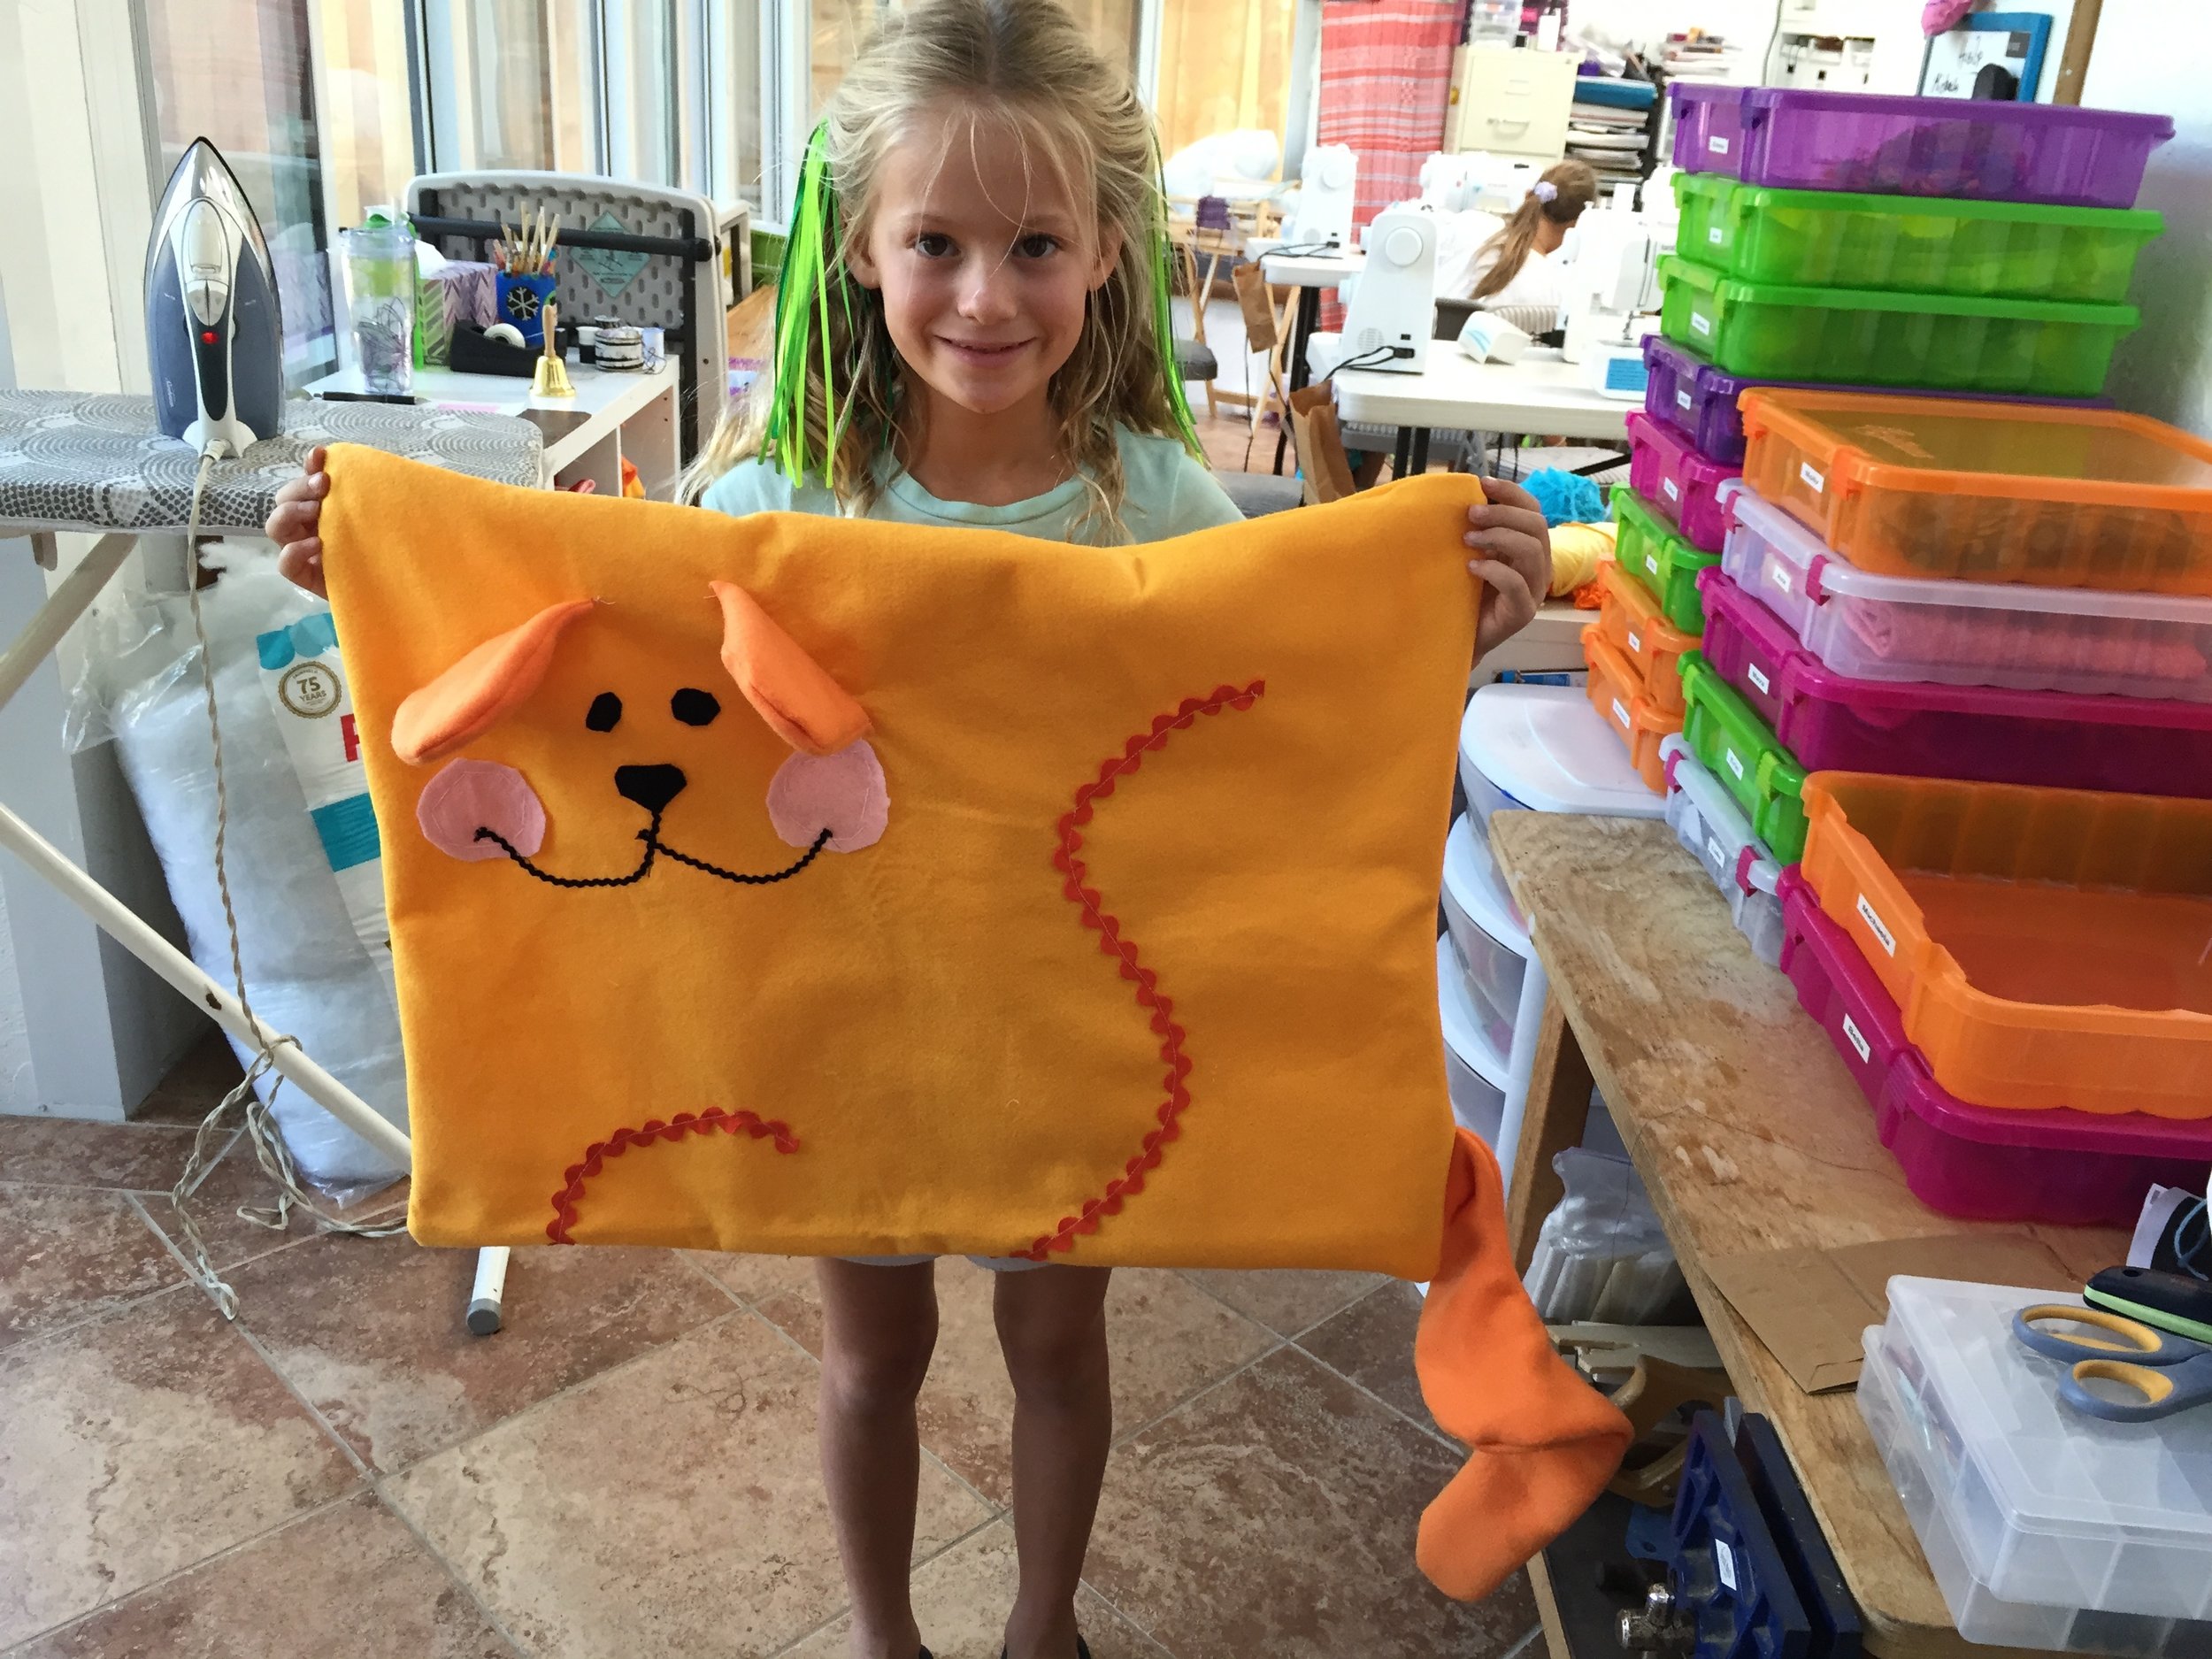
Pillows with applique are really popular. The pillow with the hedgehog applique….those are actually pockets!

img_6360.jpg

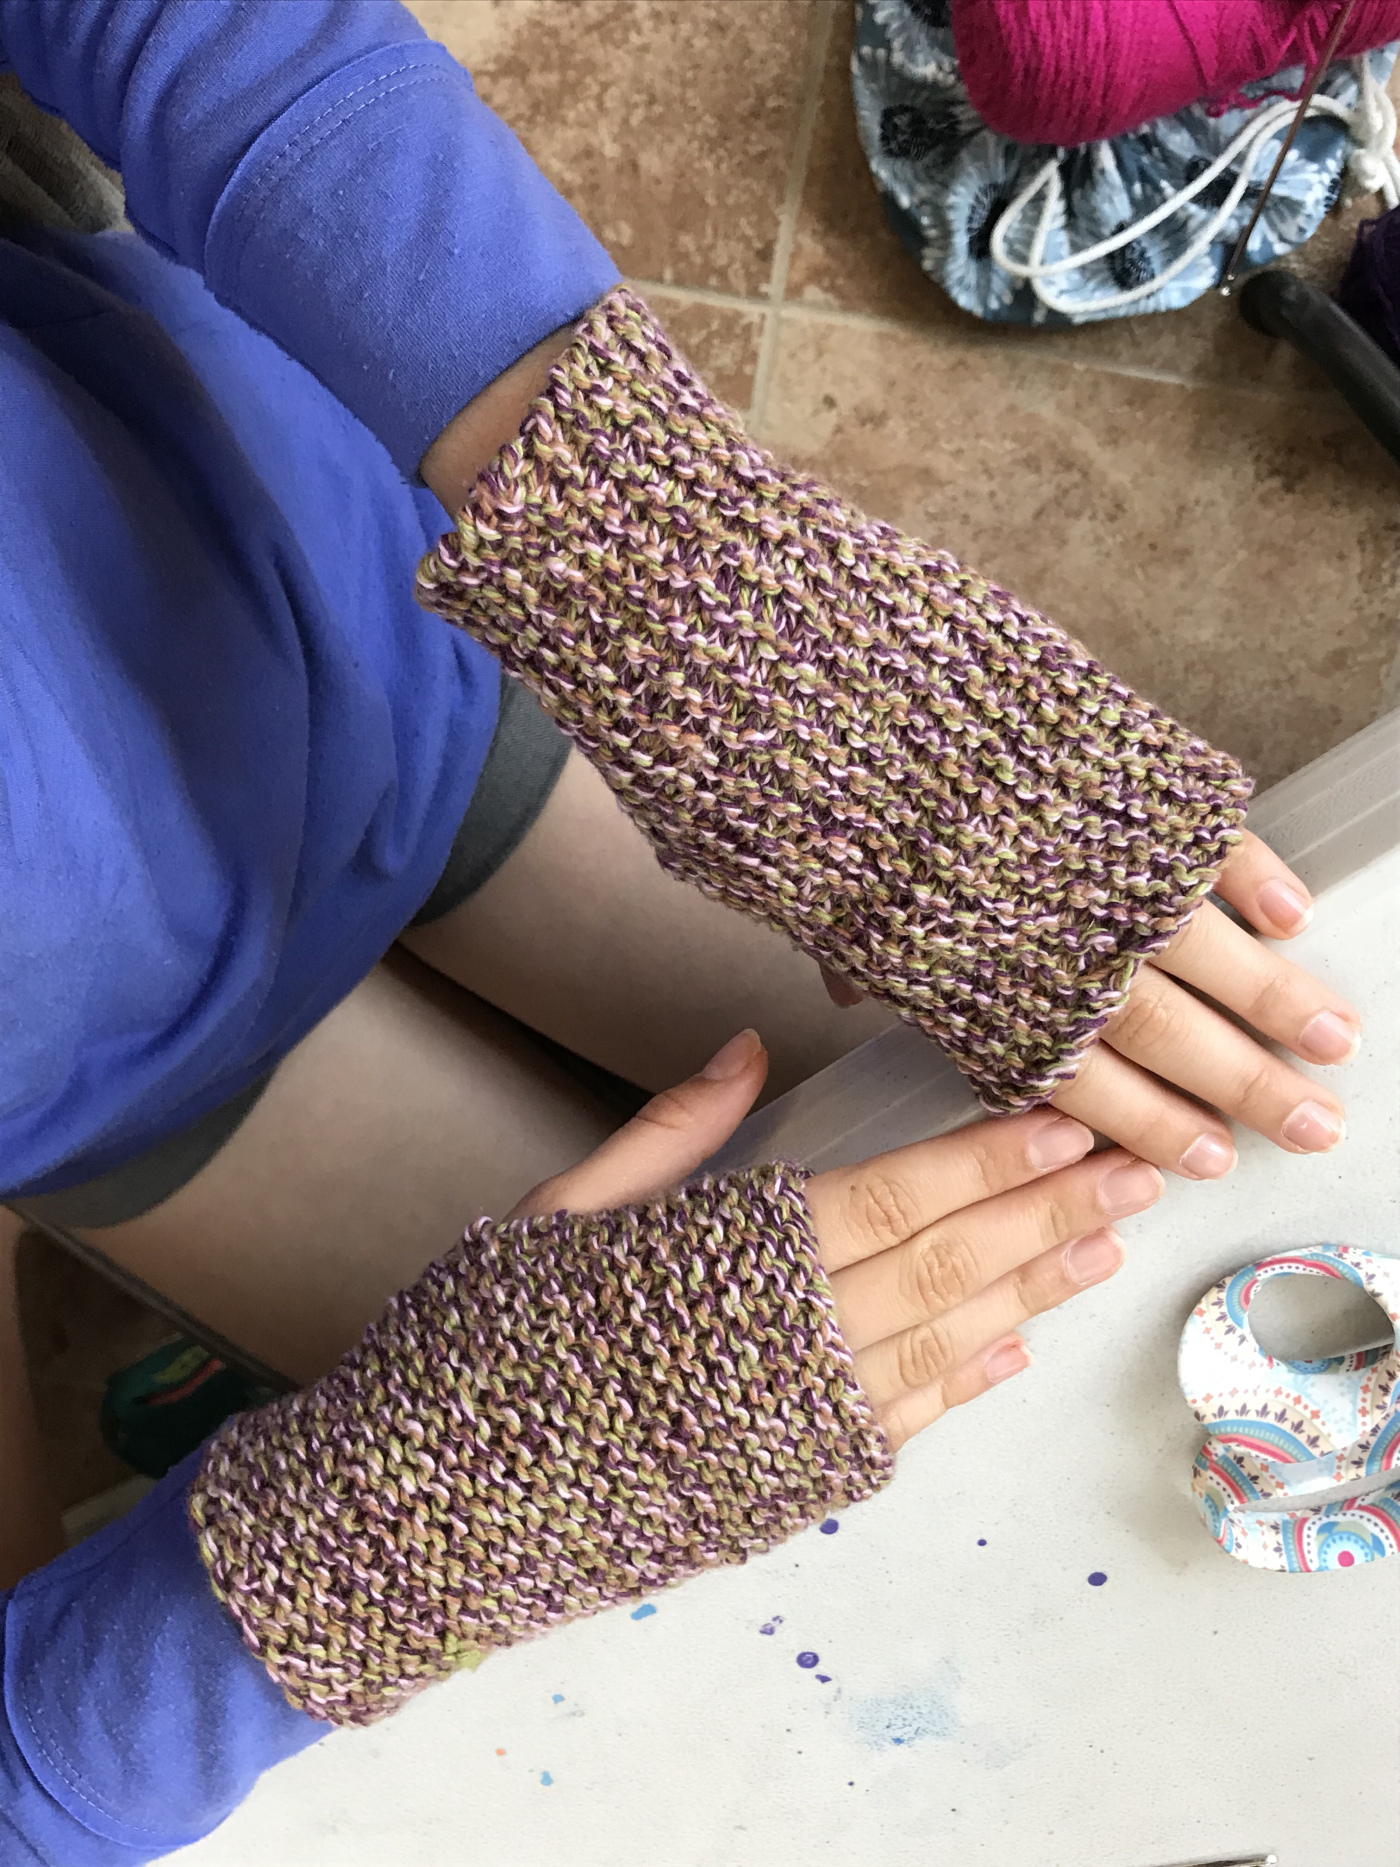
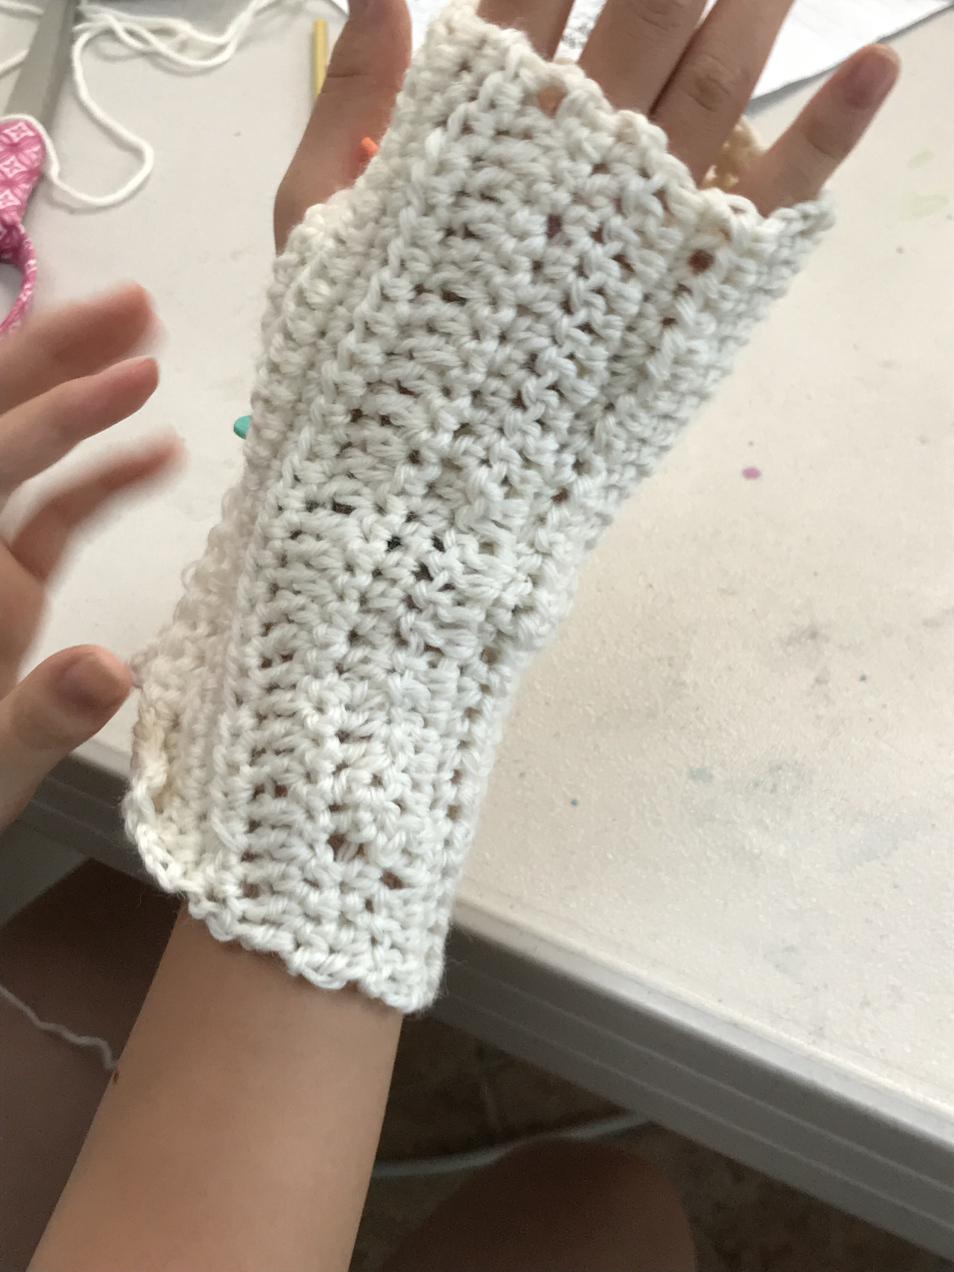
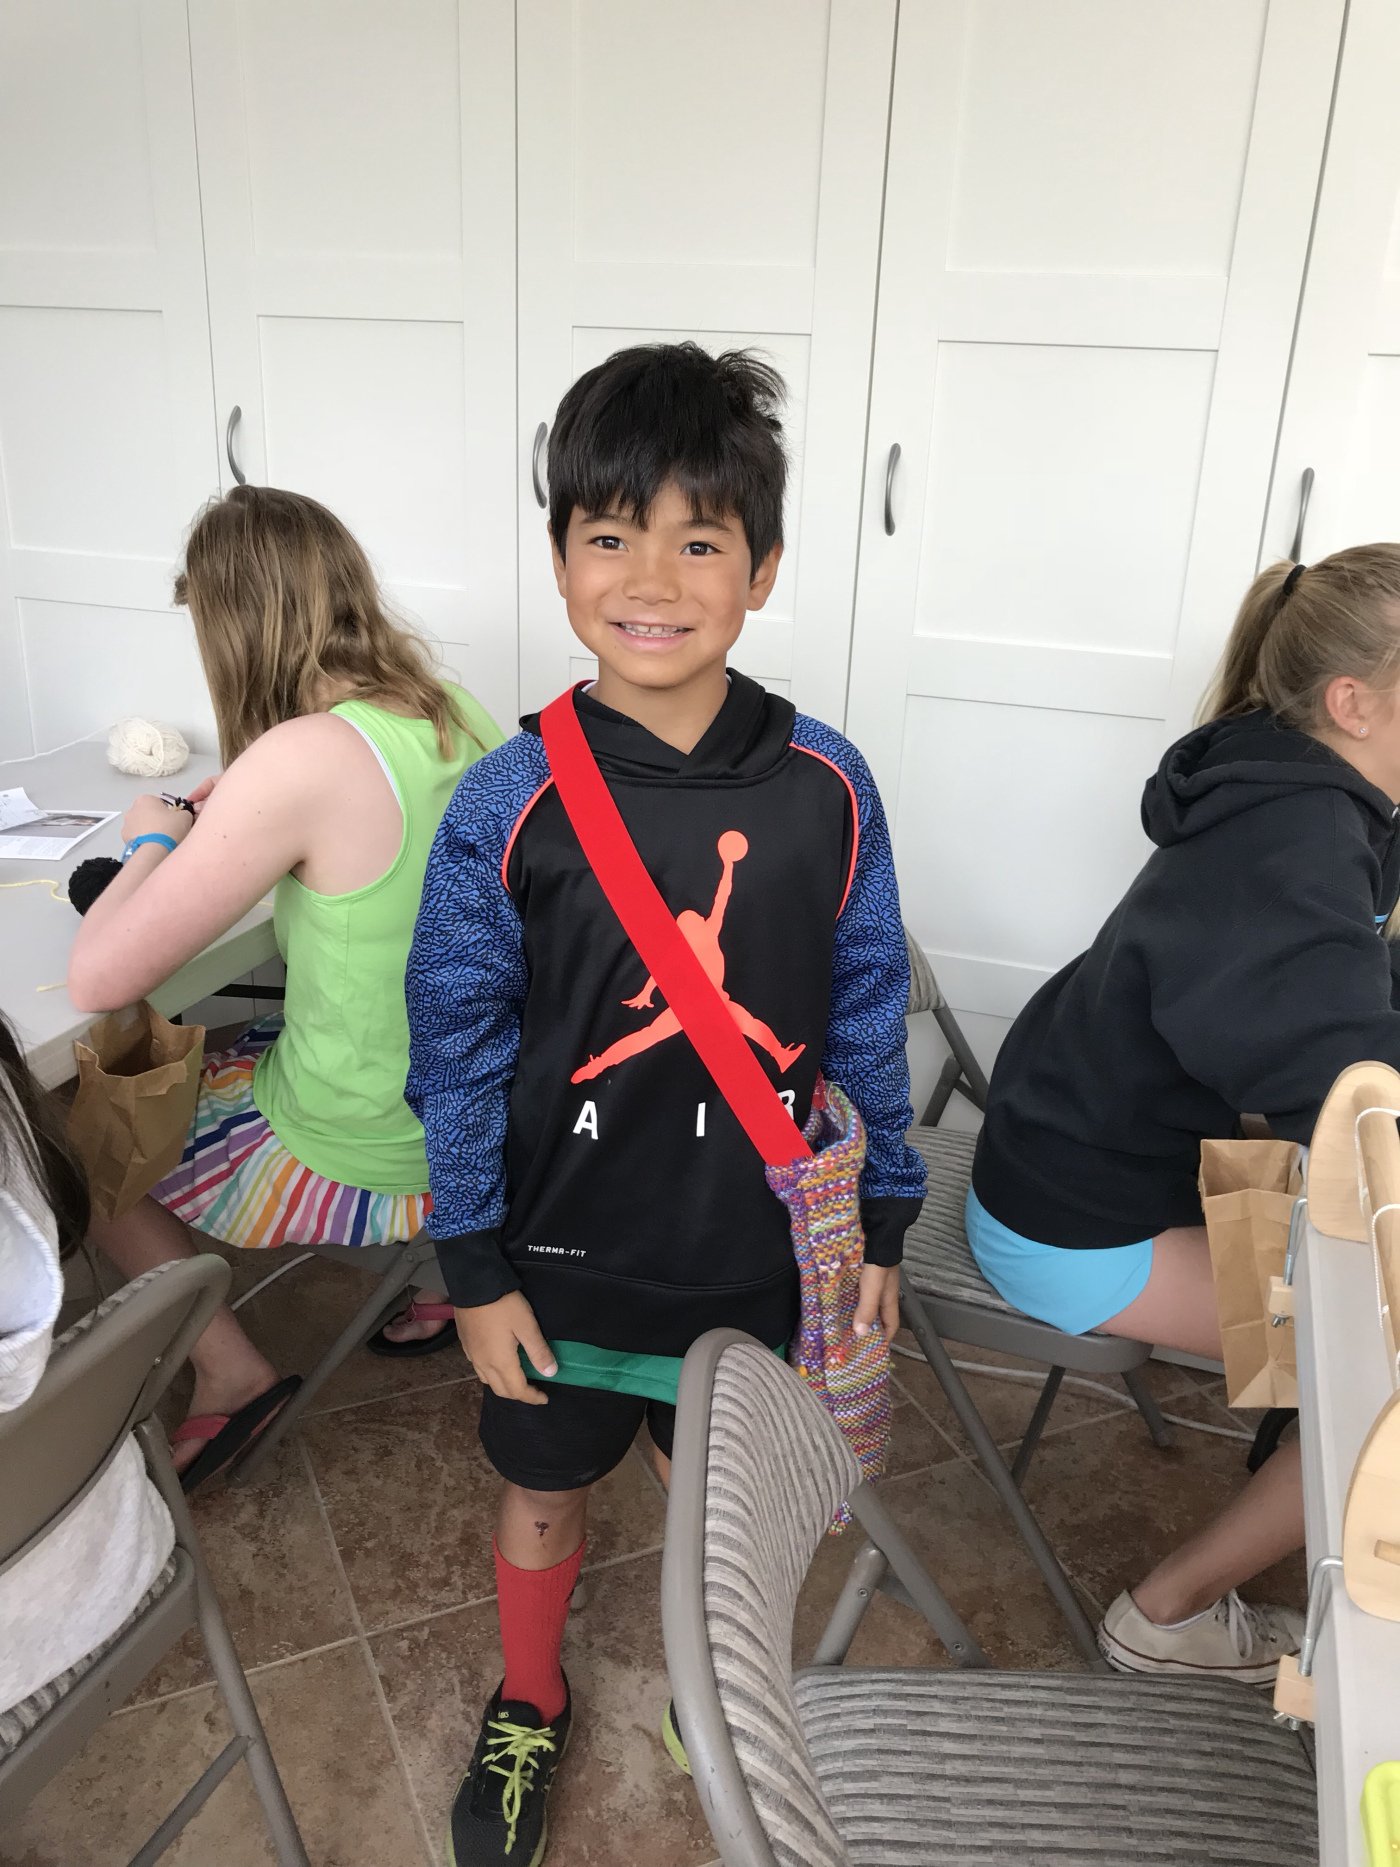
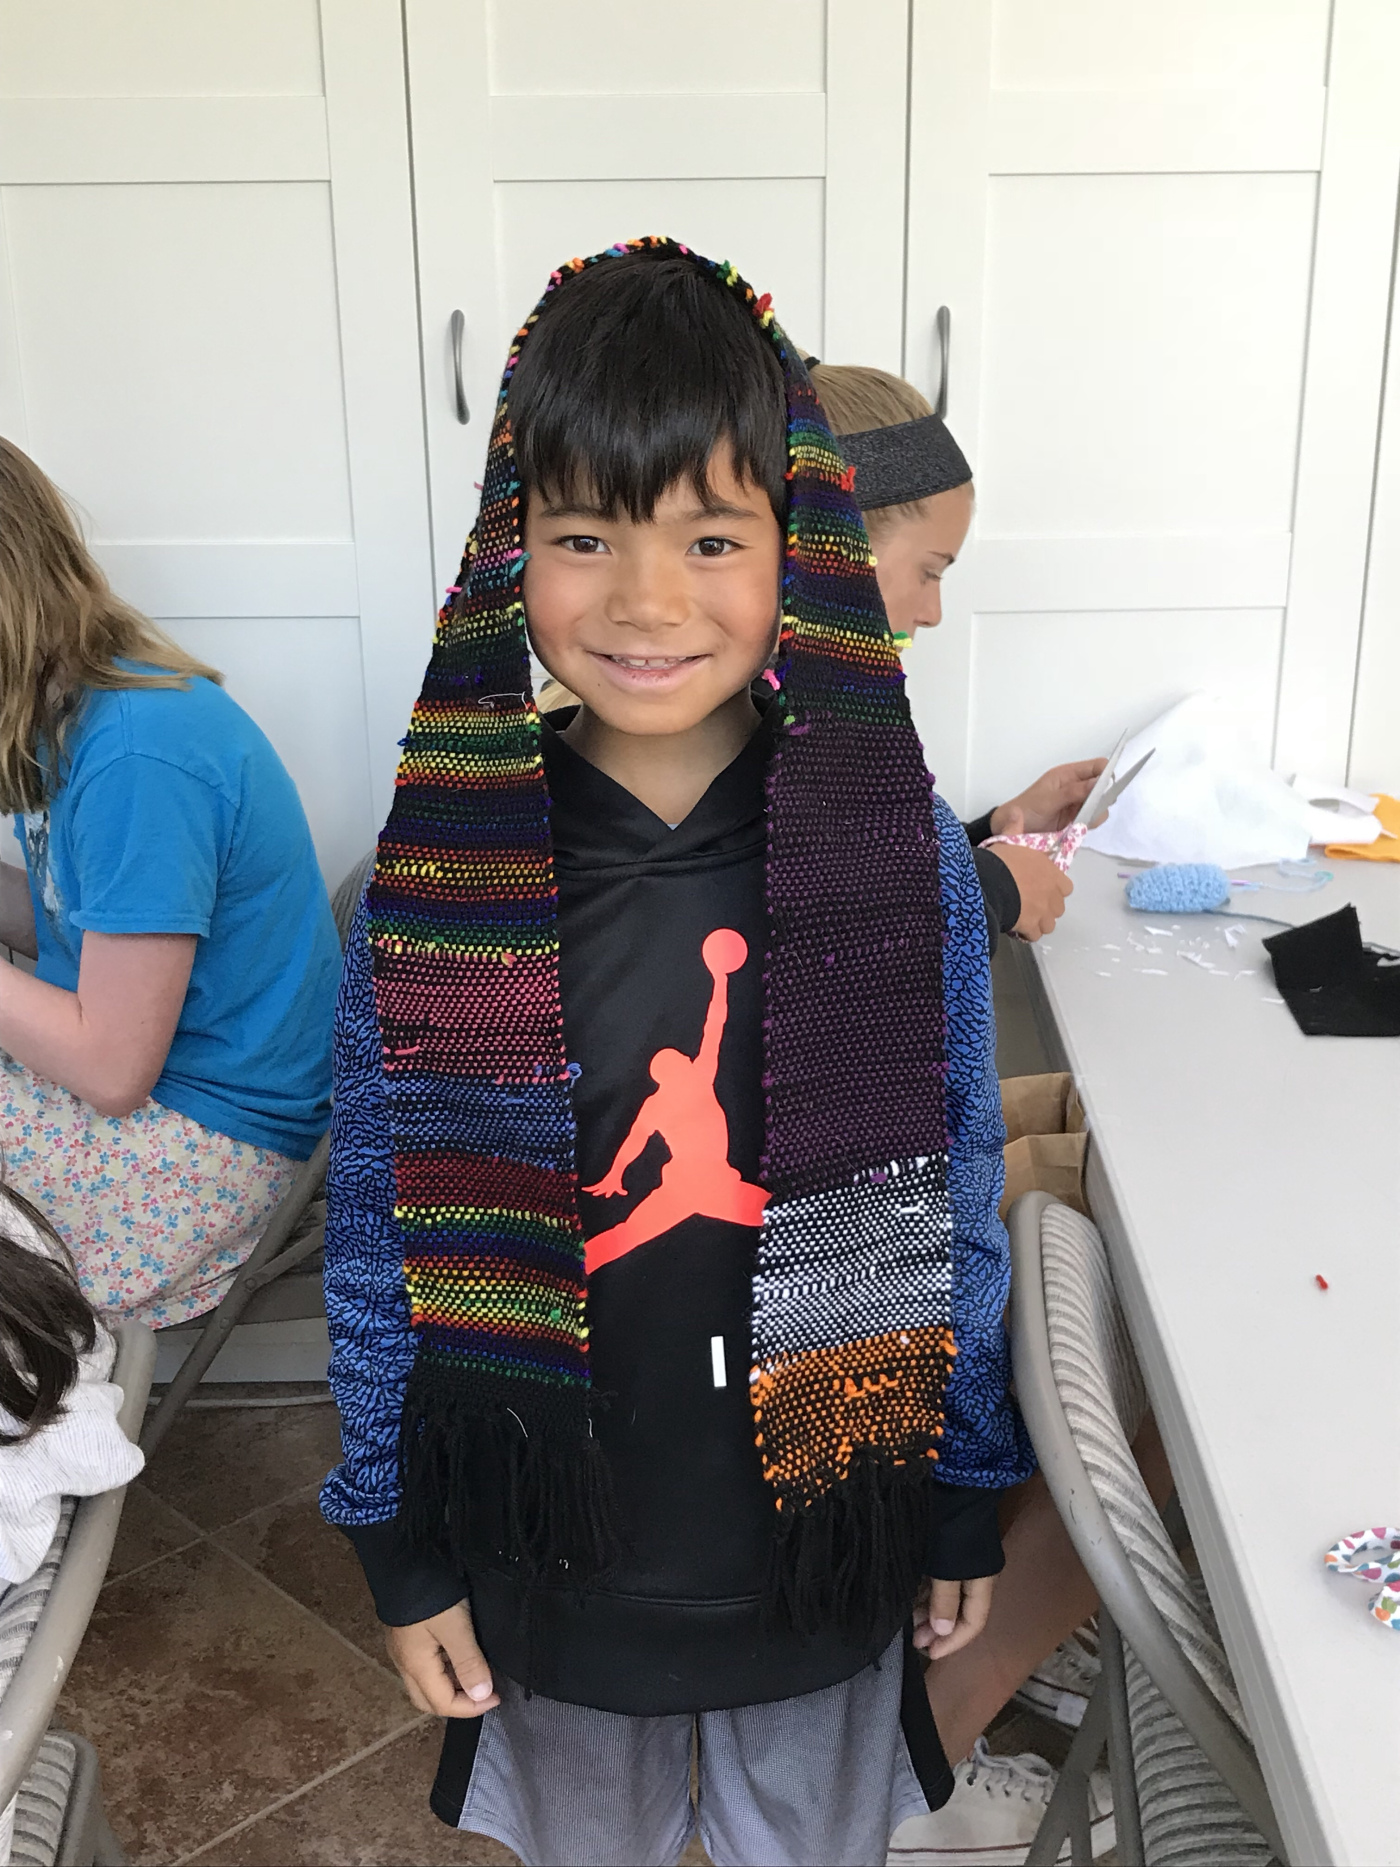
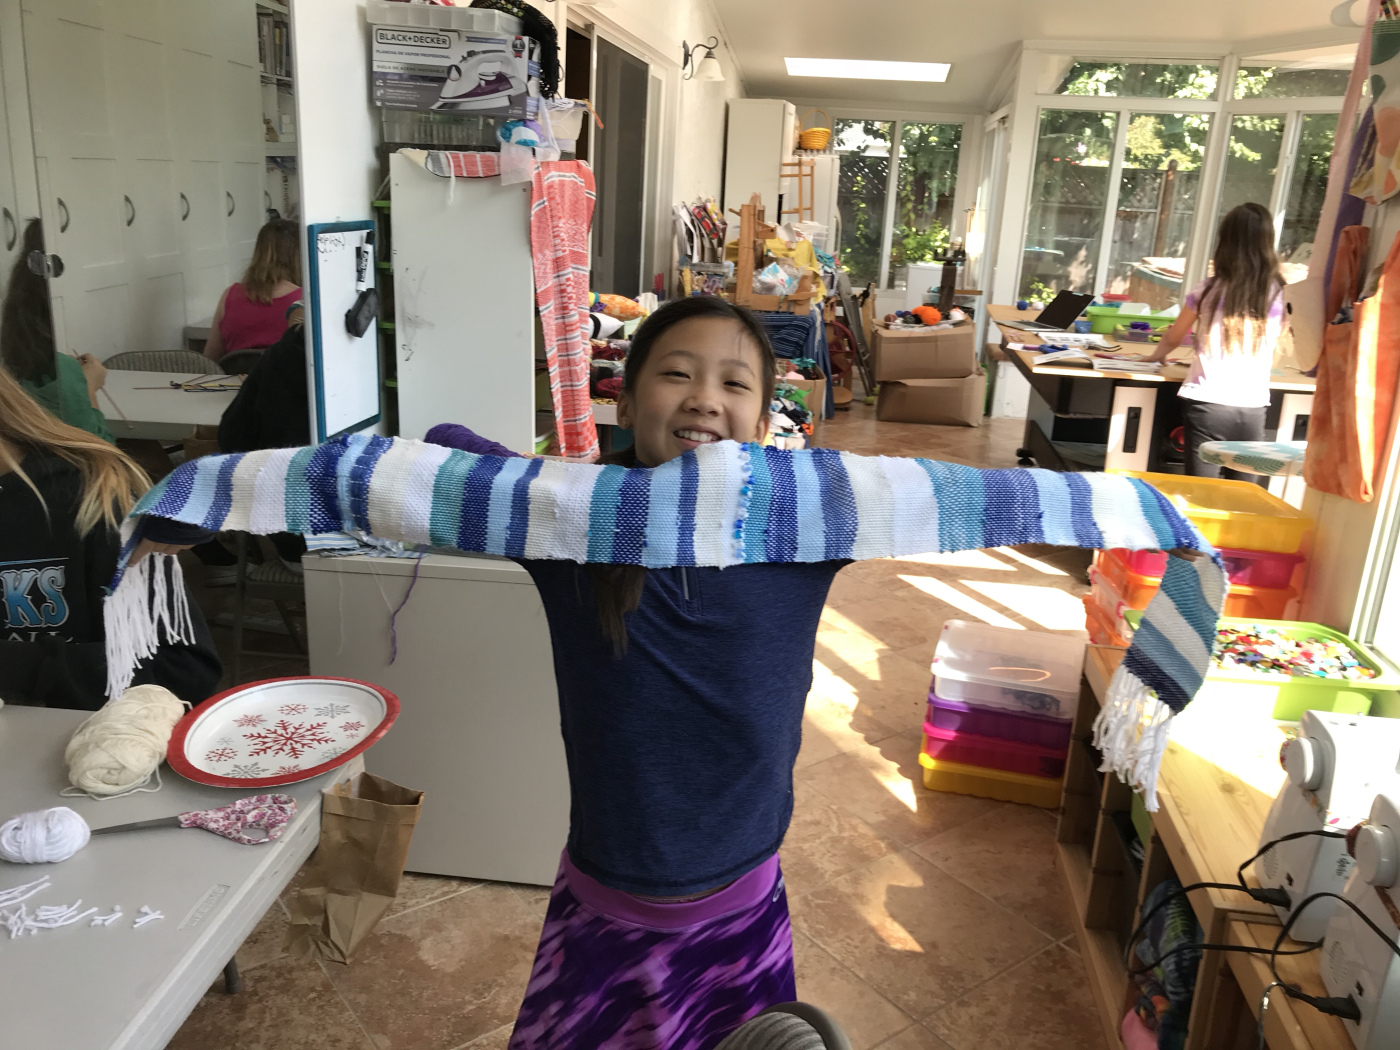
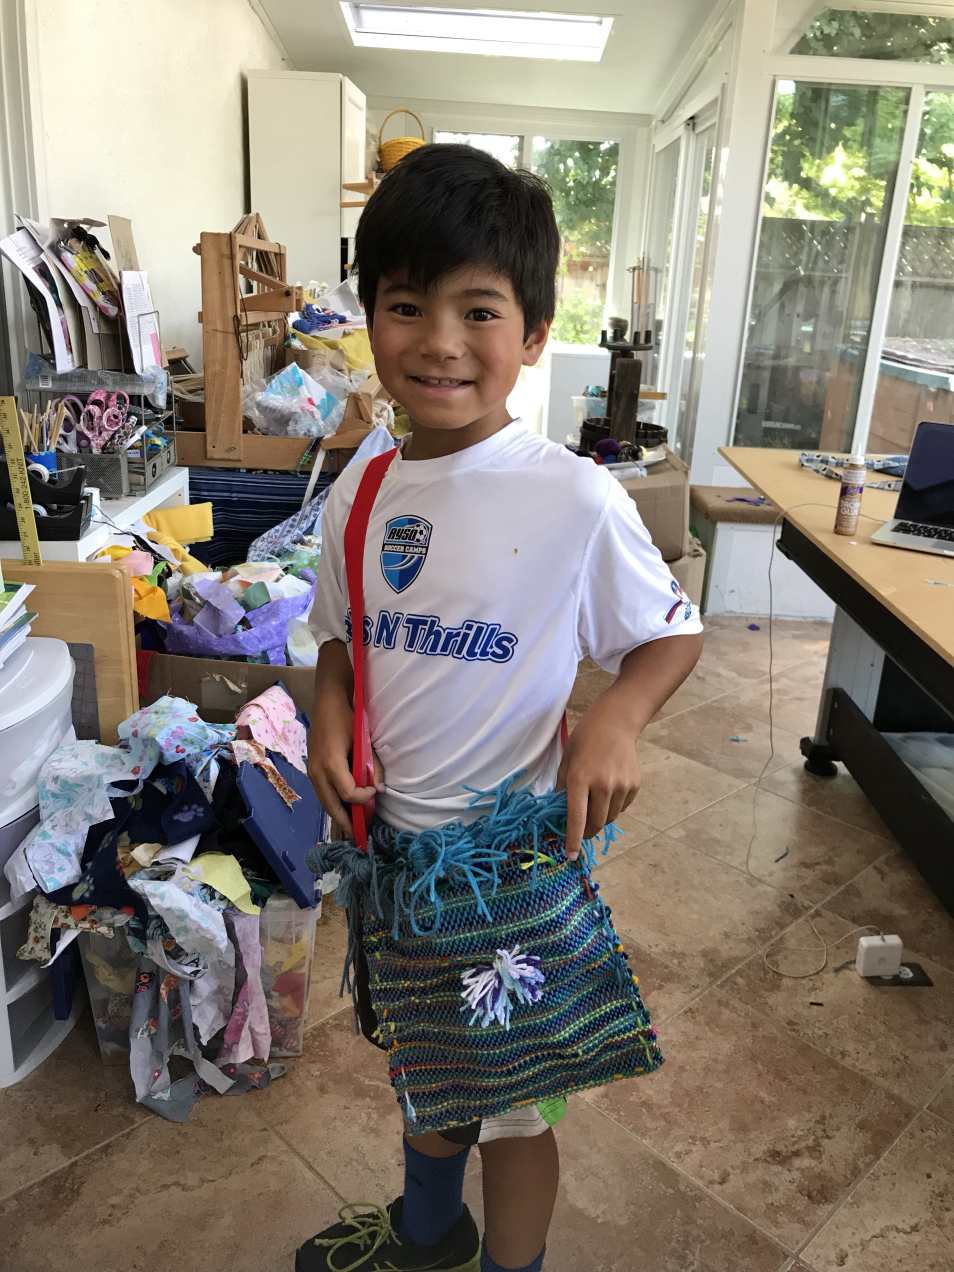
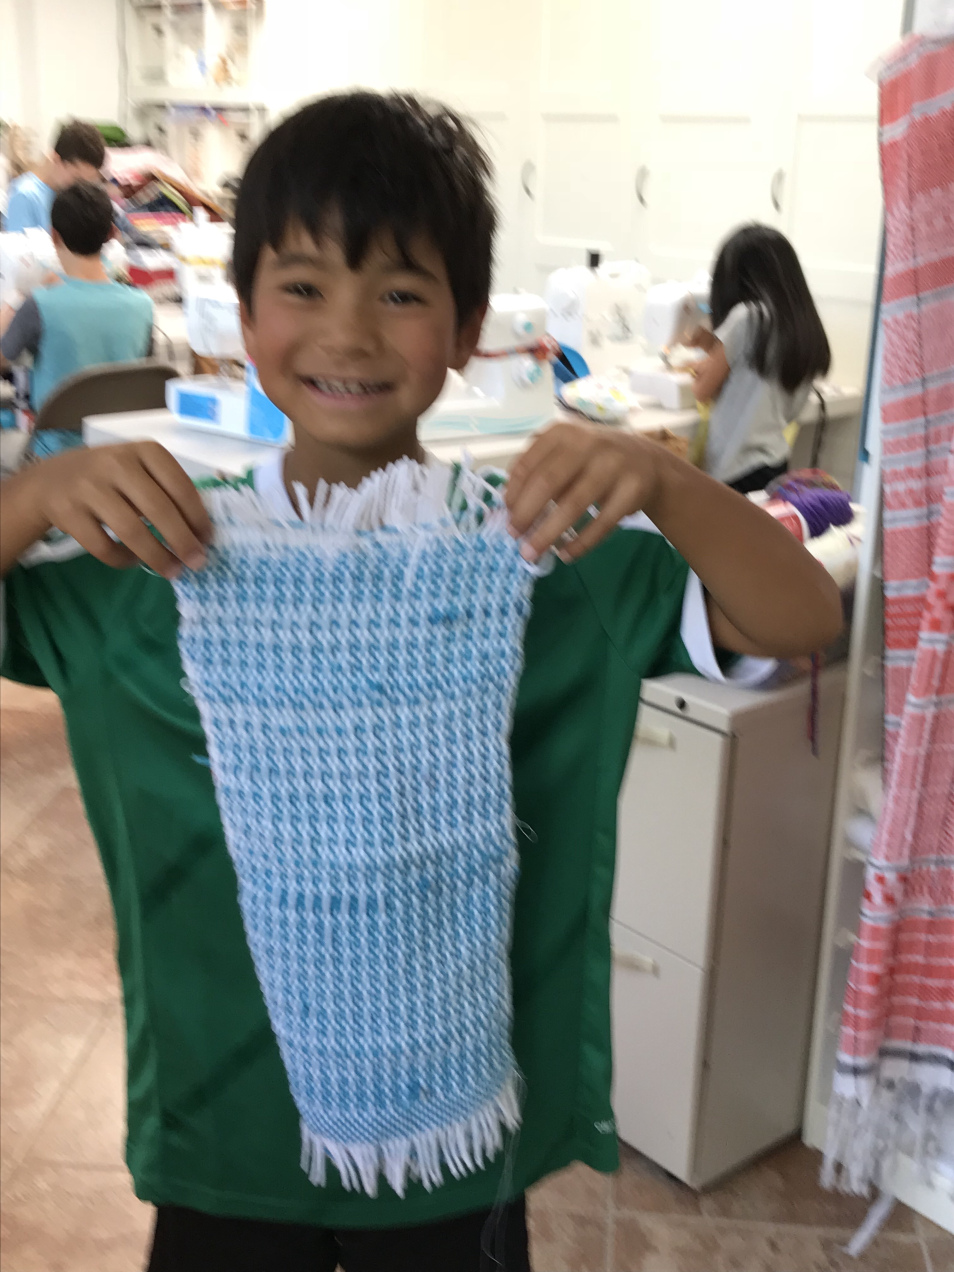
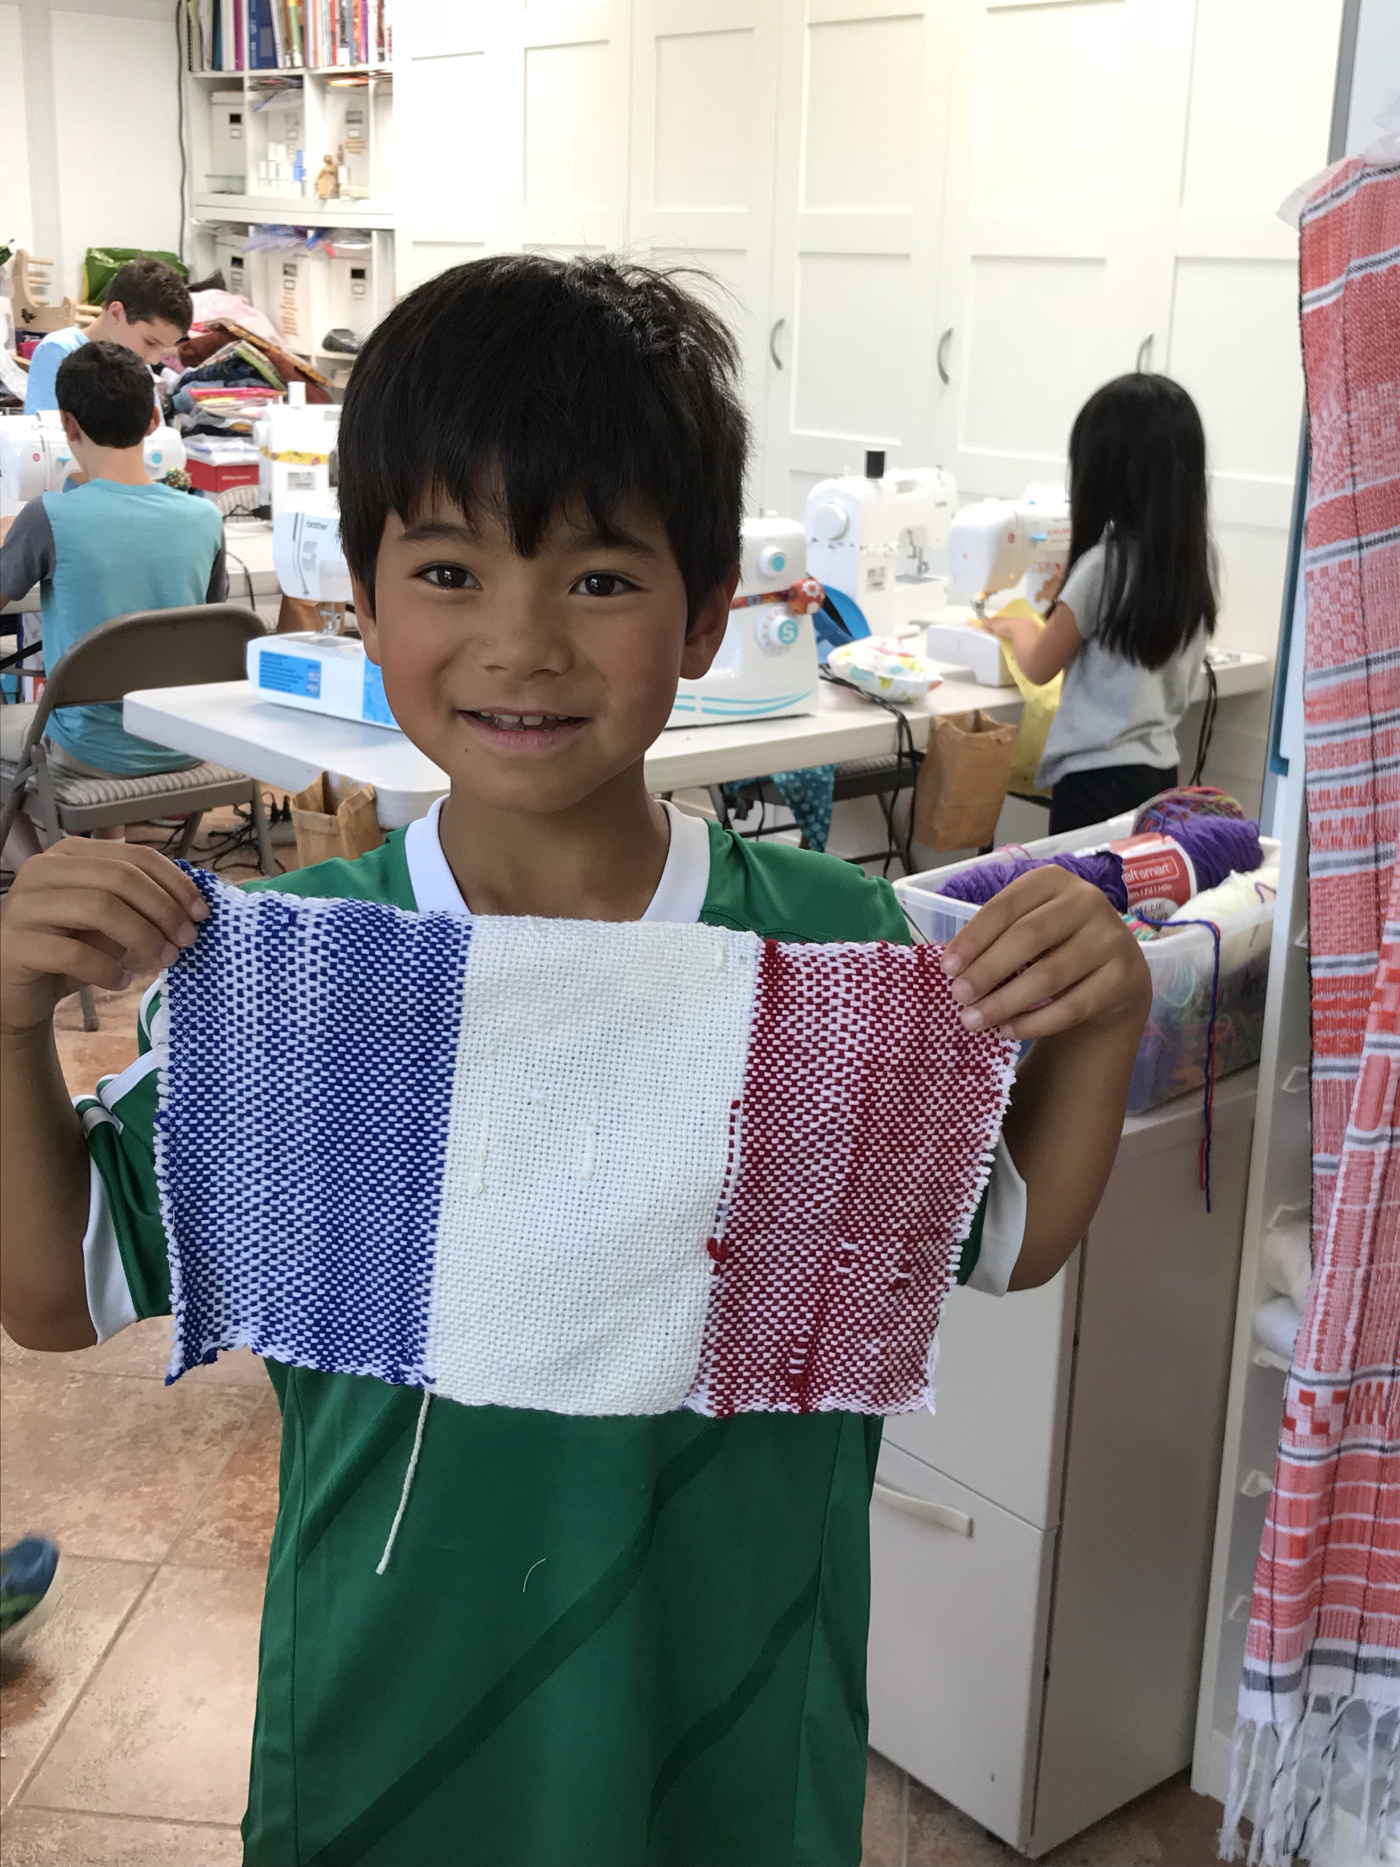
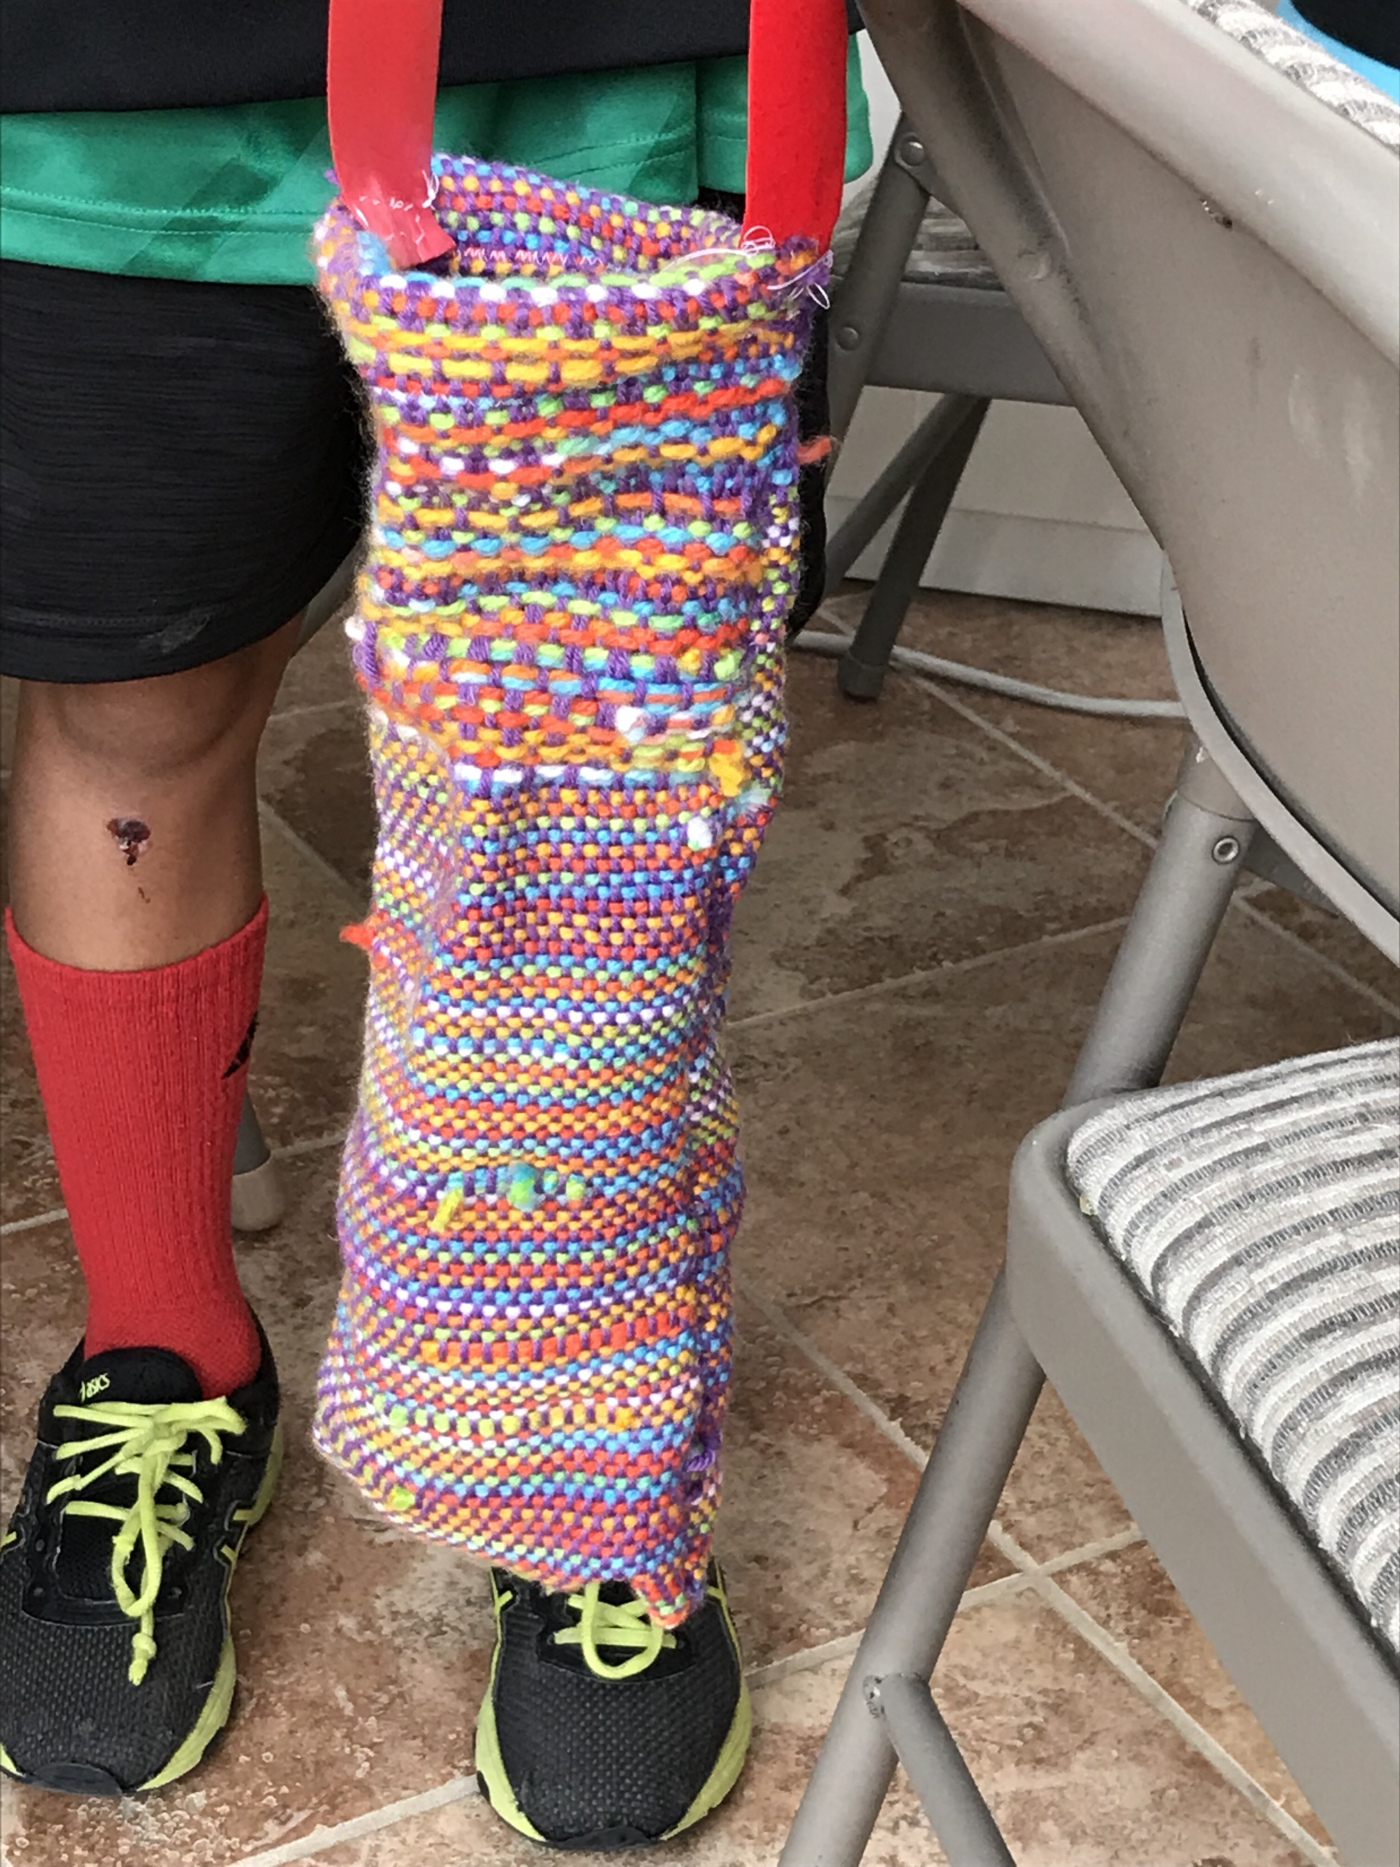
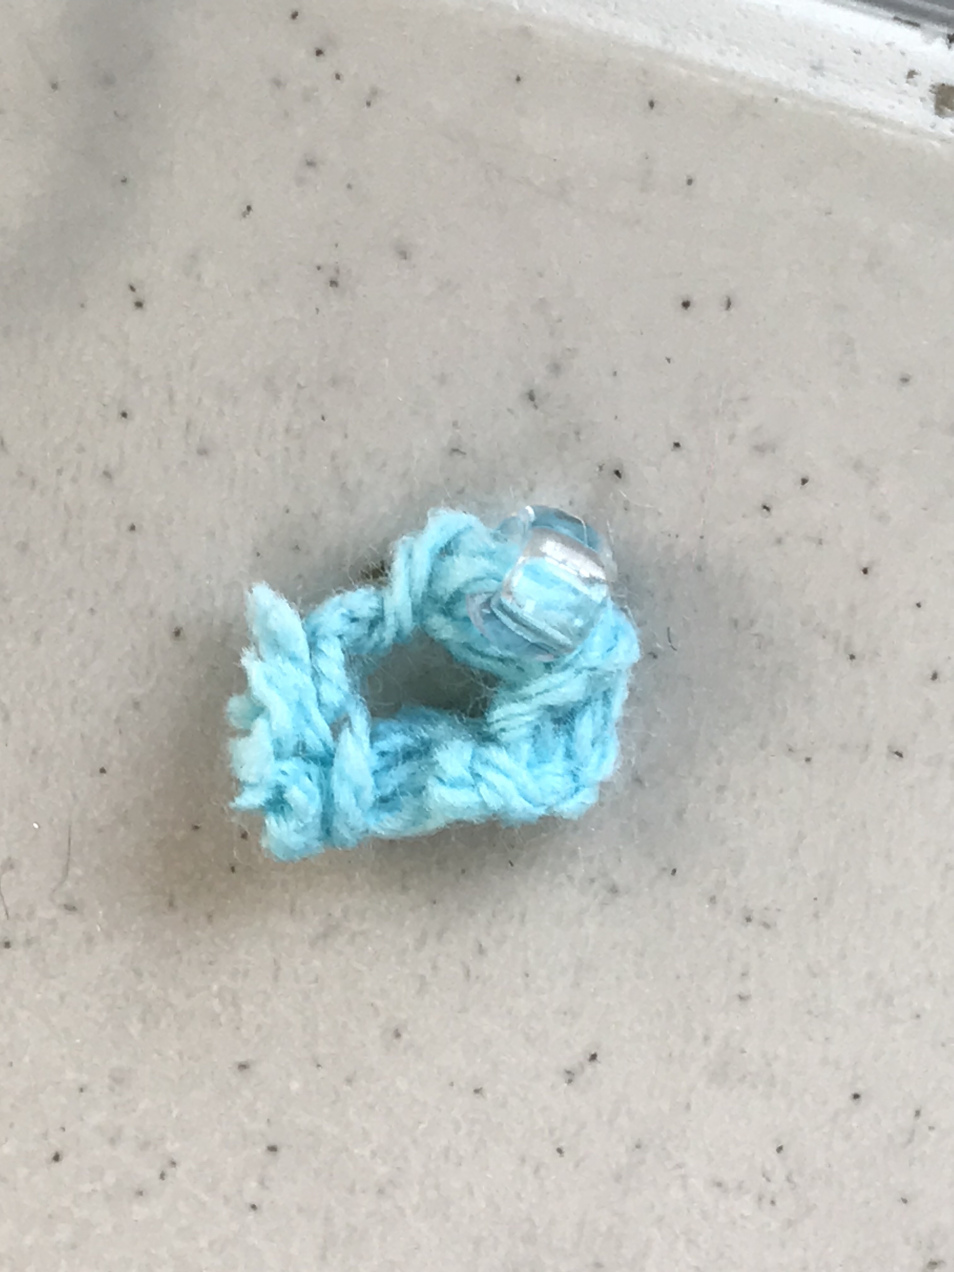
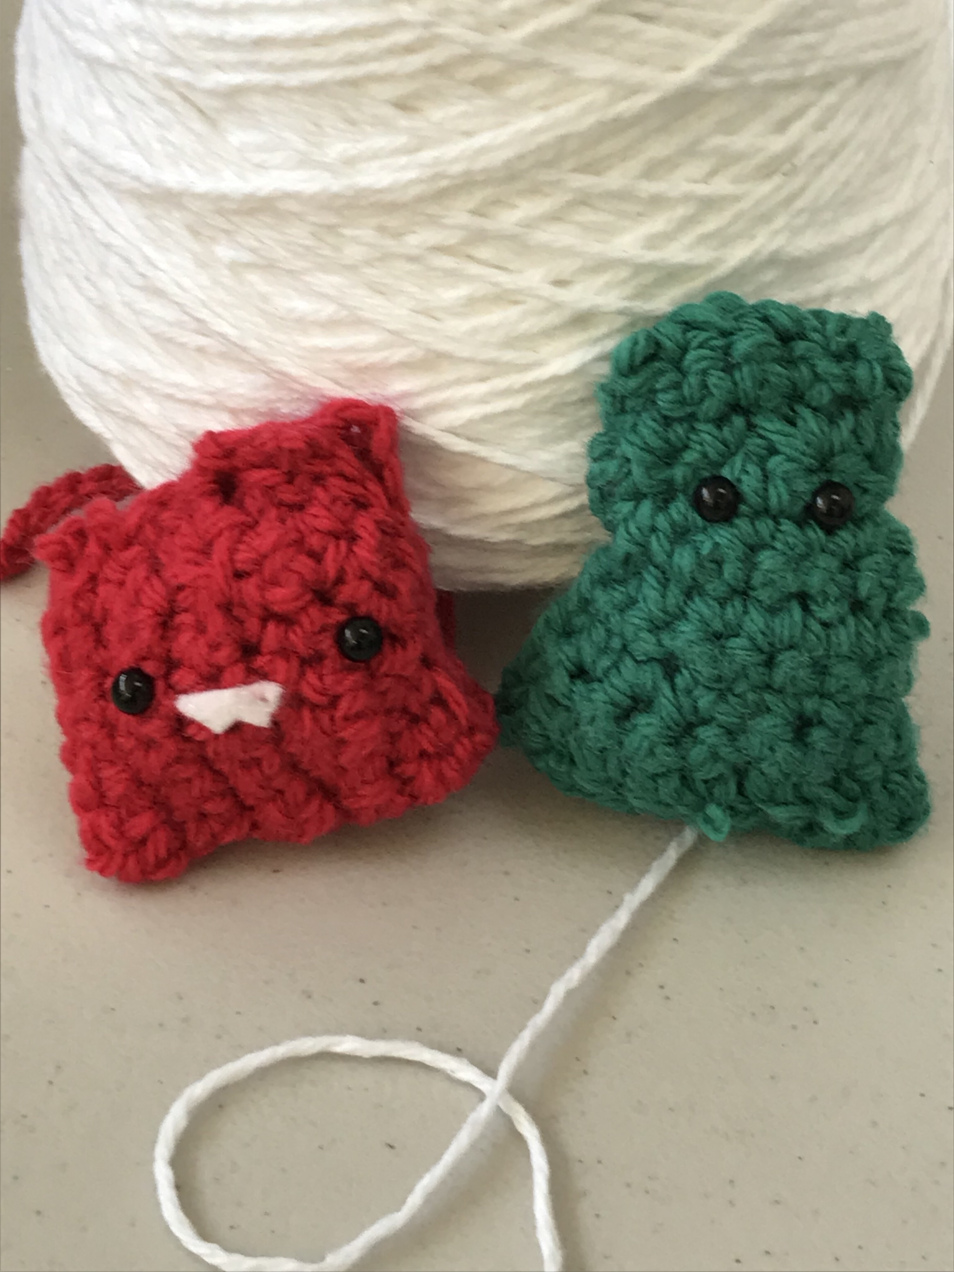
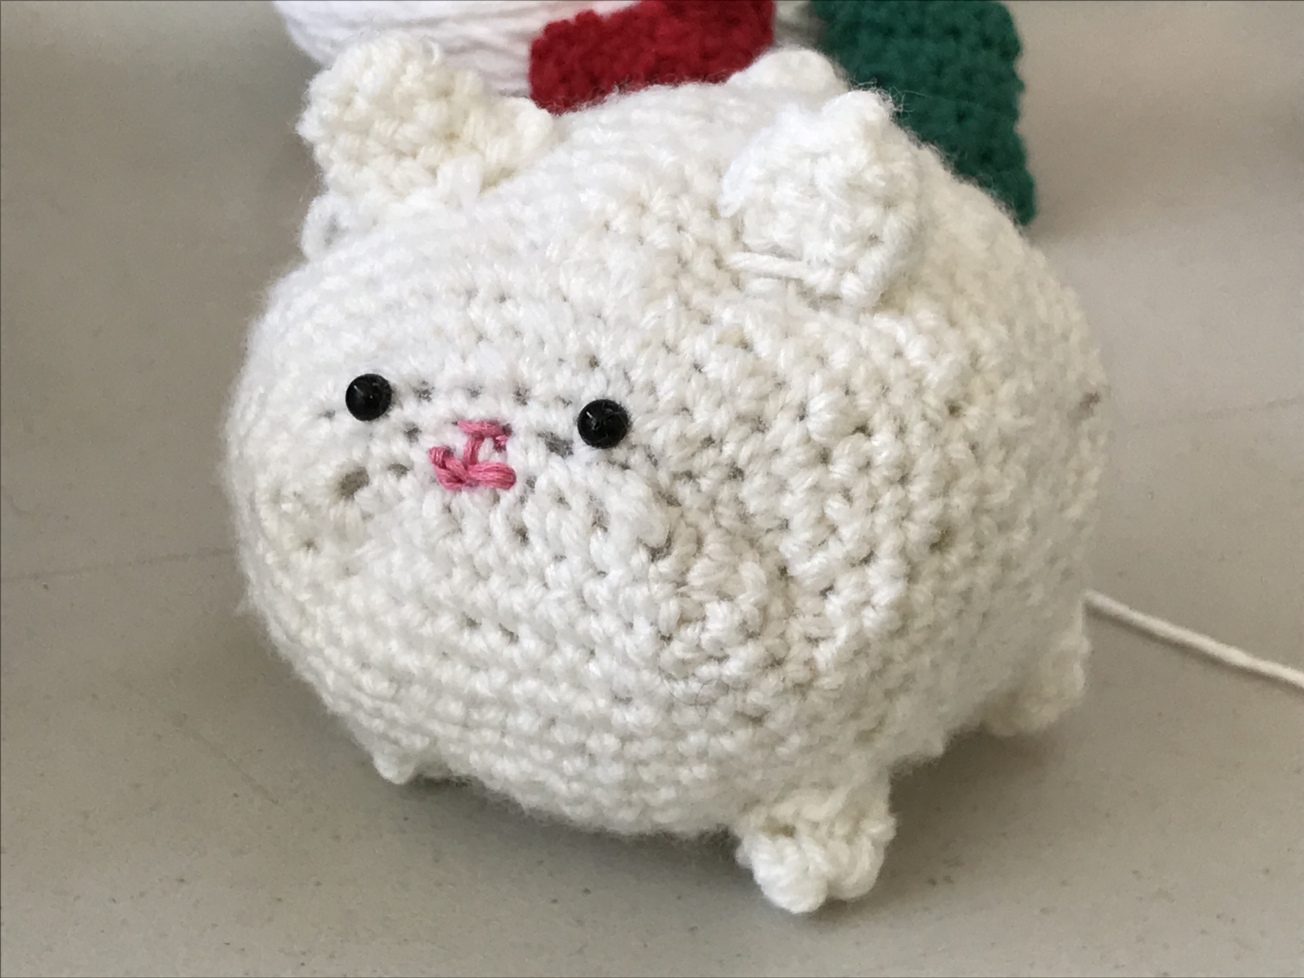
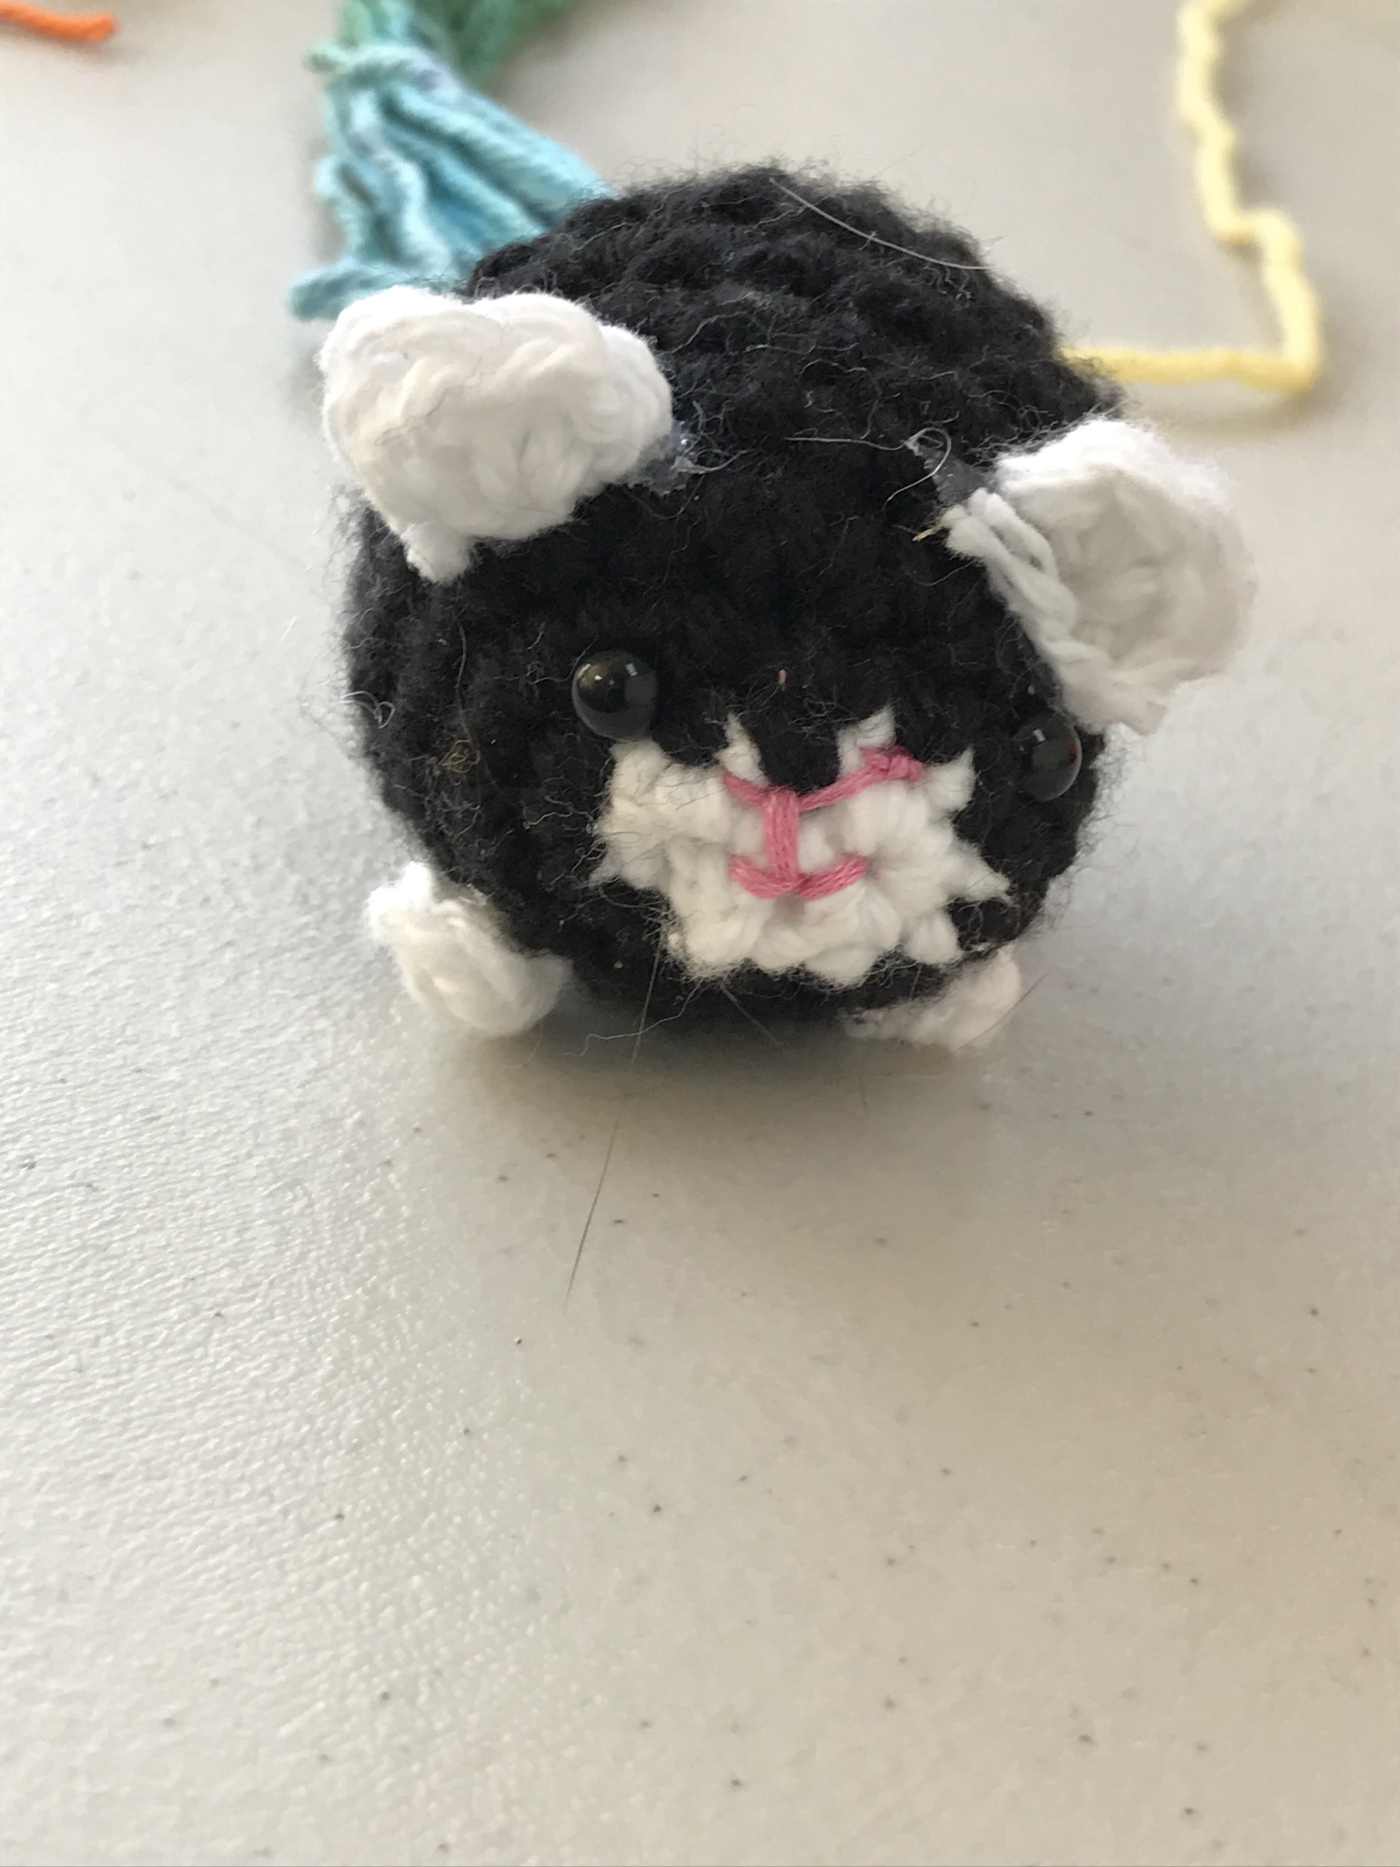
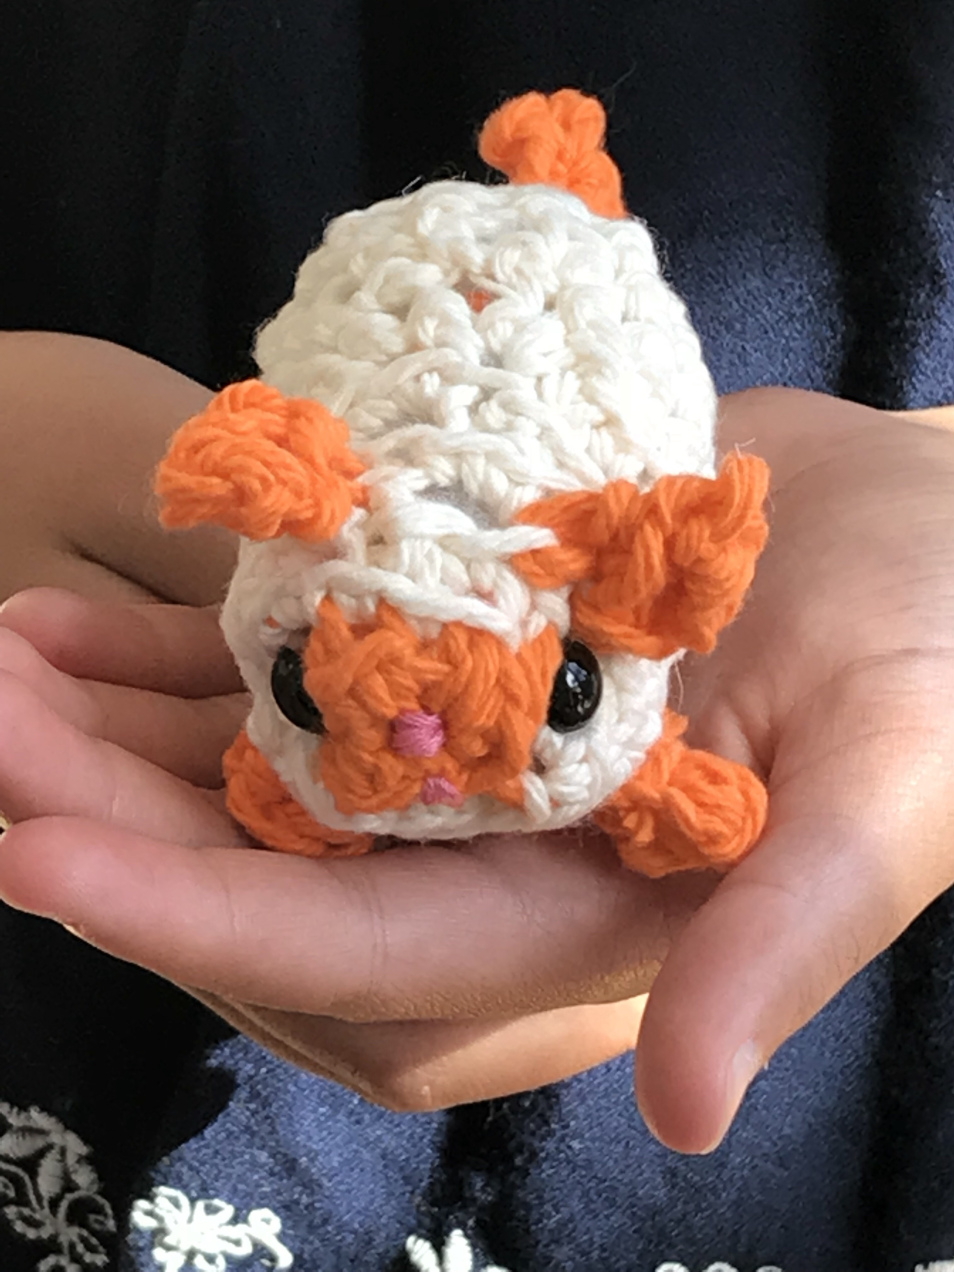
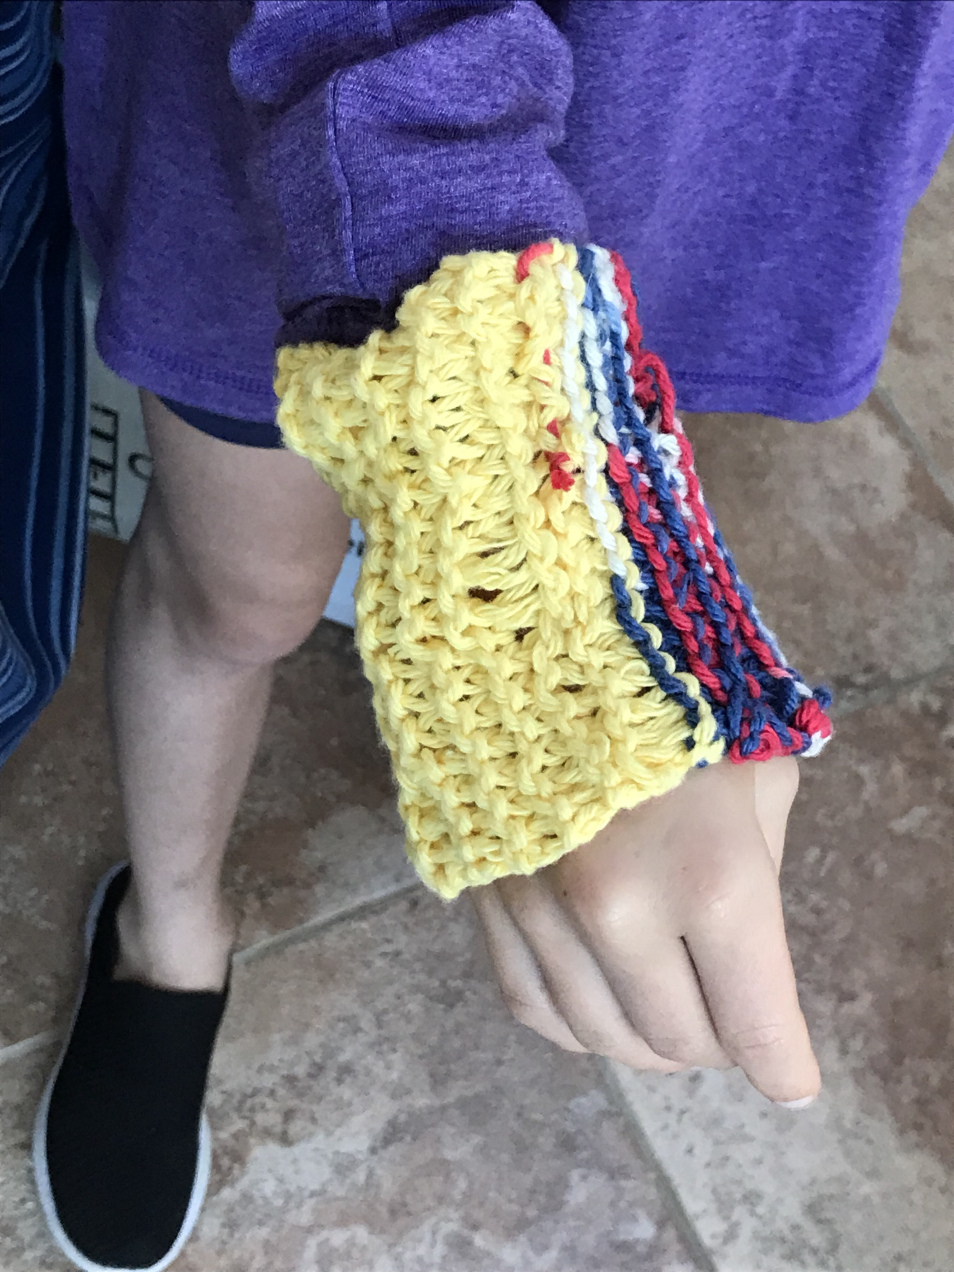
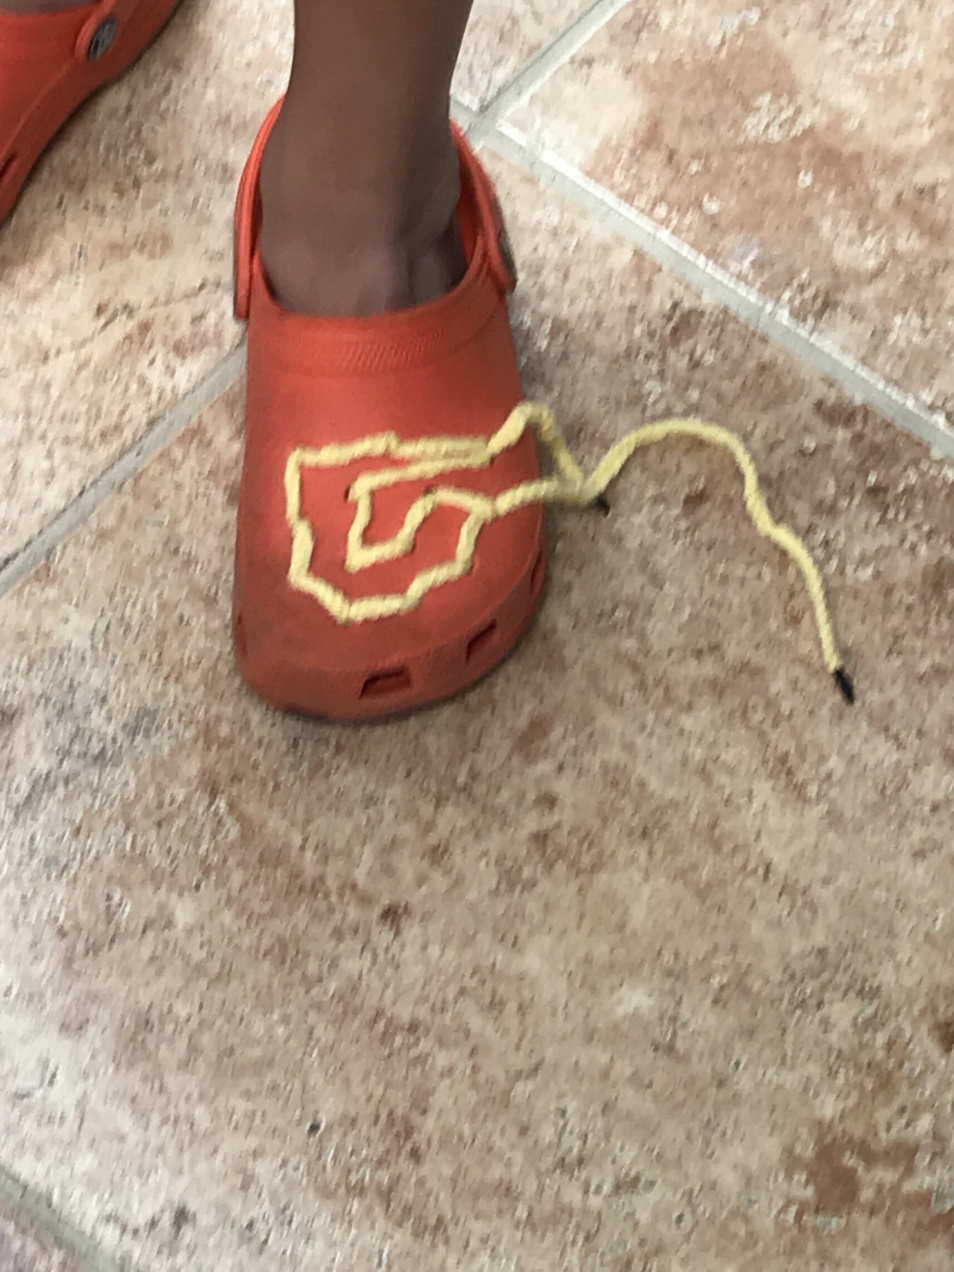
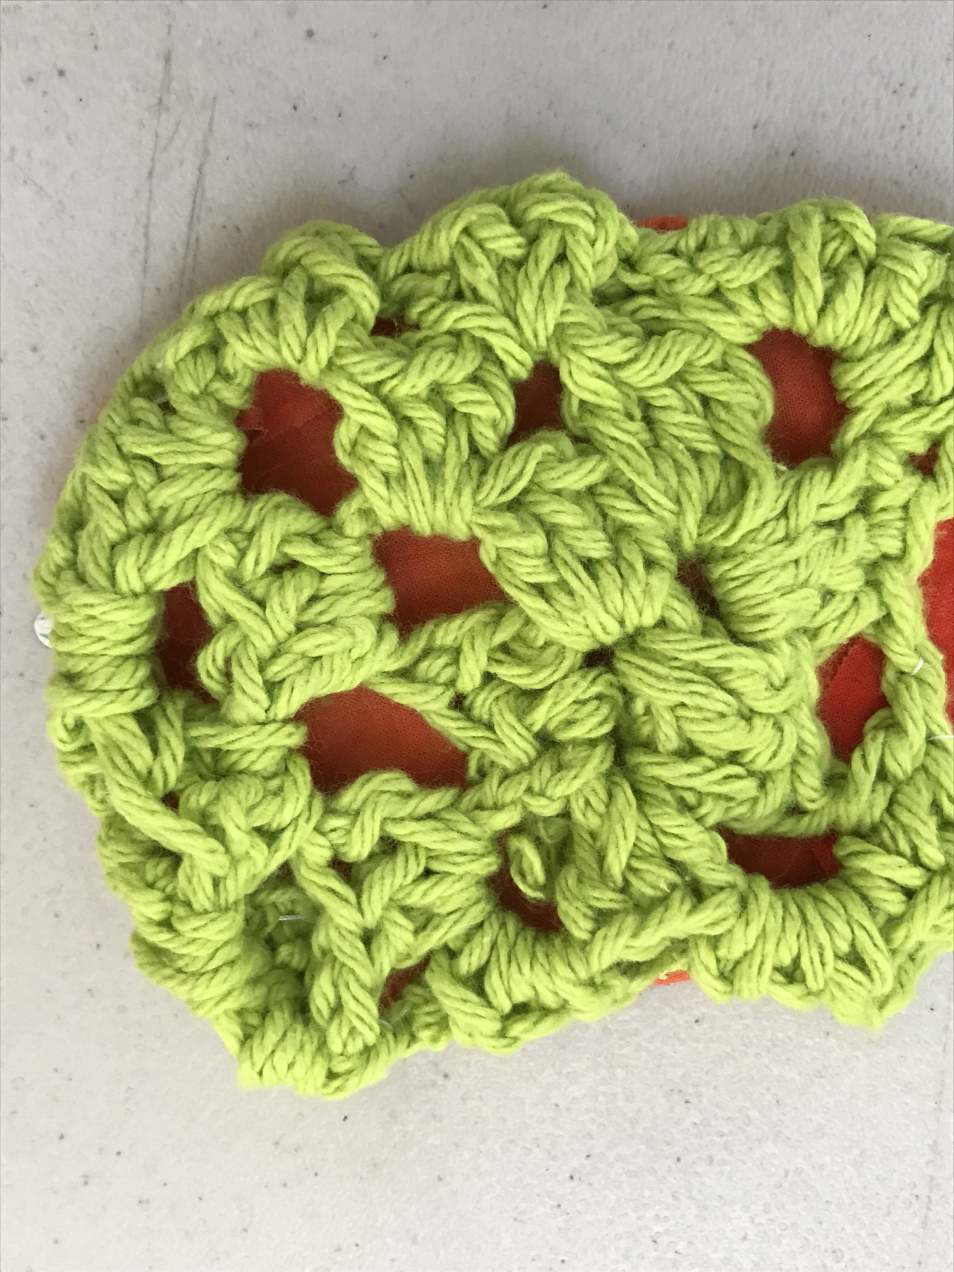
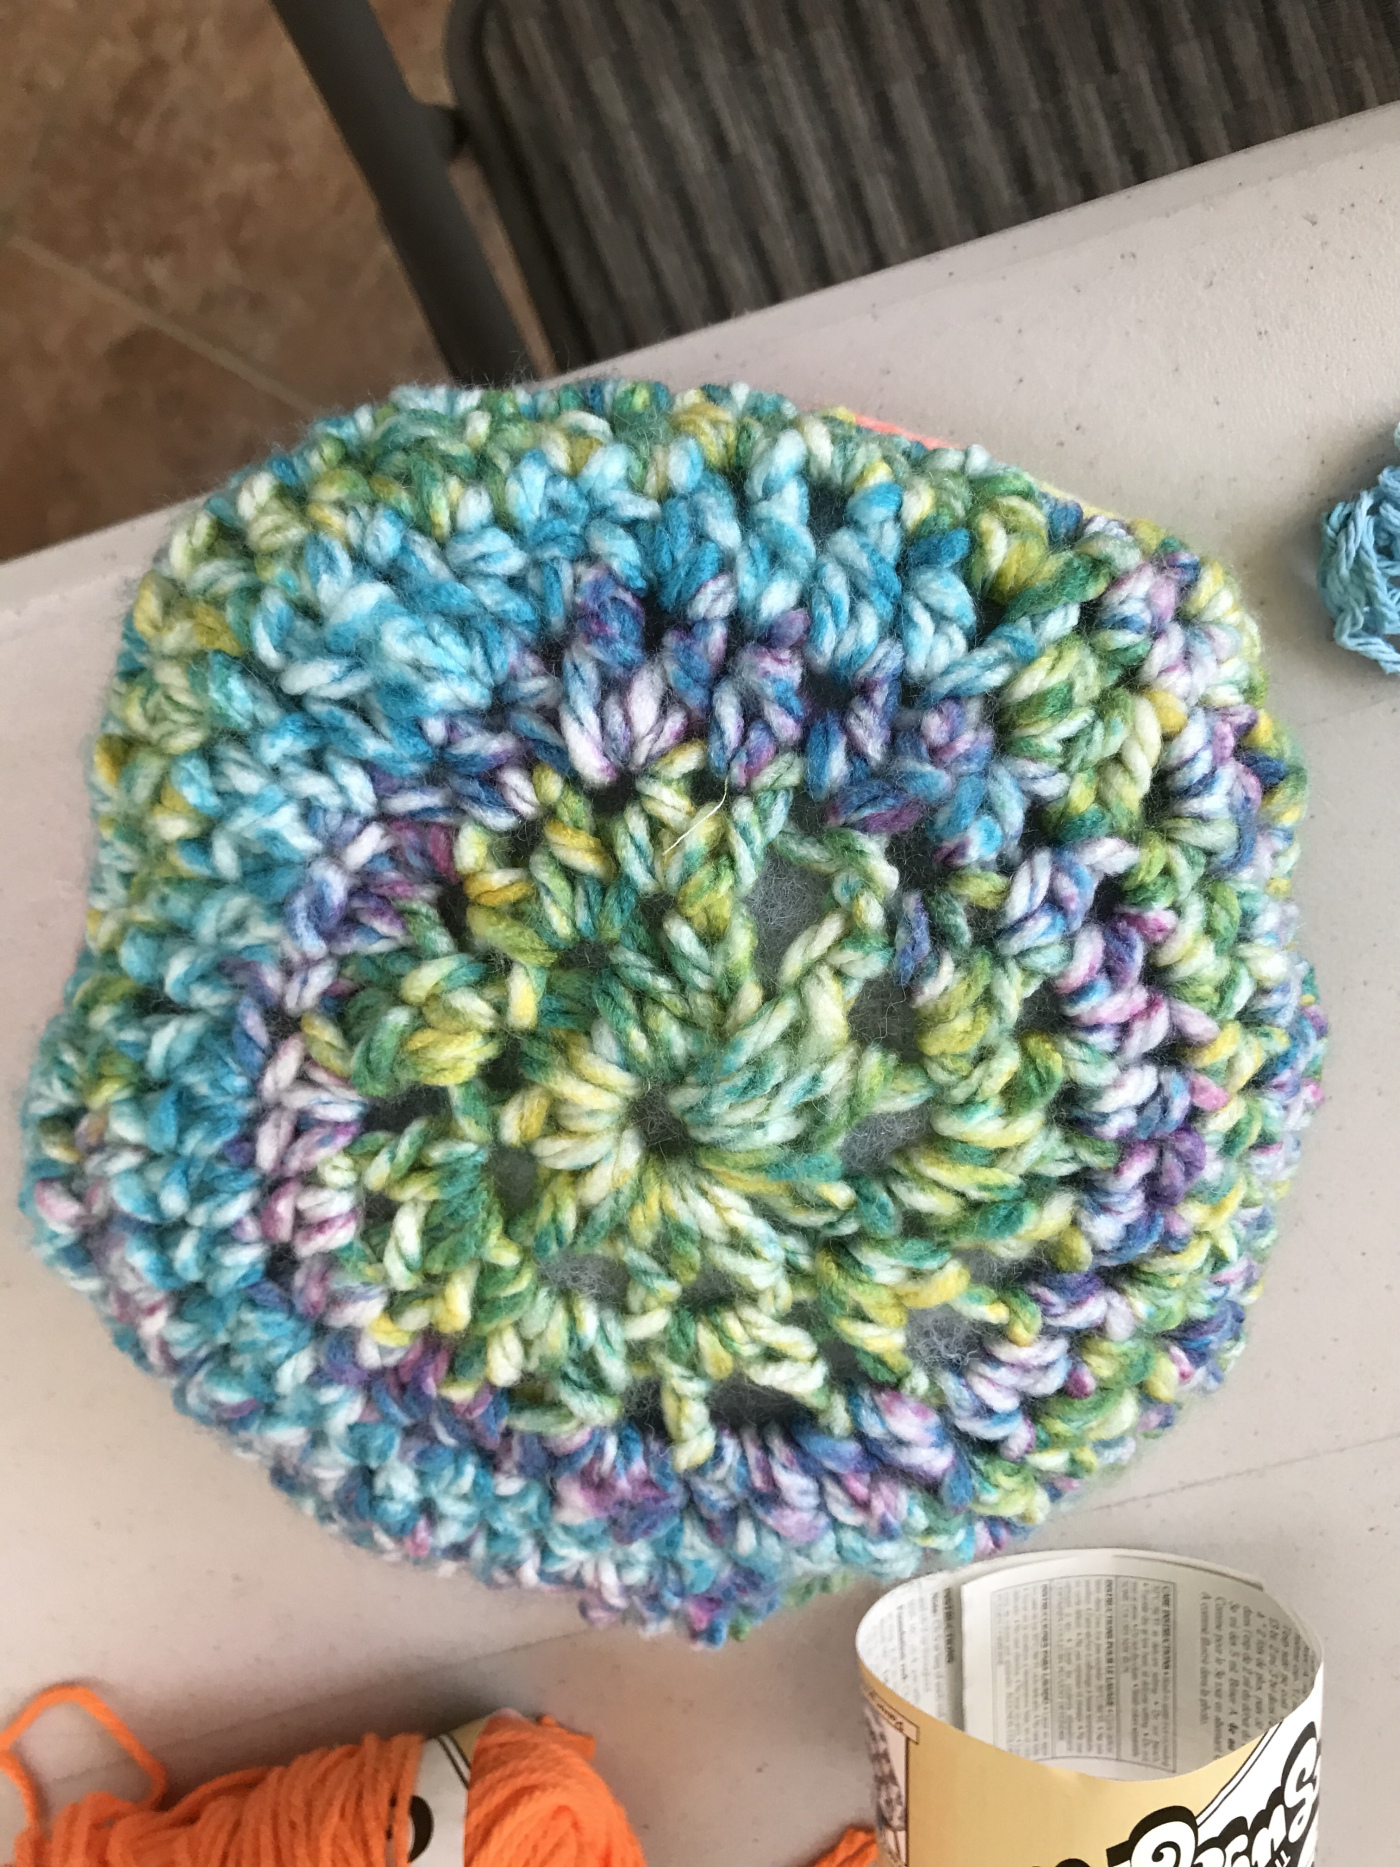
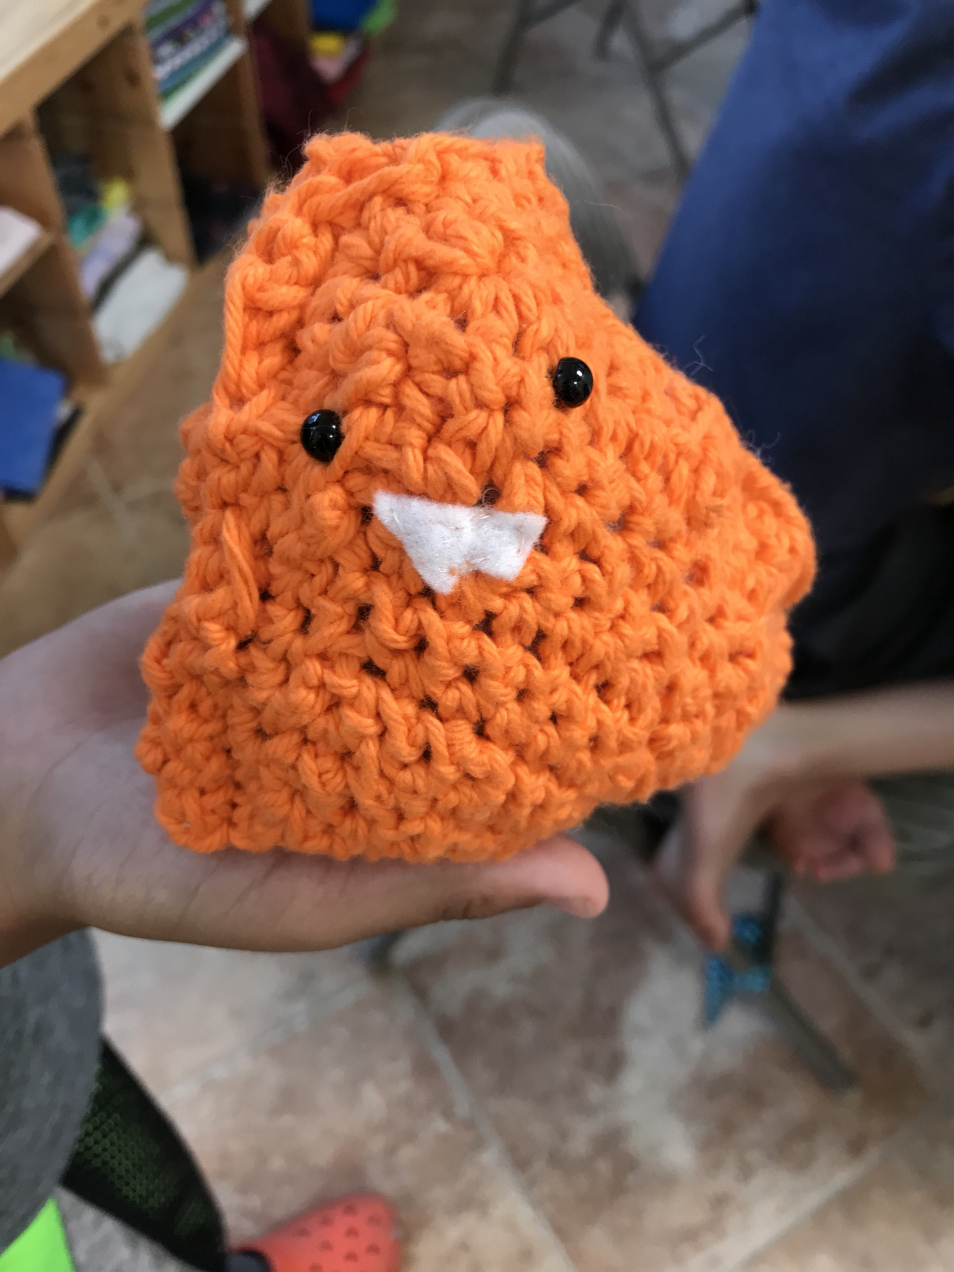
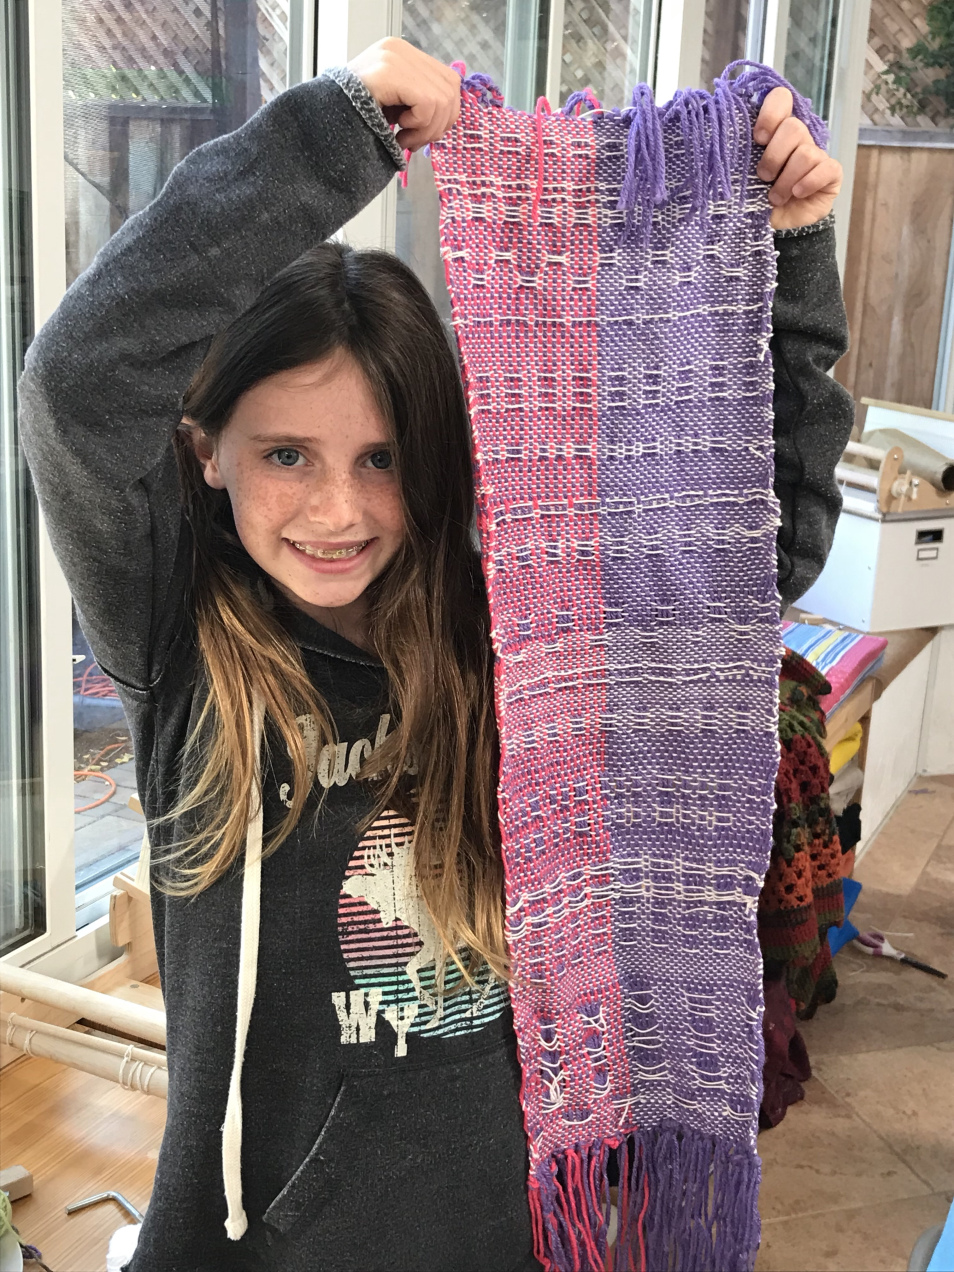
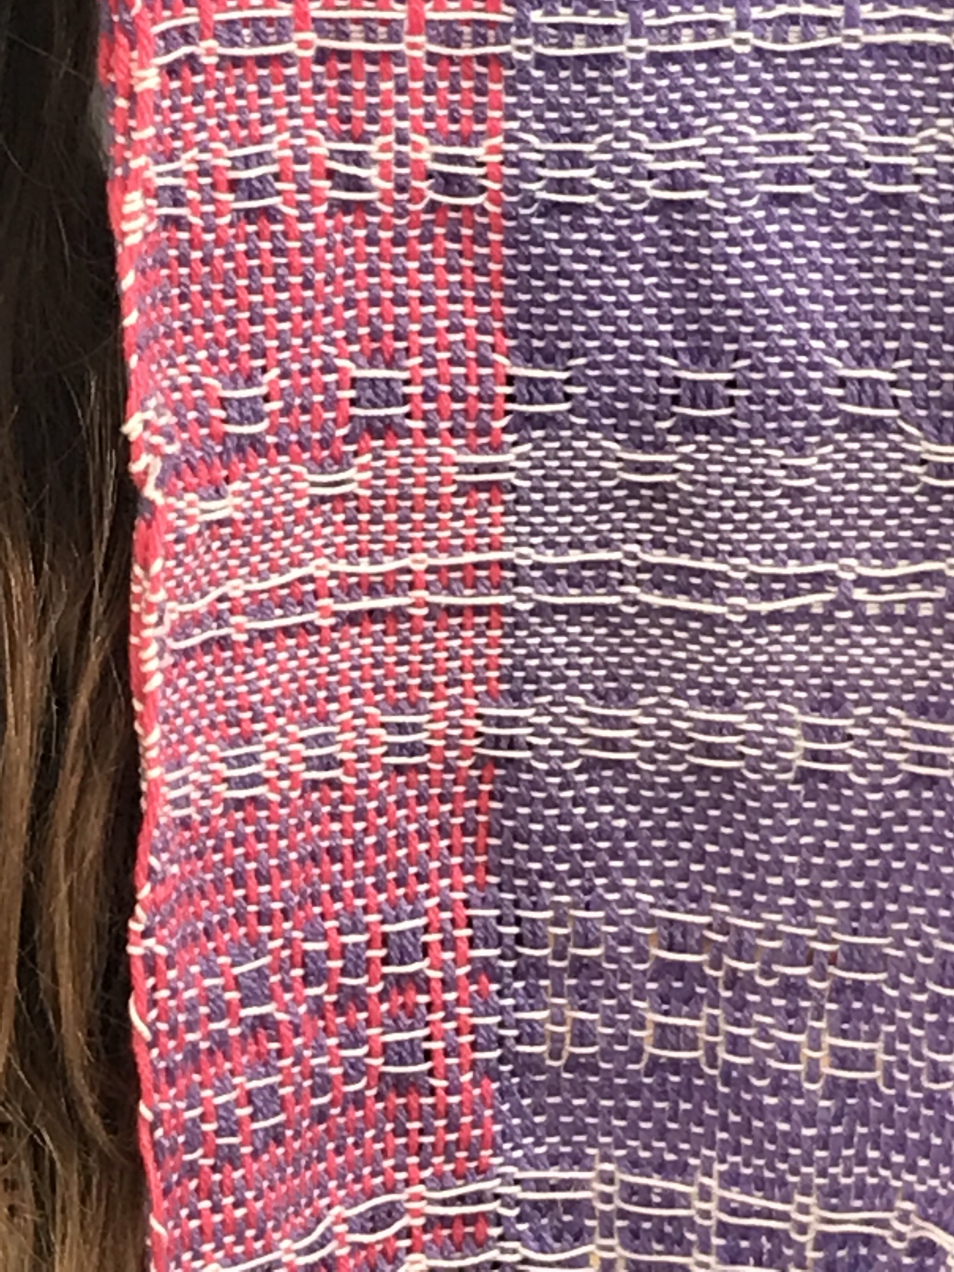
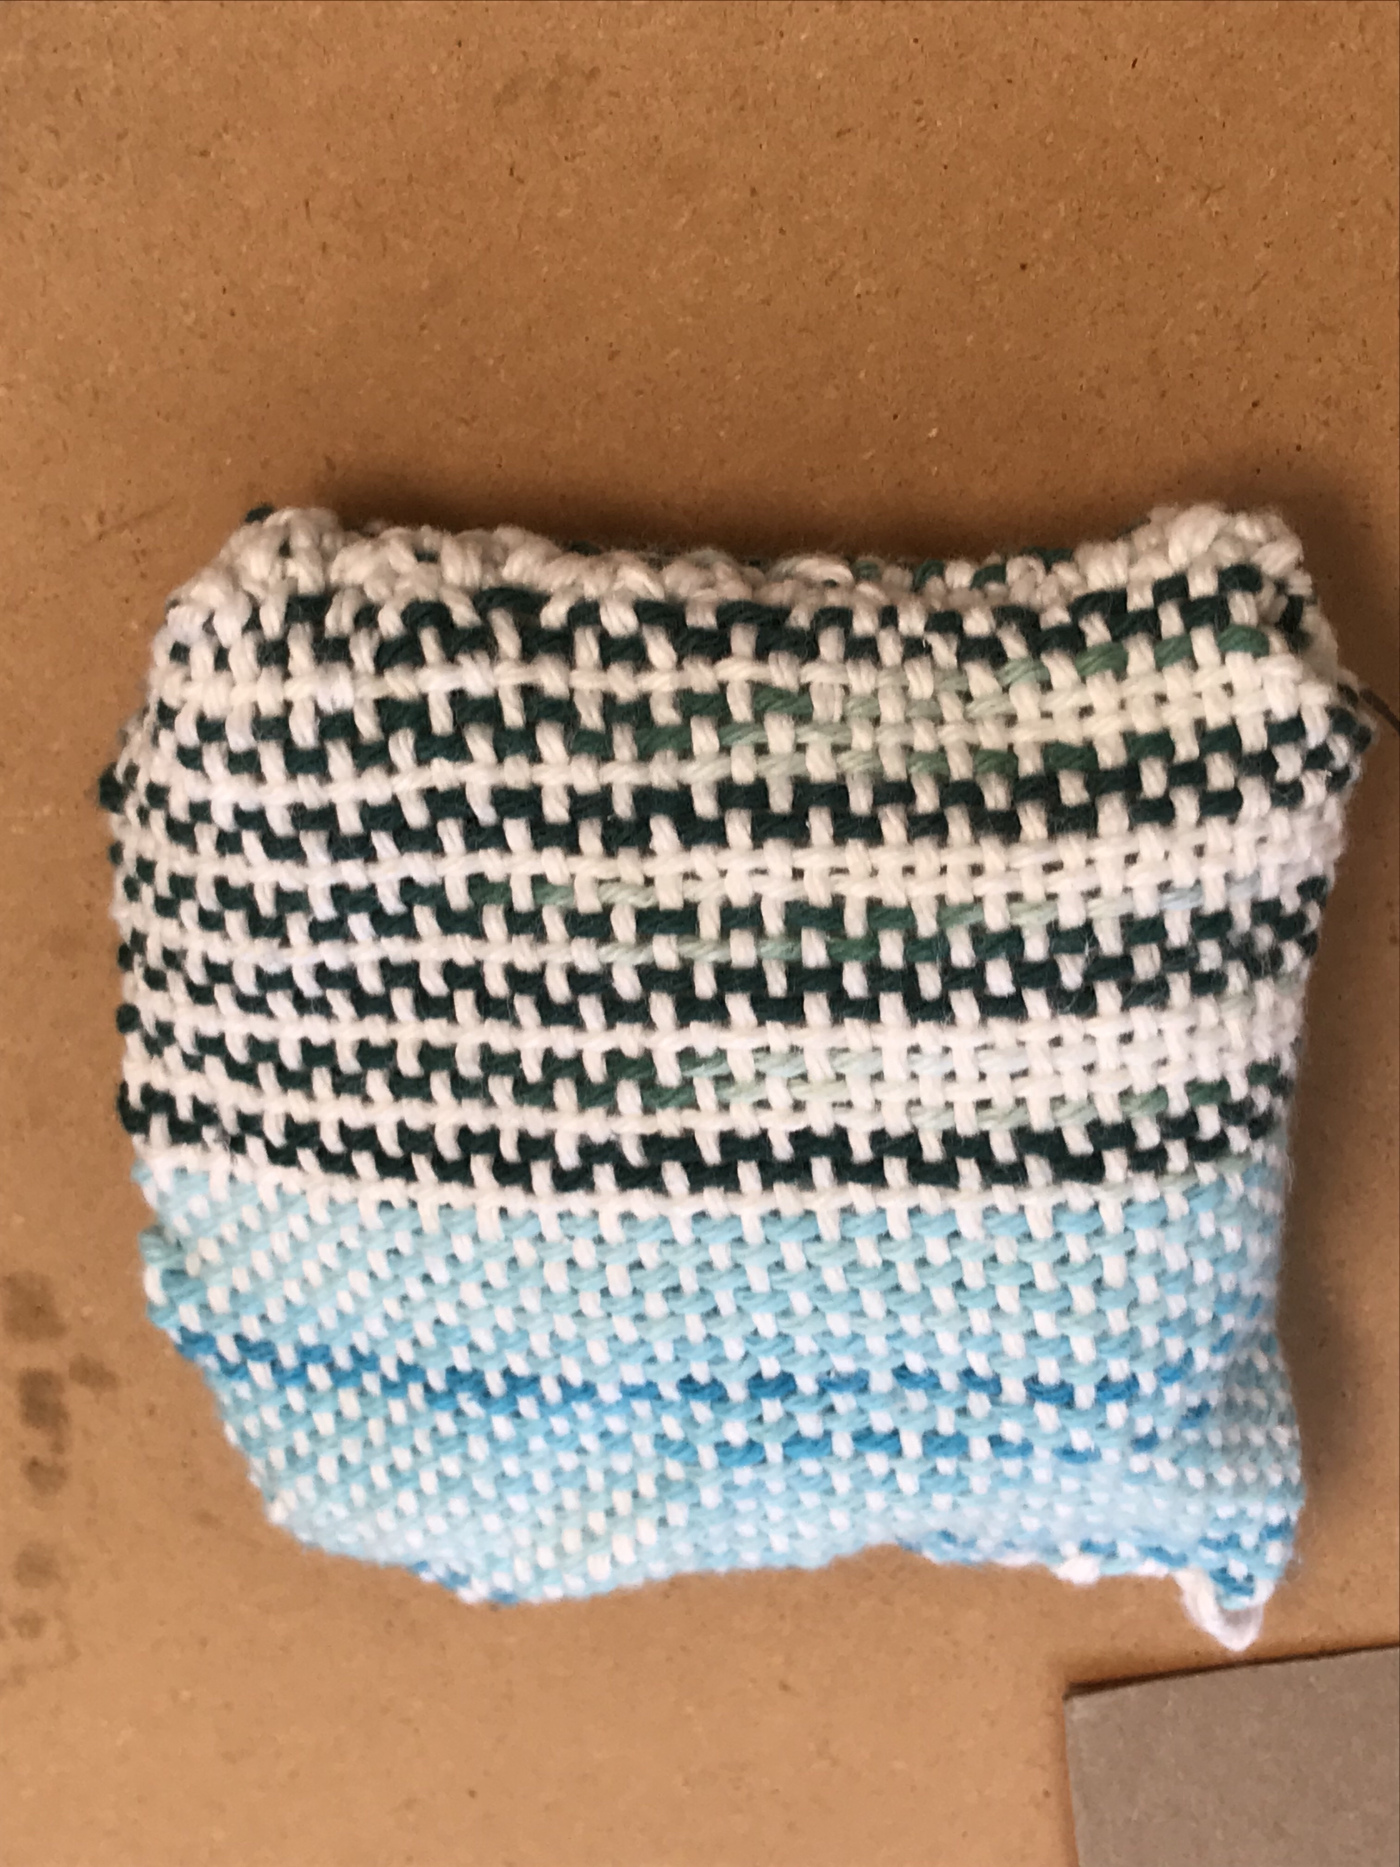
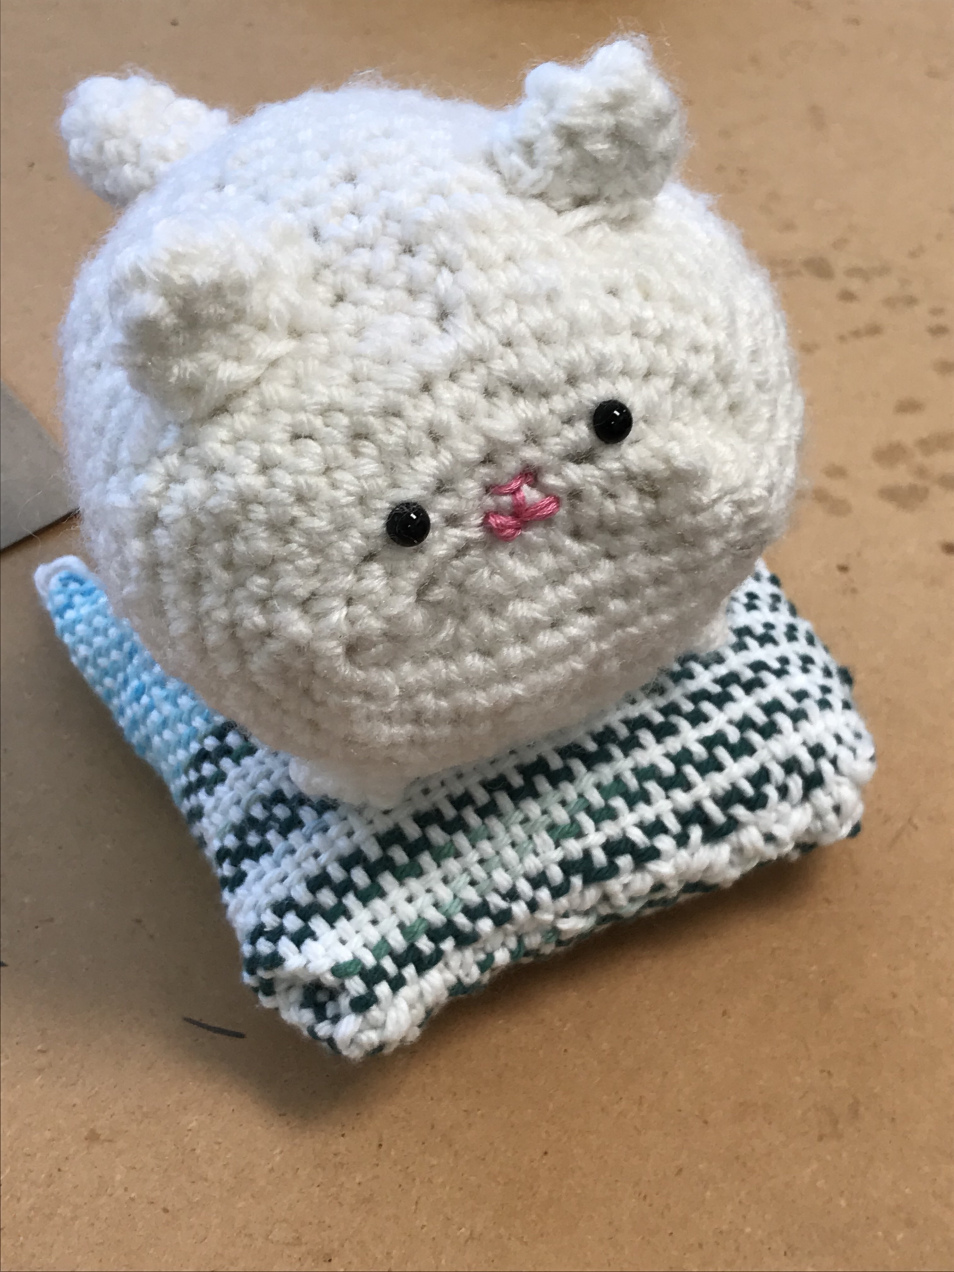
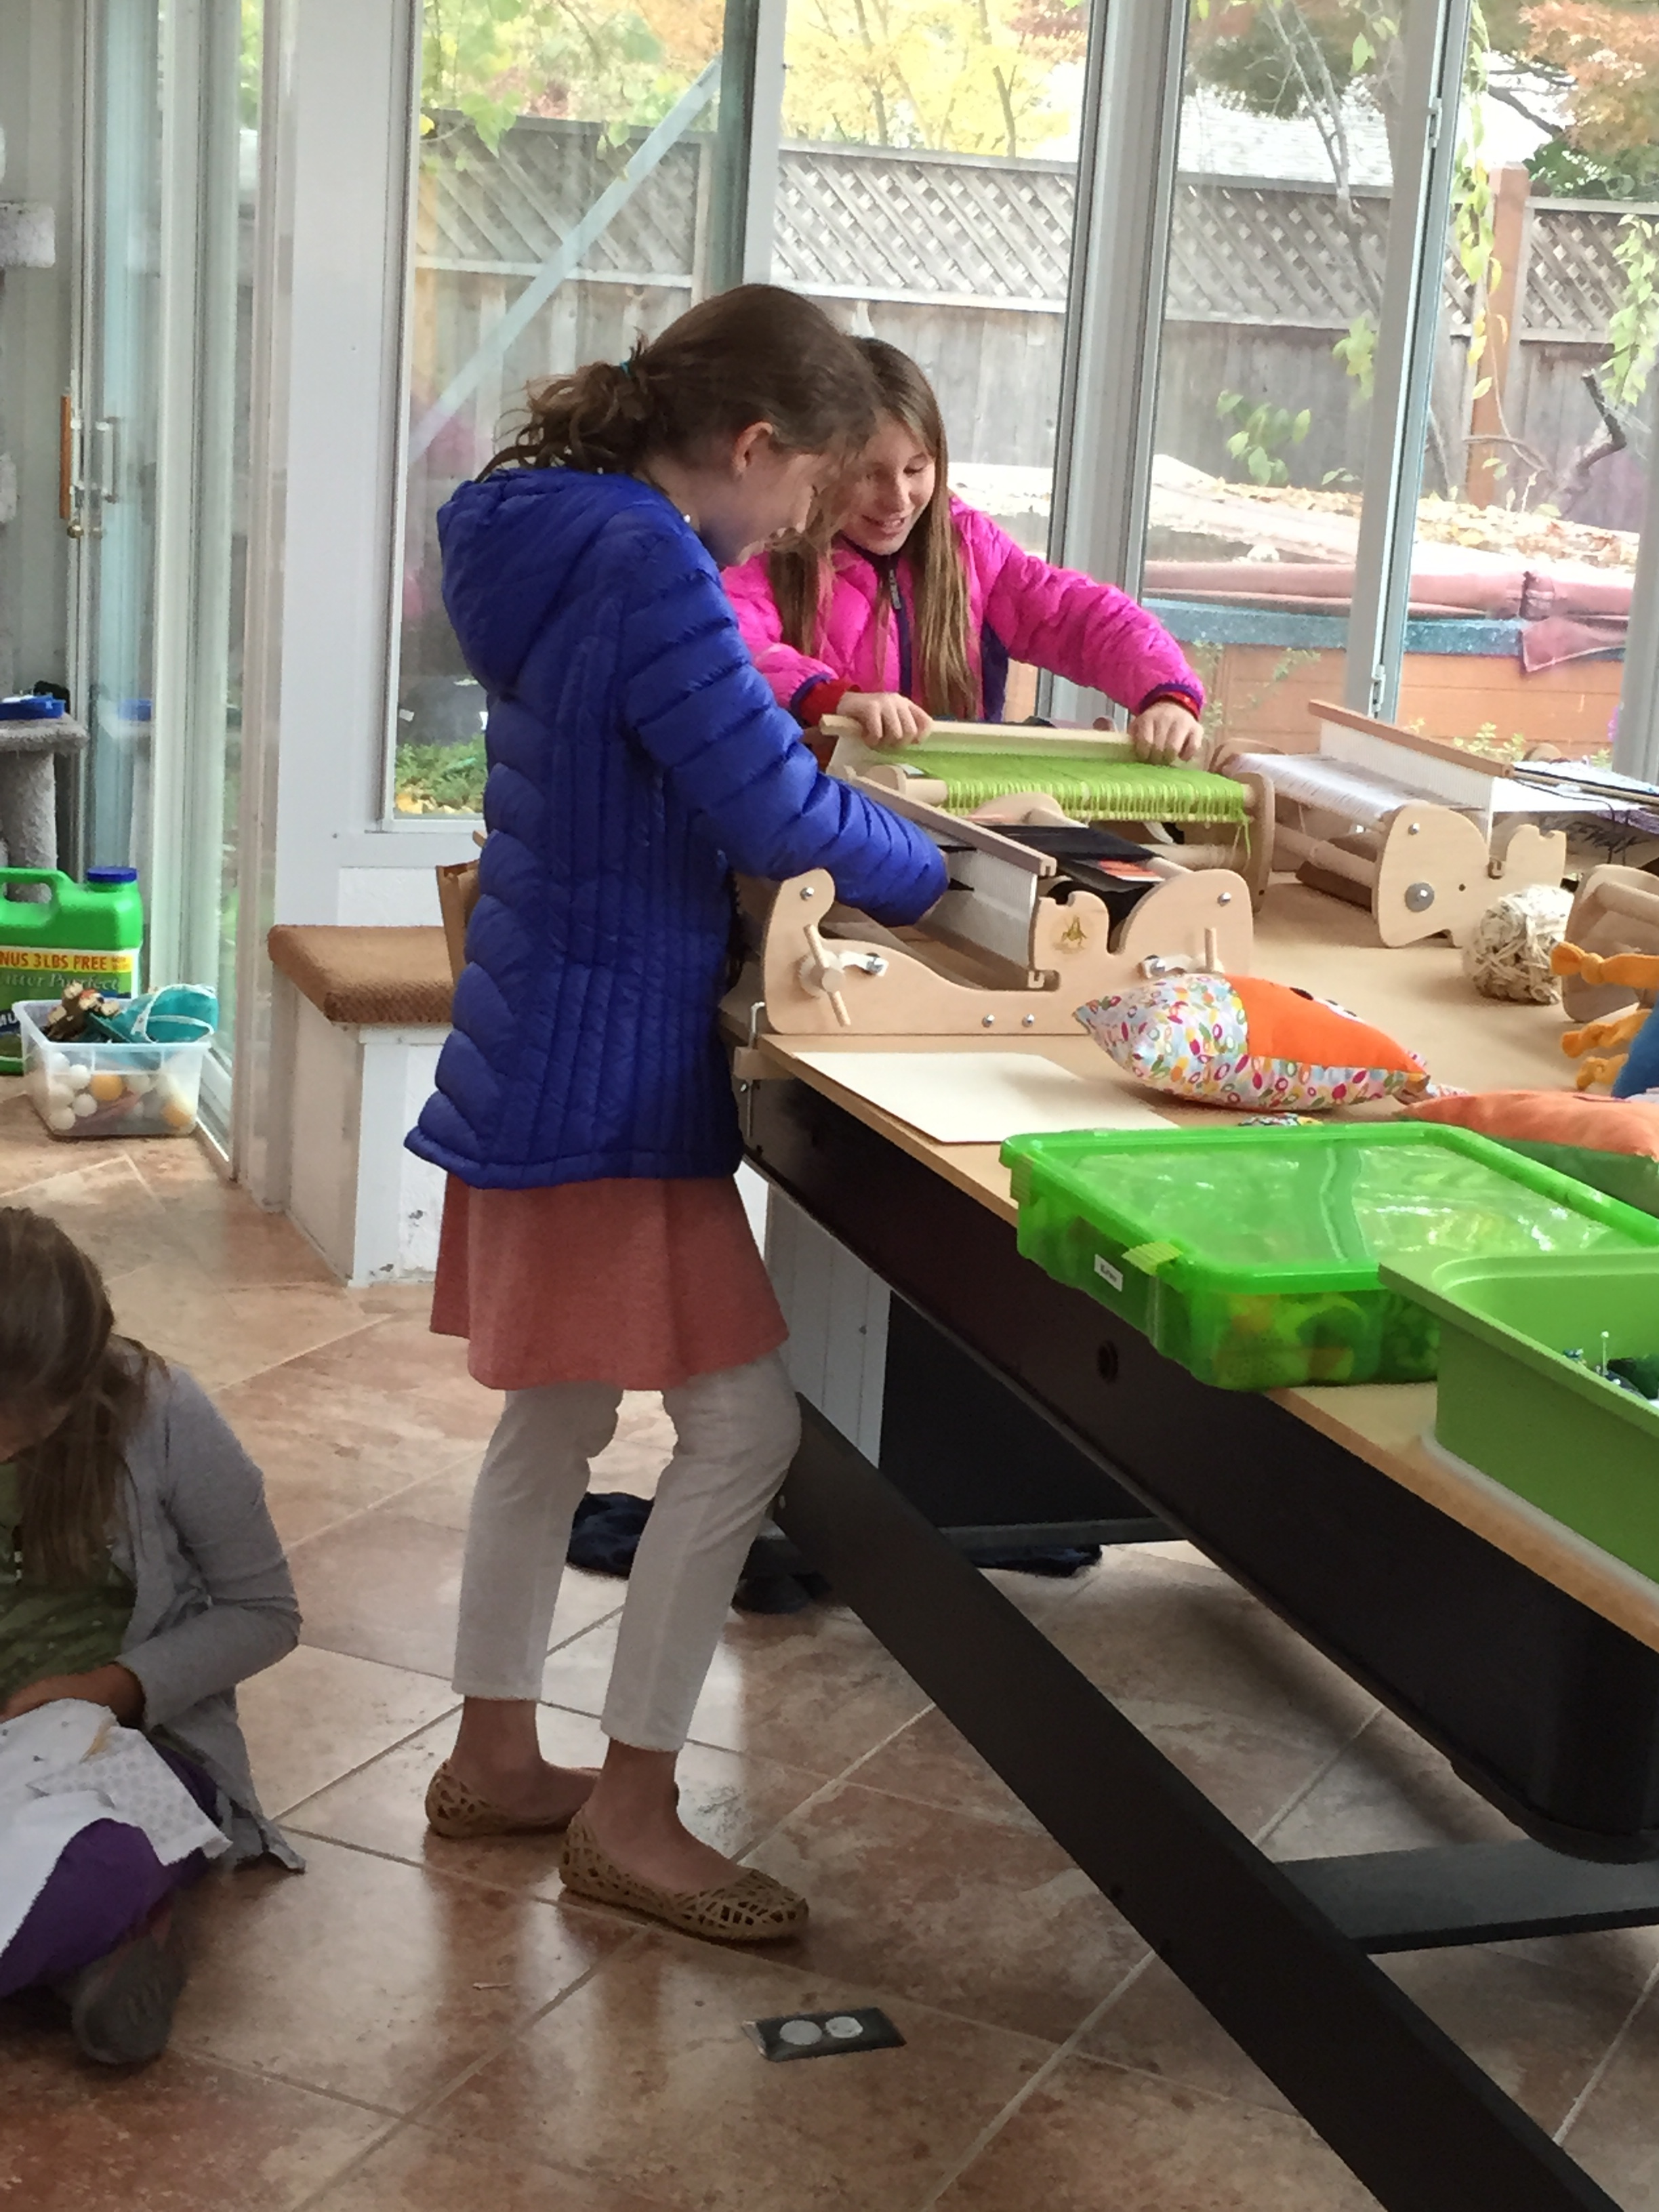
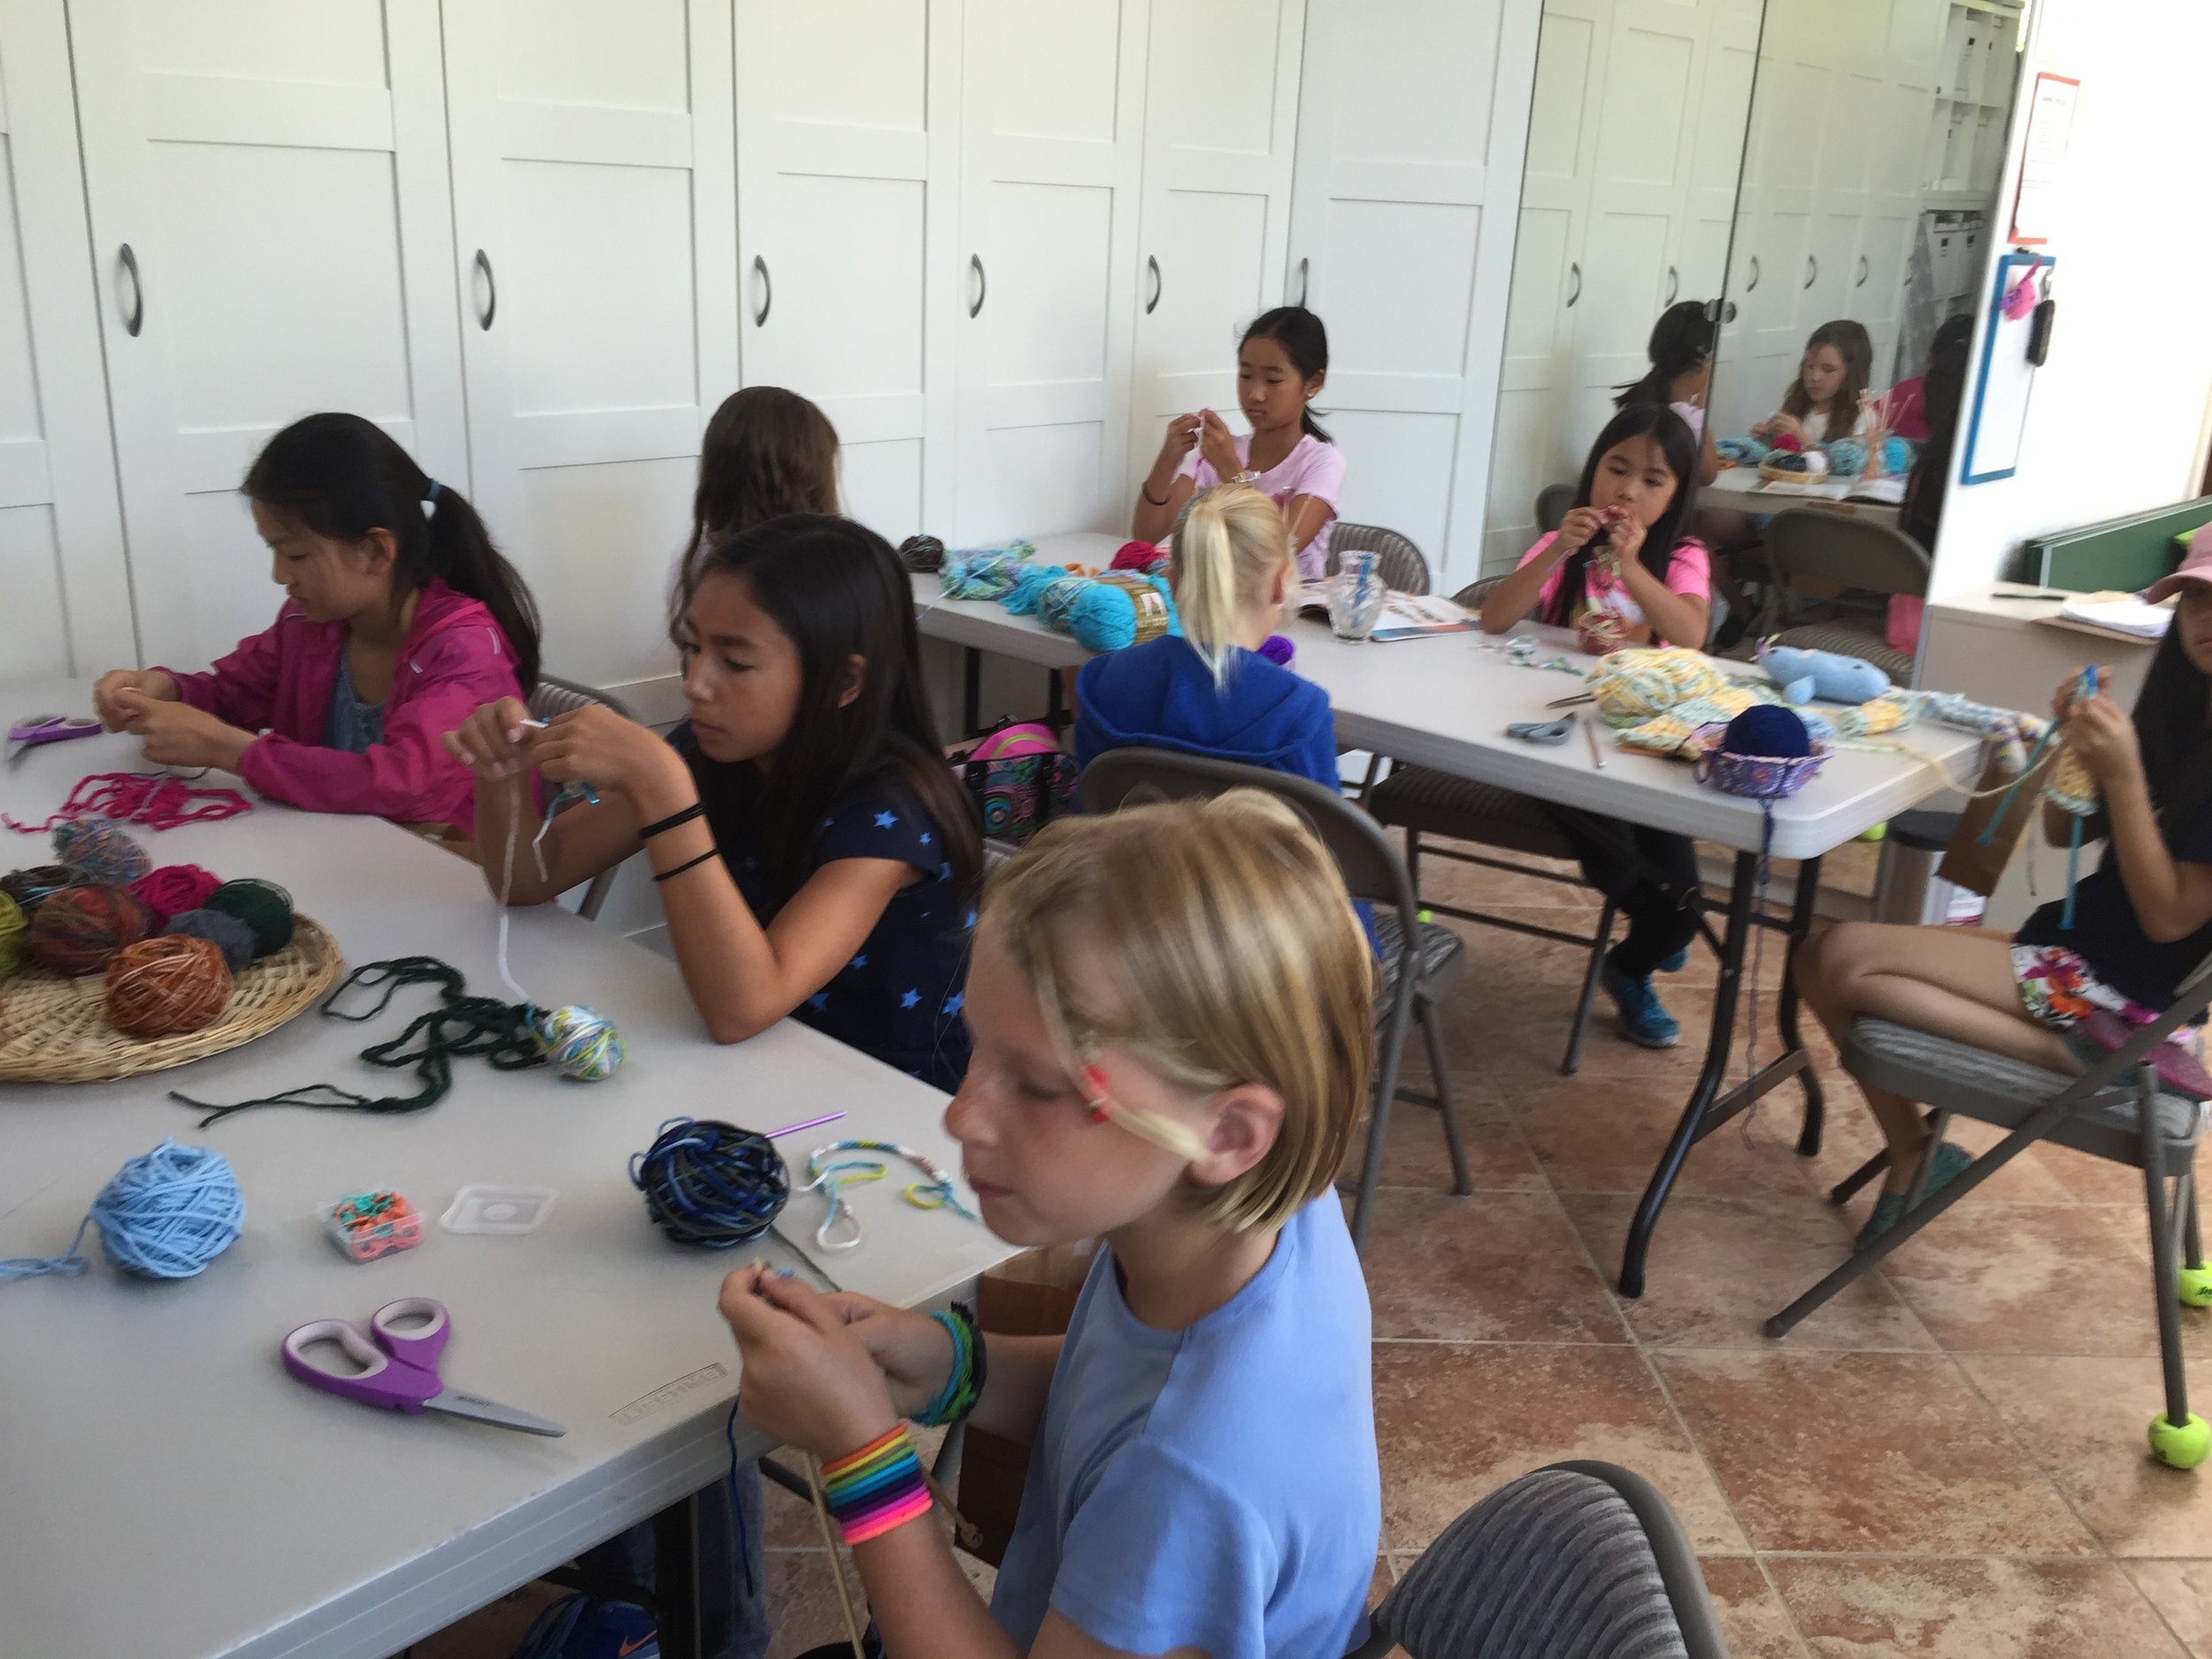
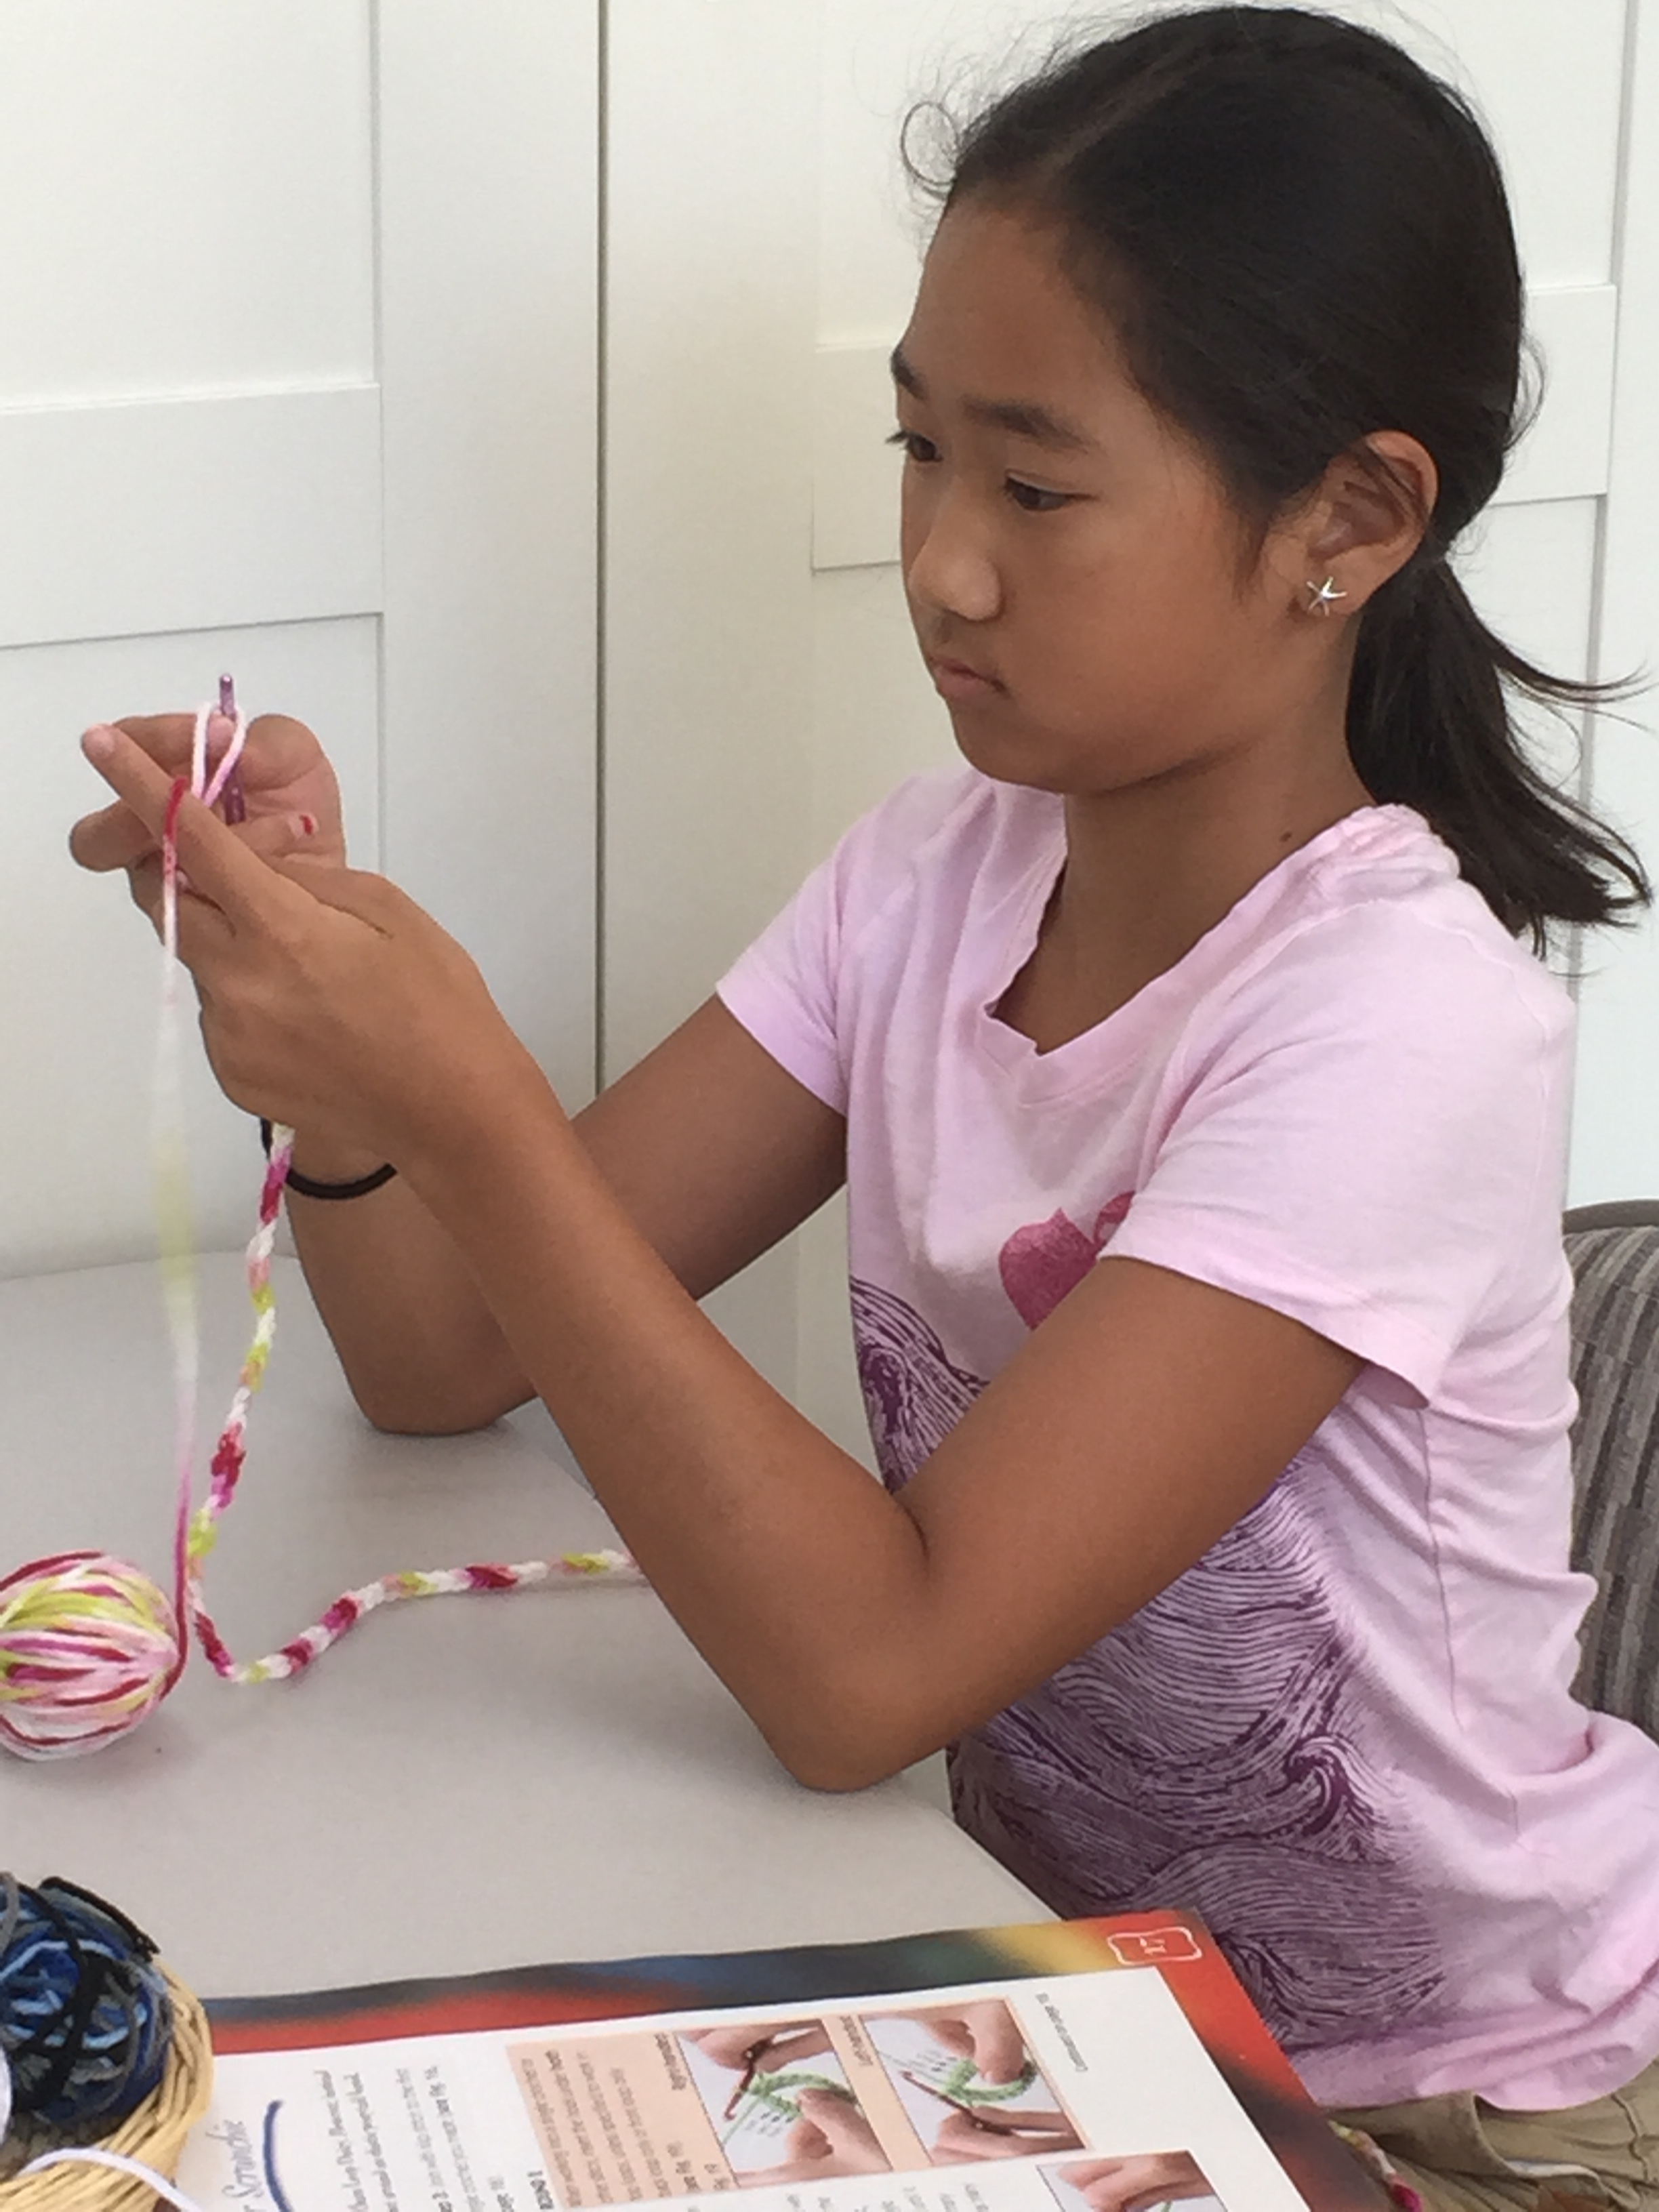
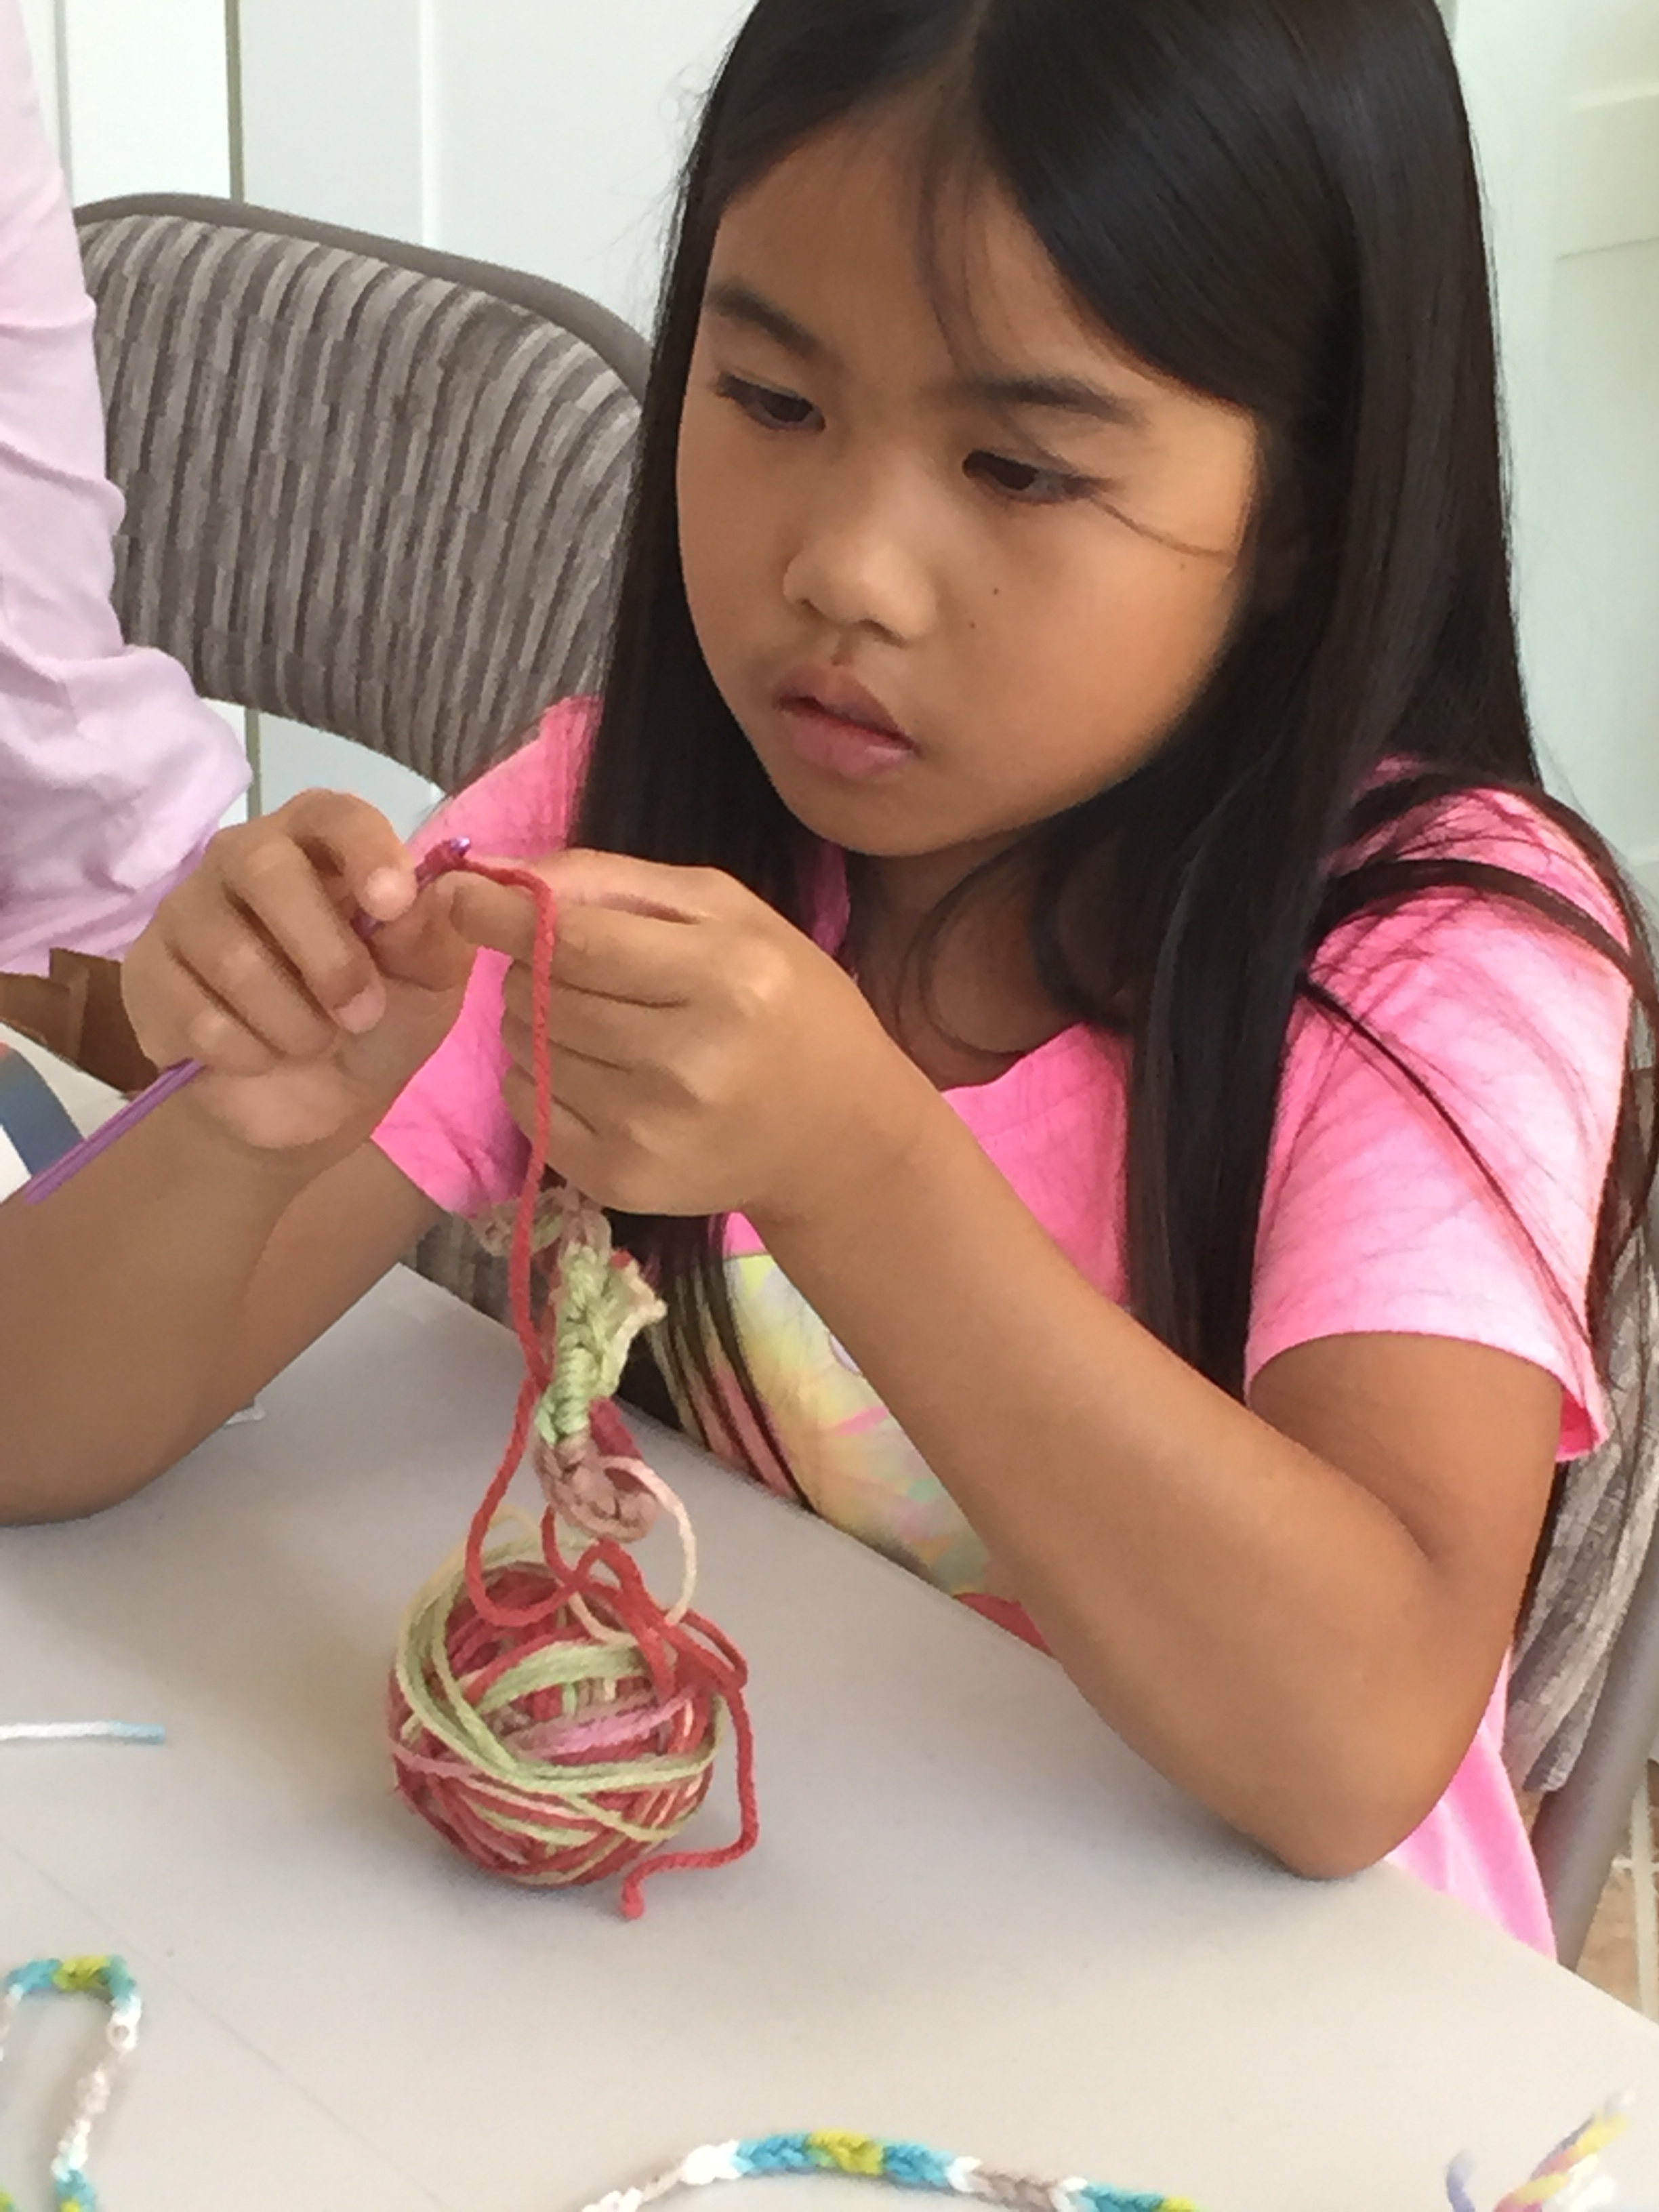
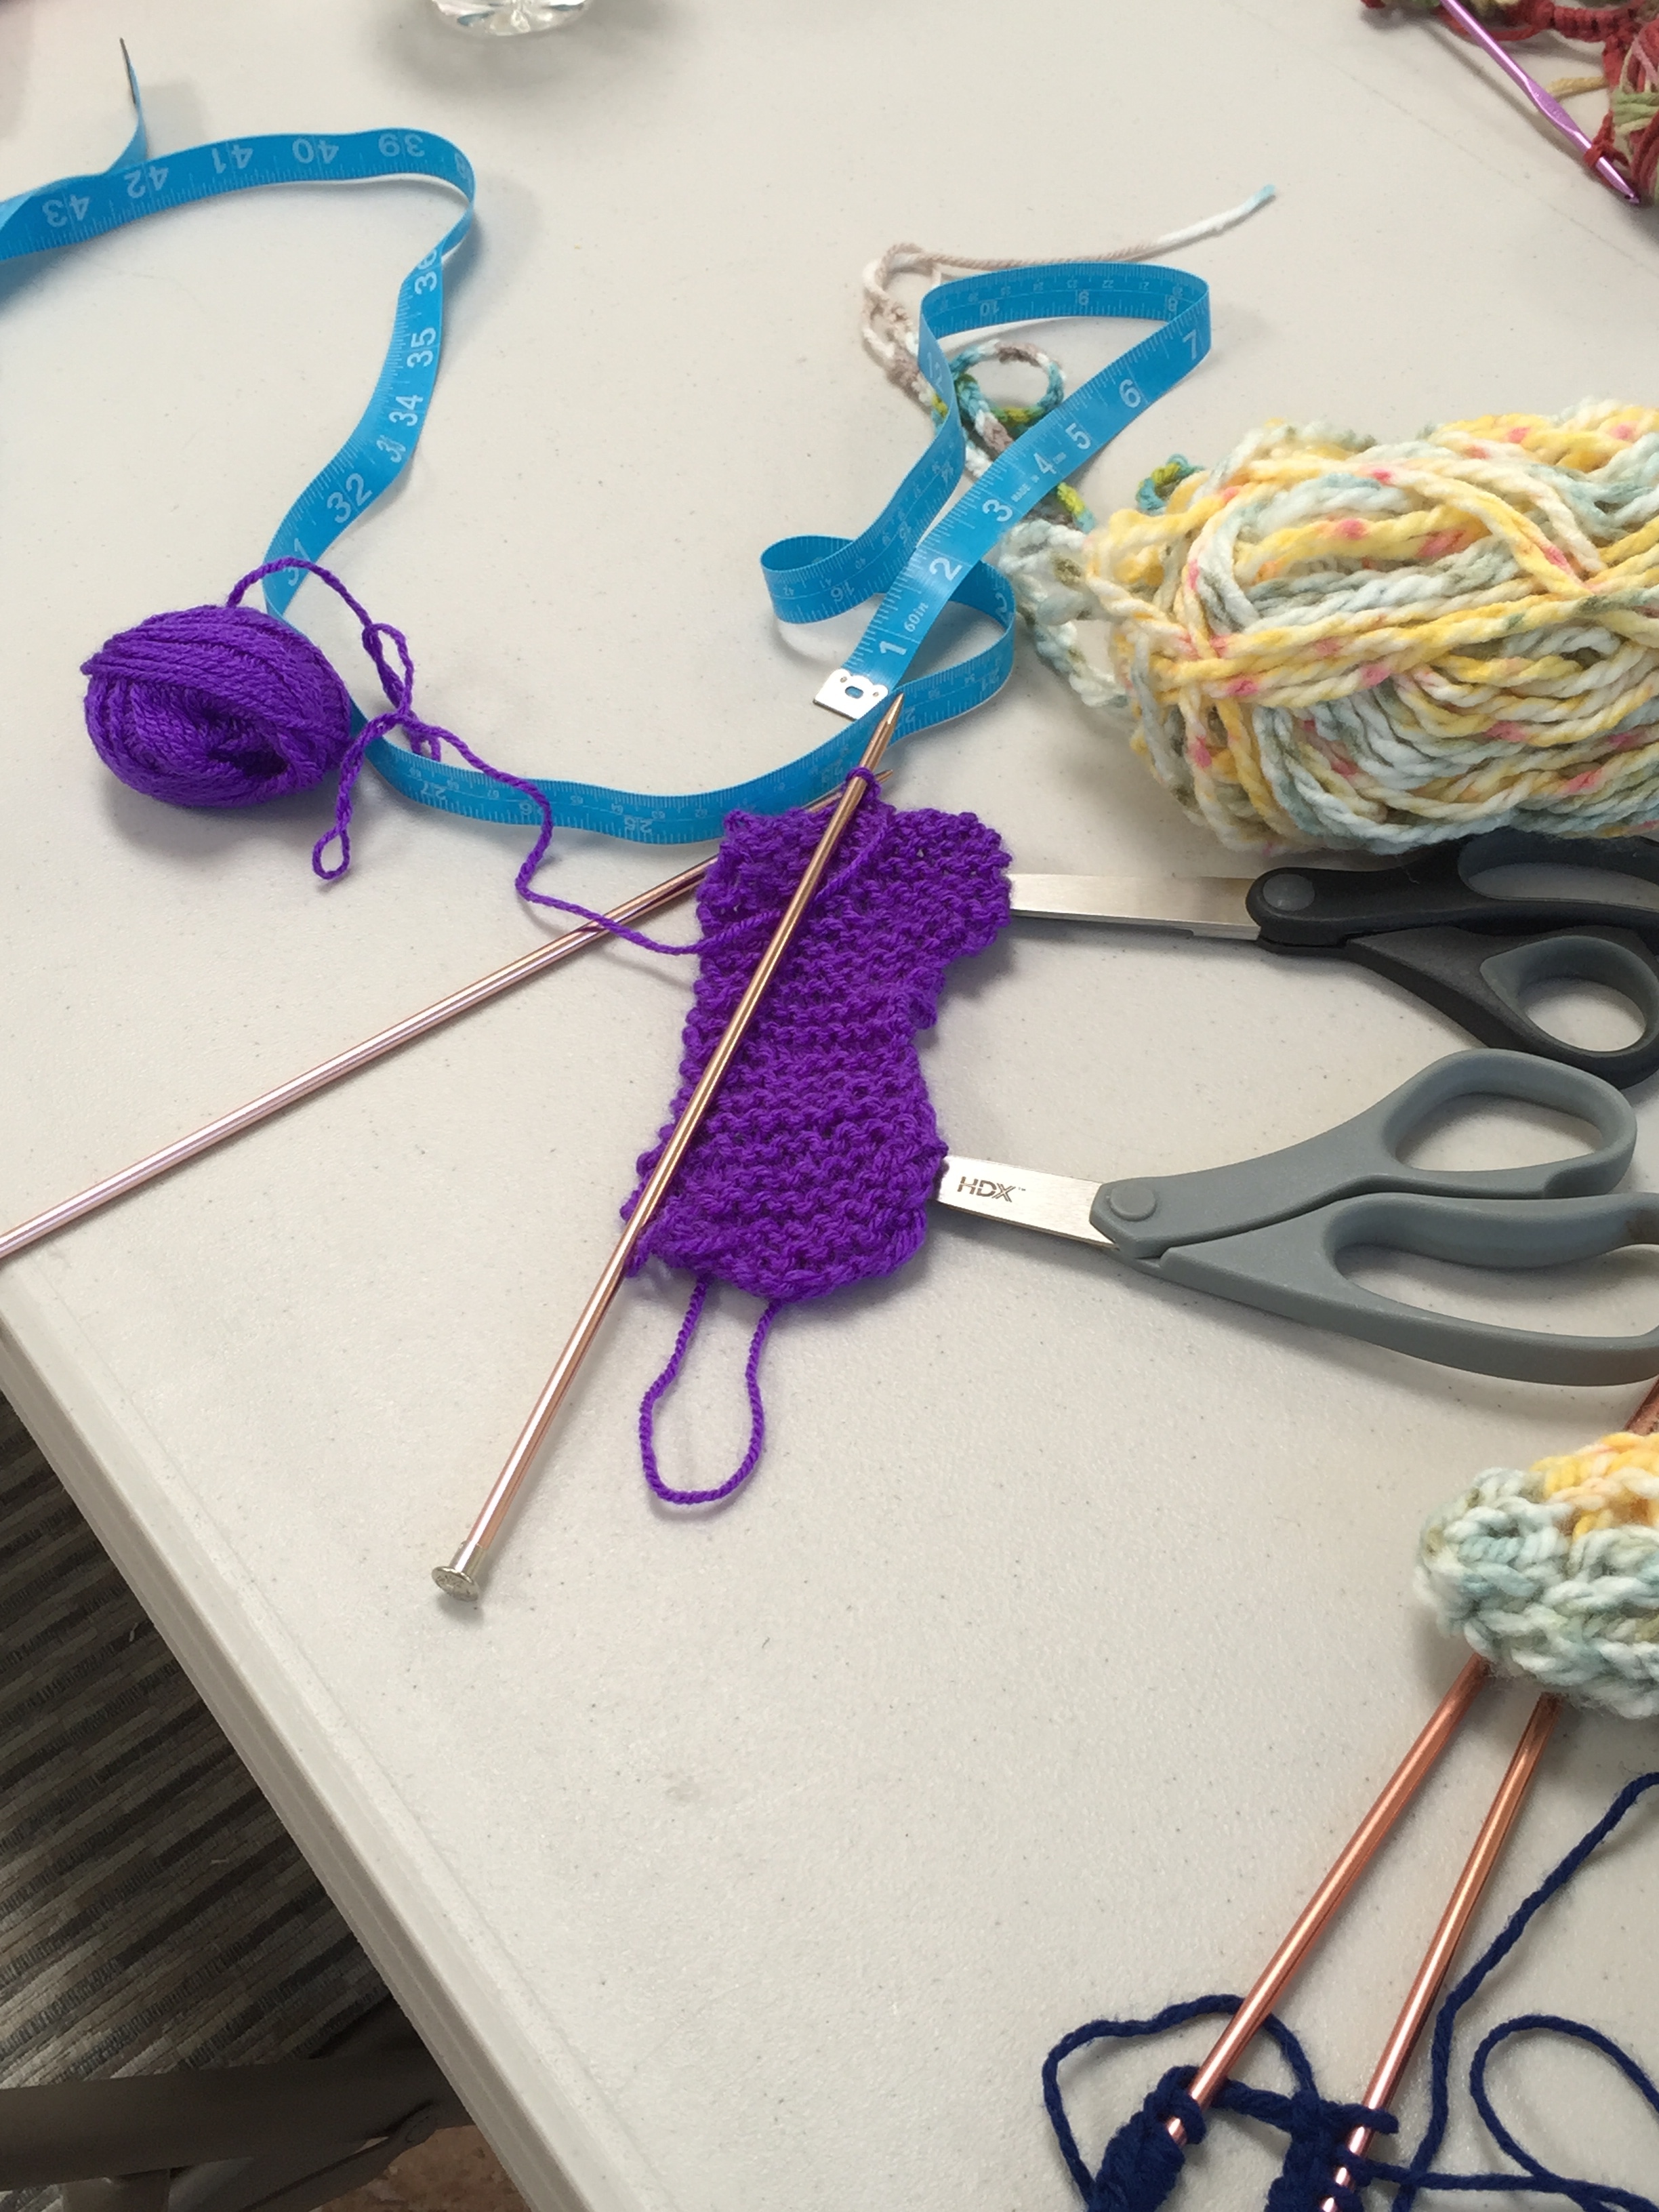
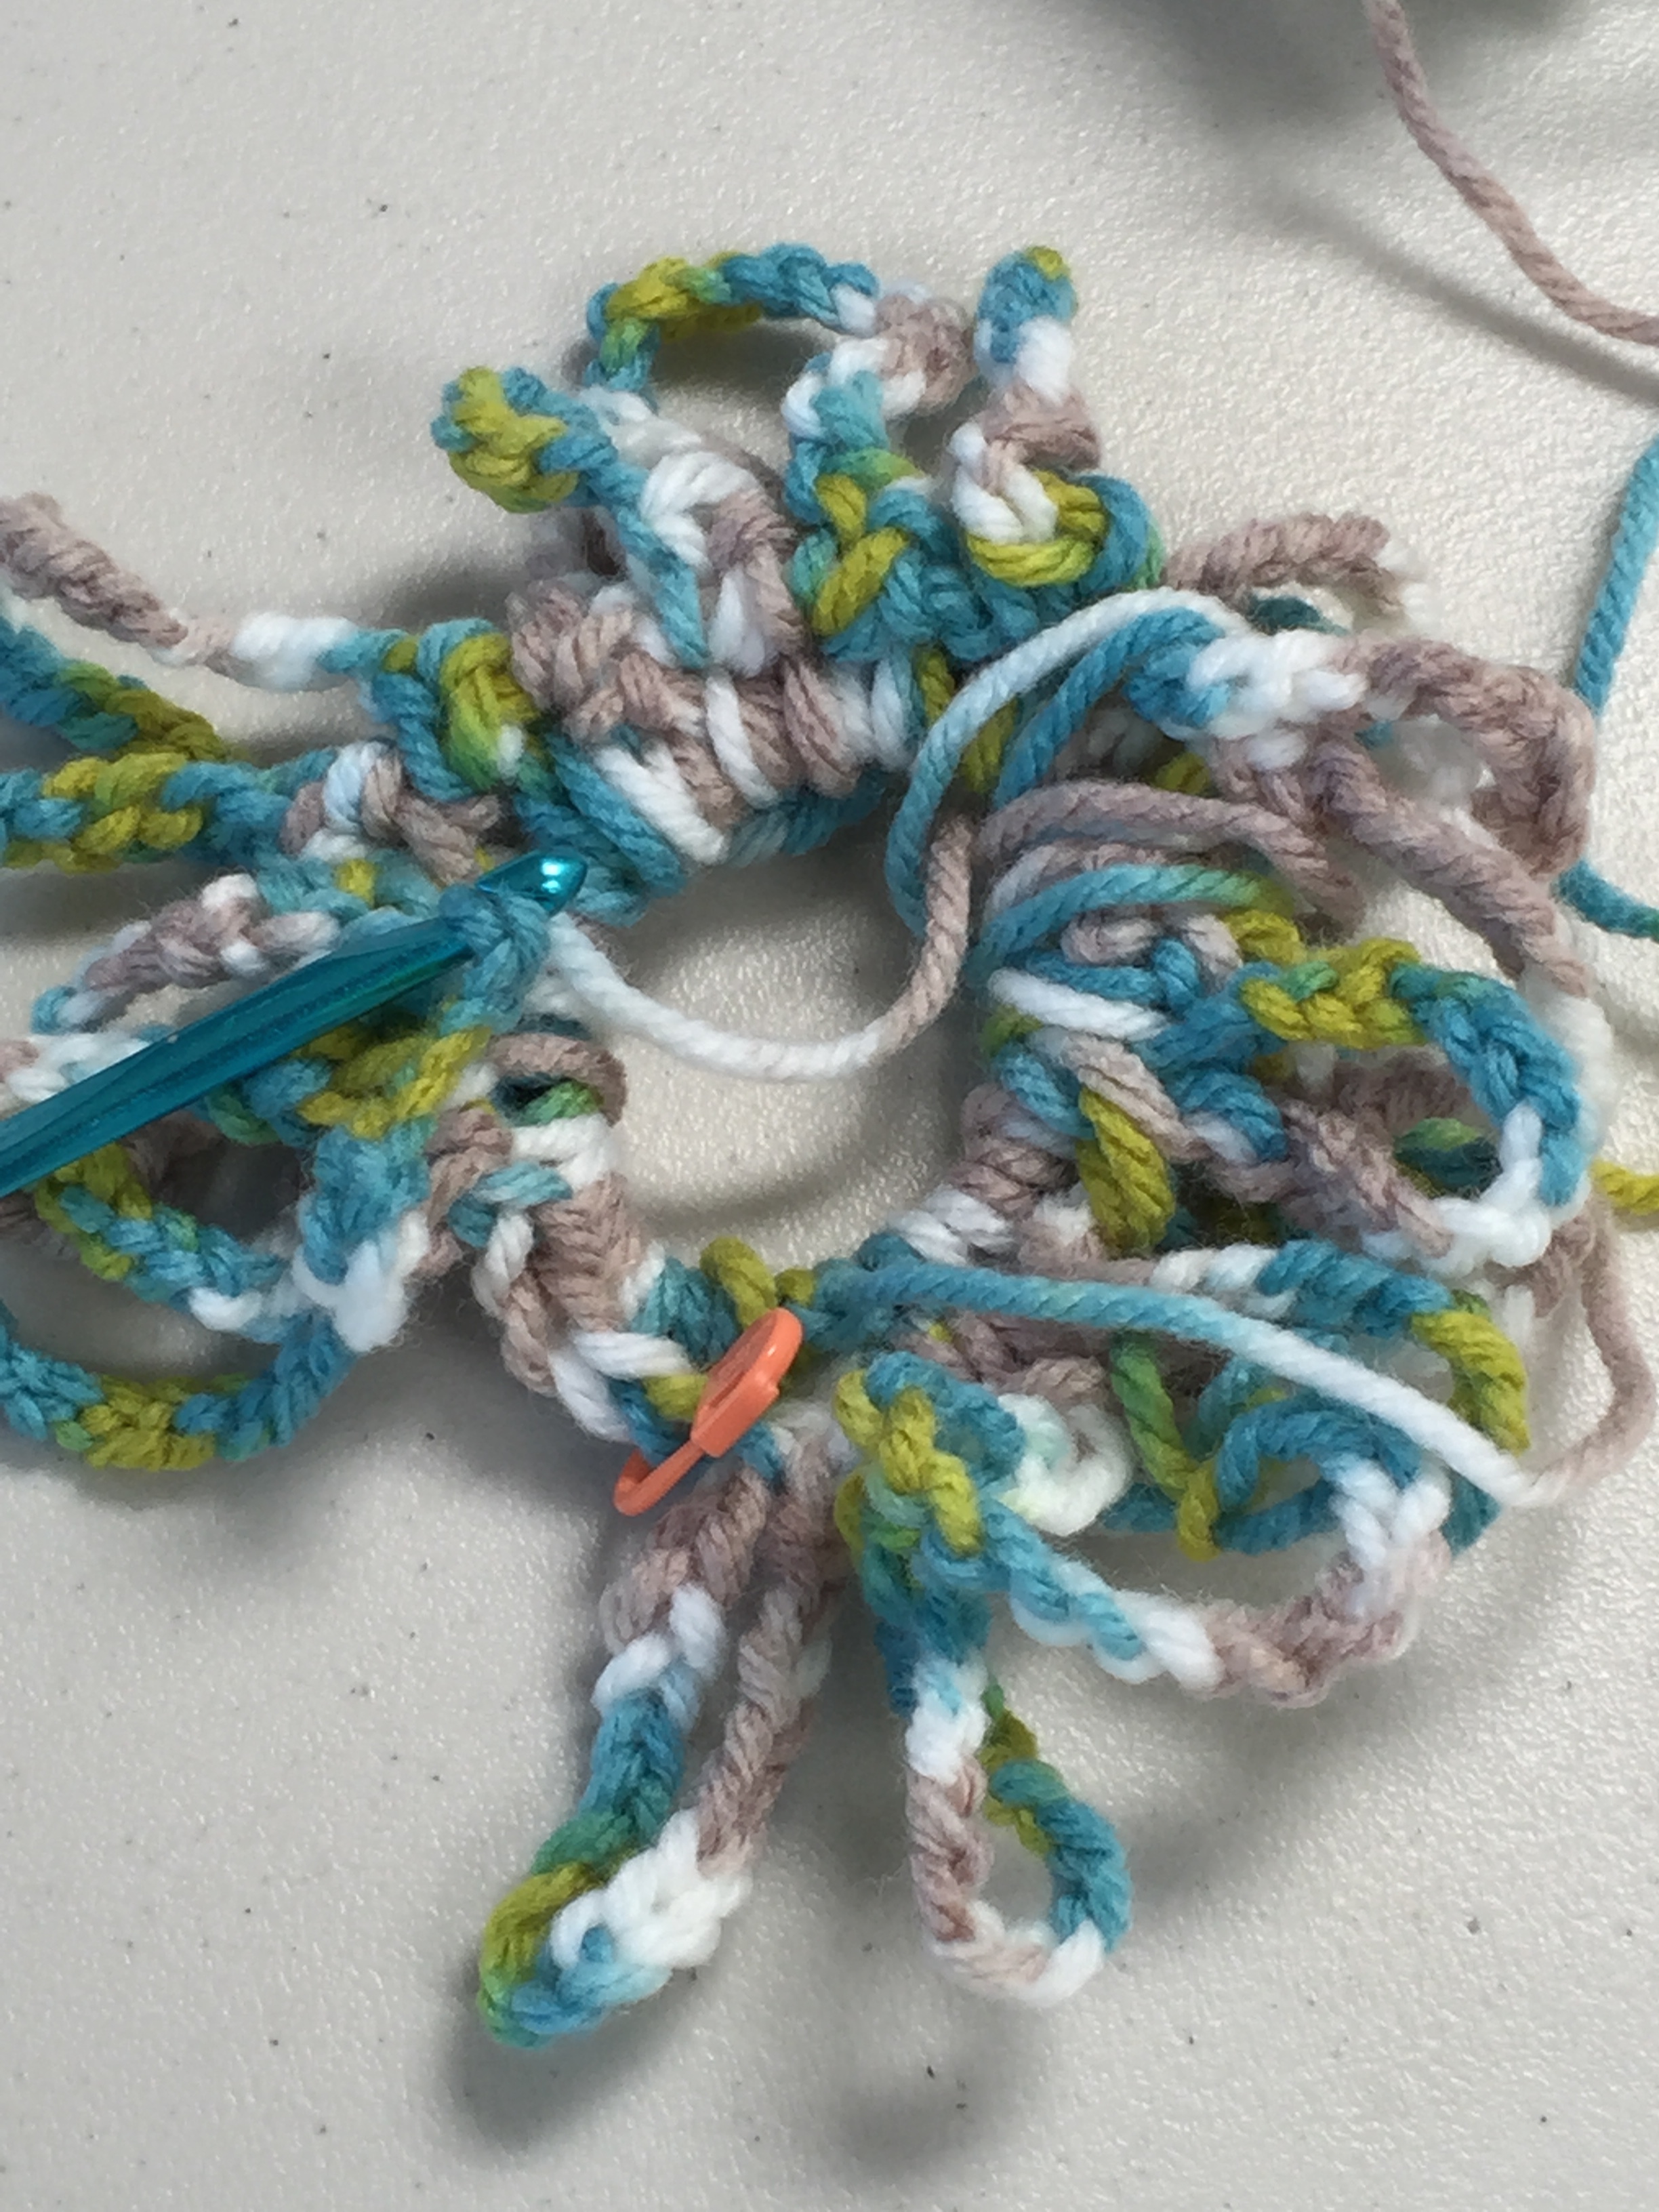
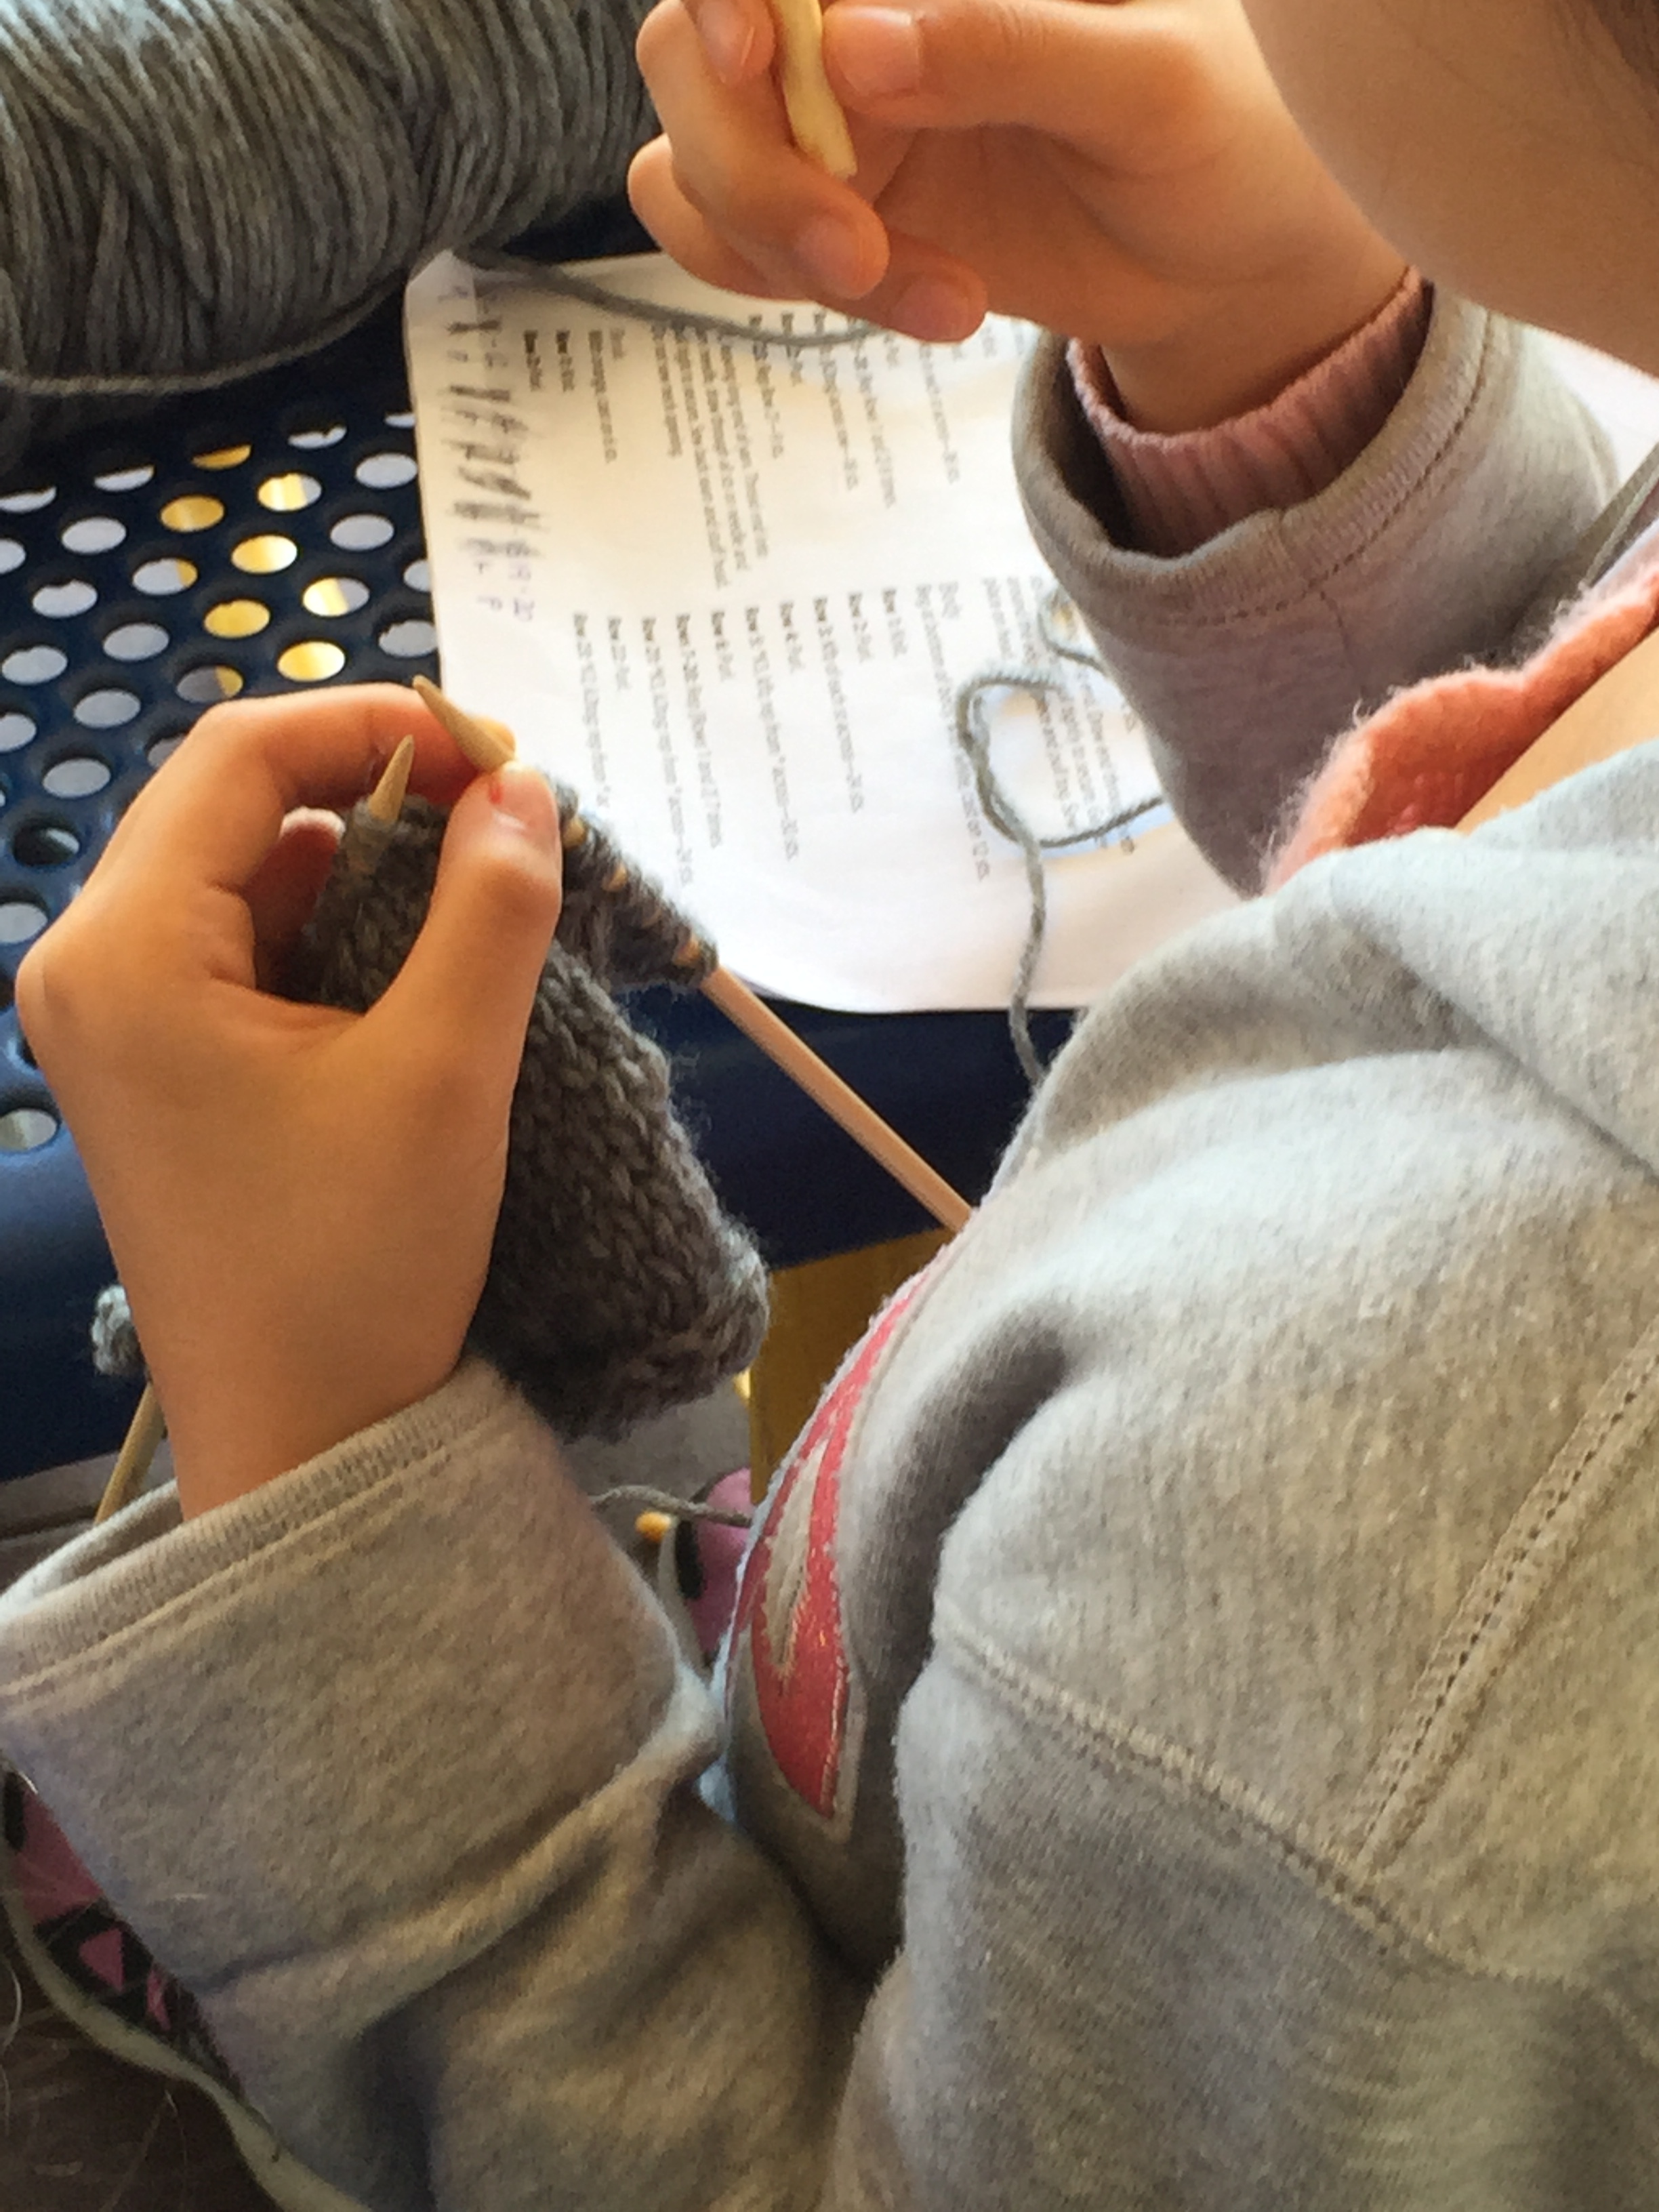
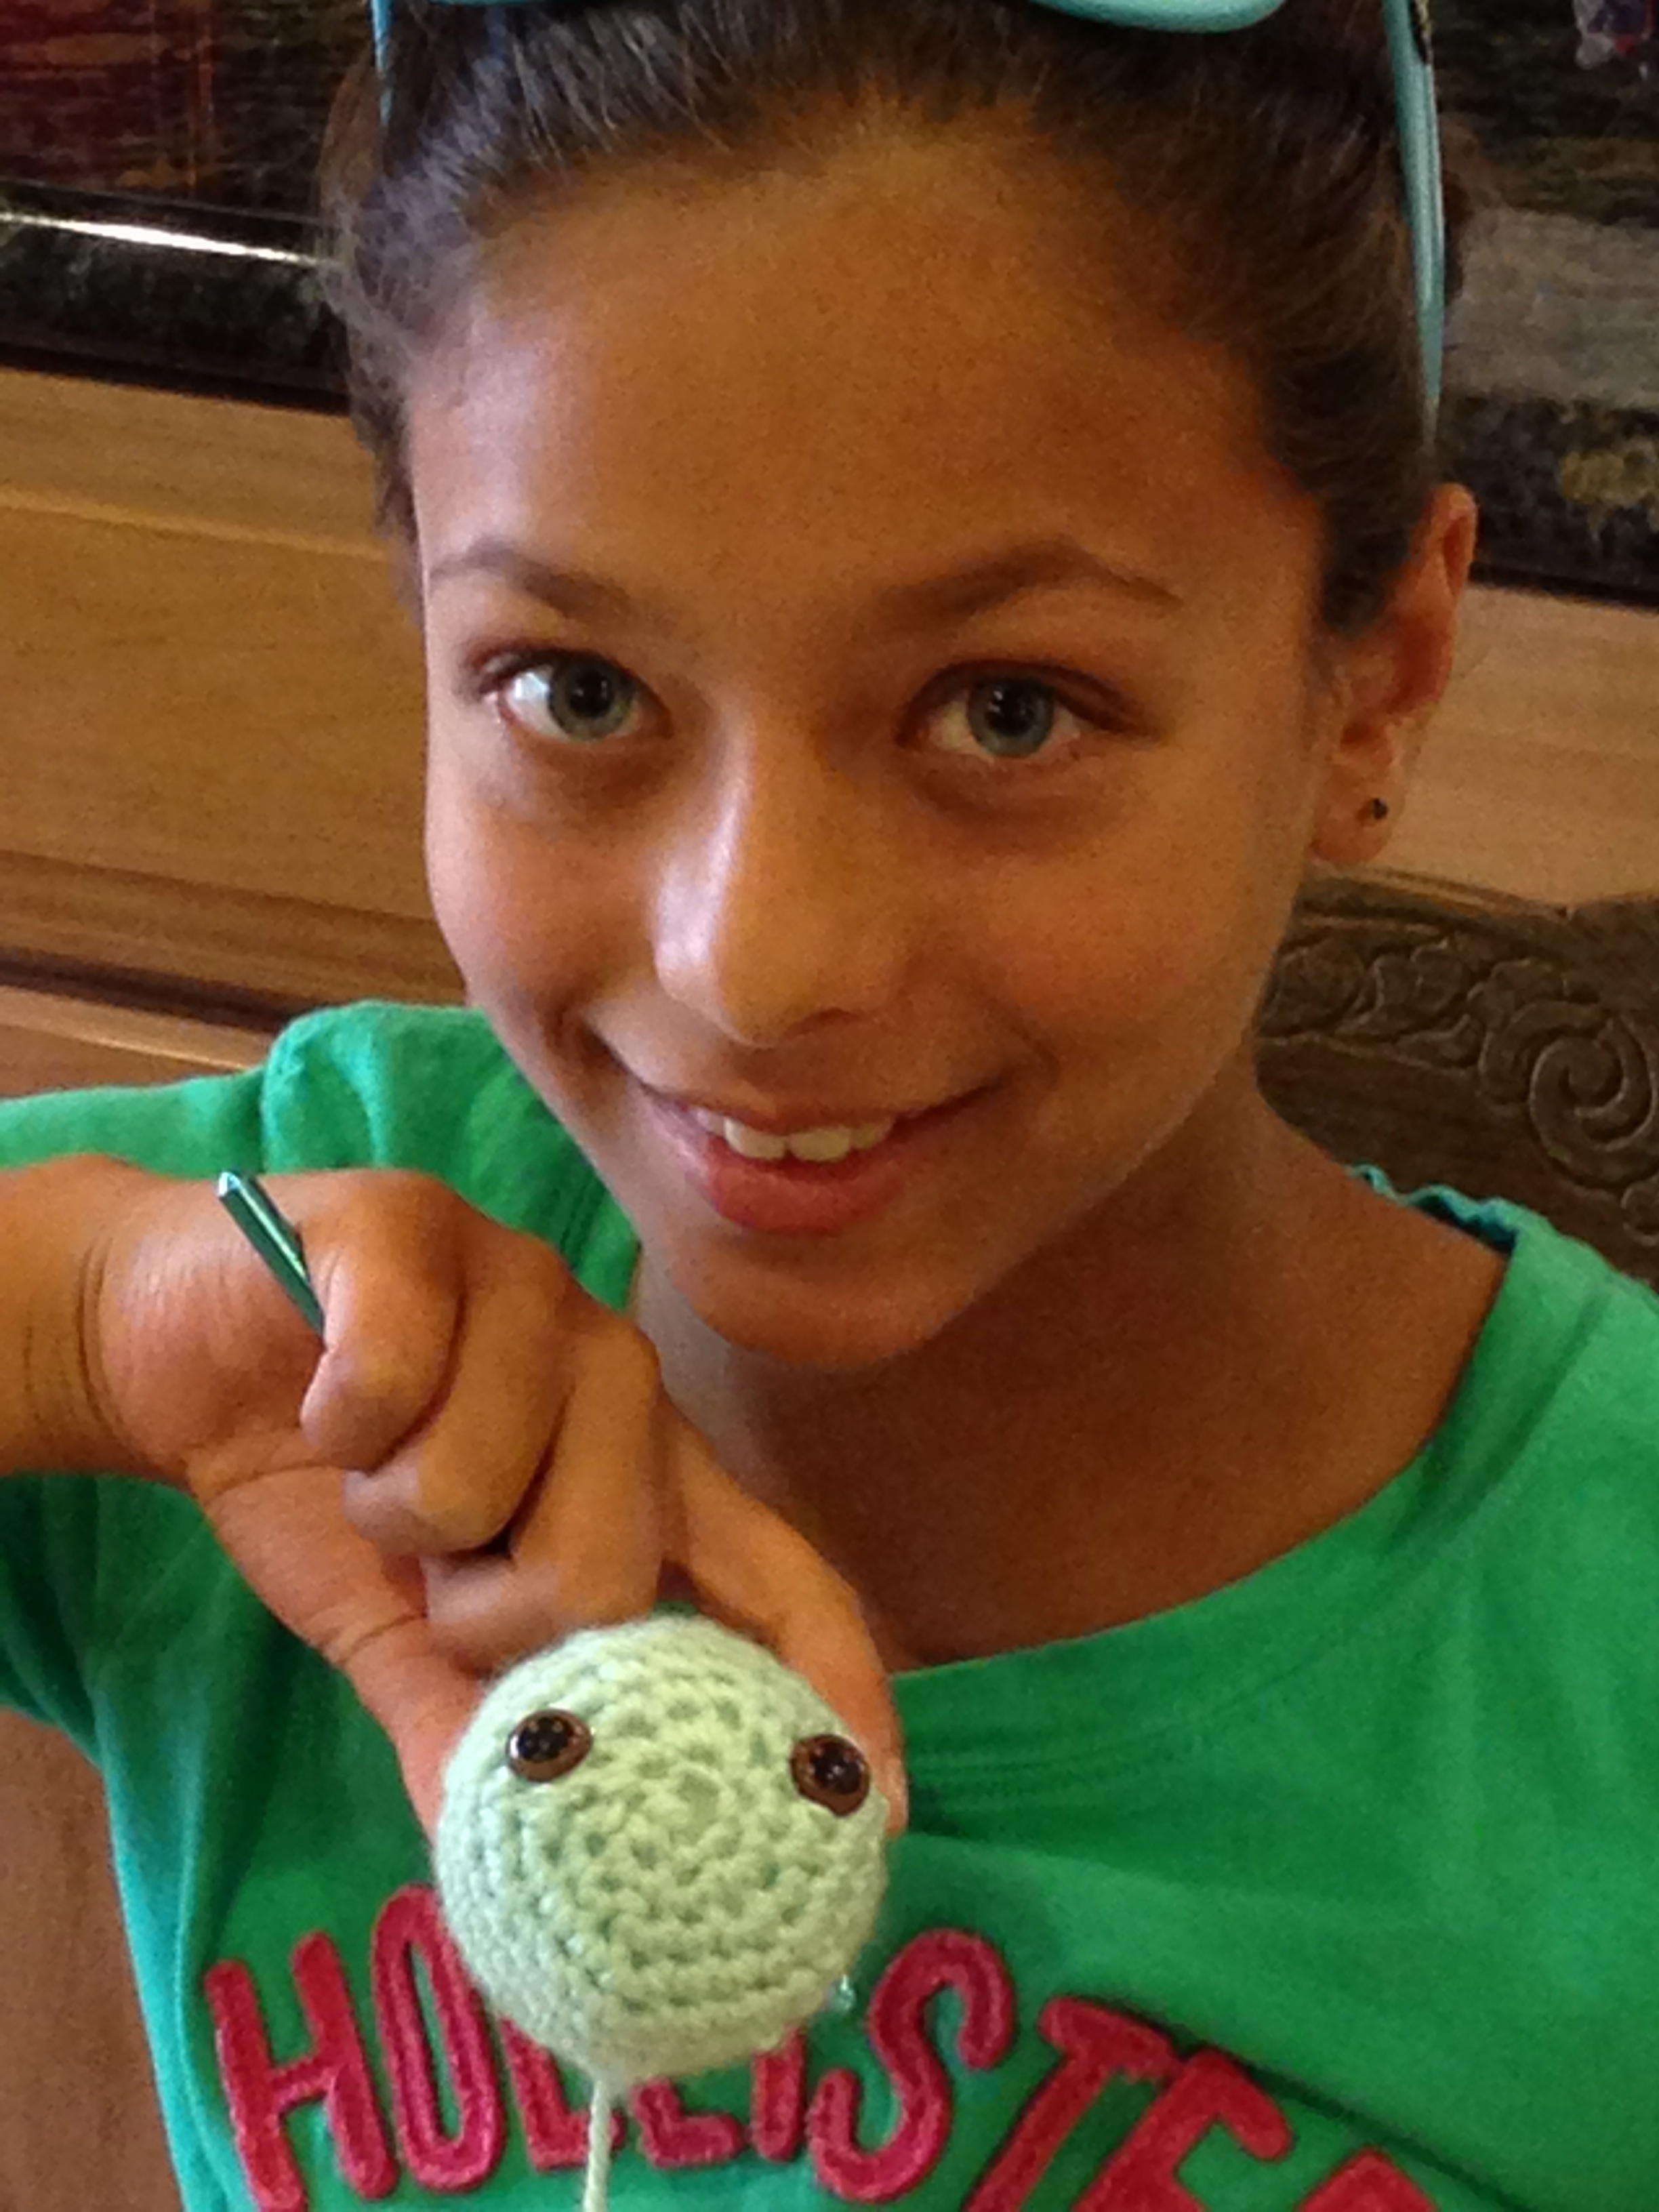
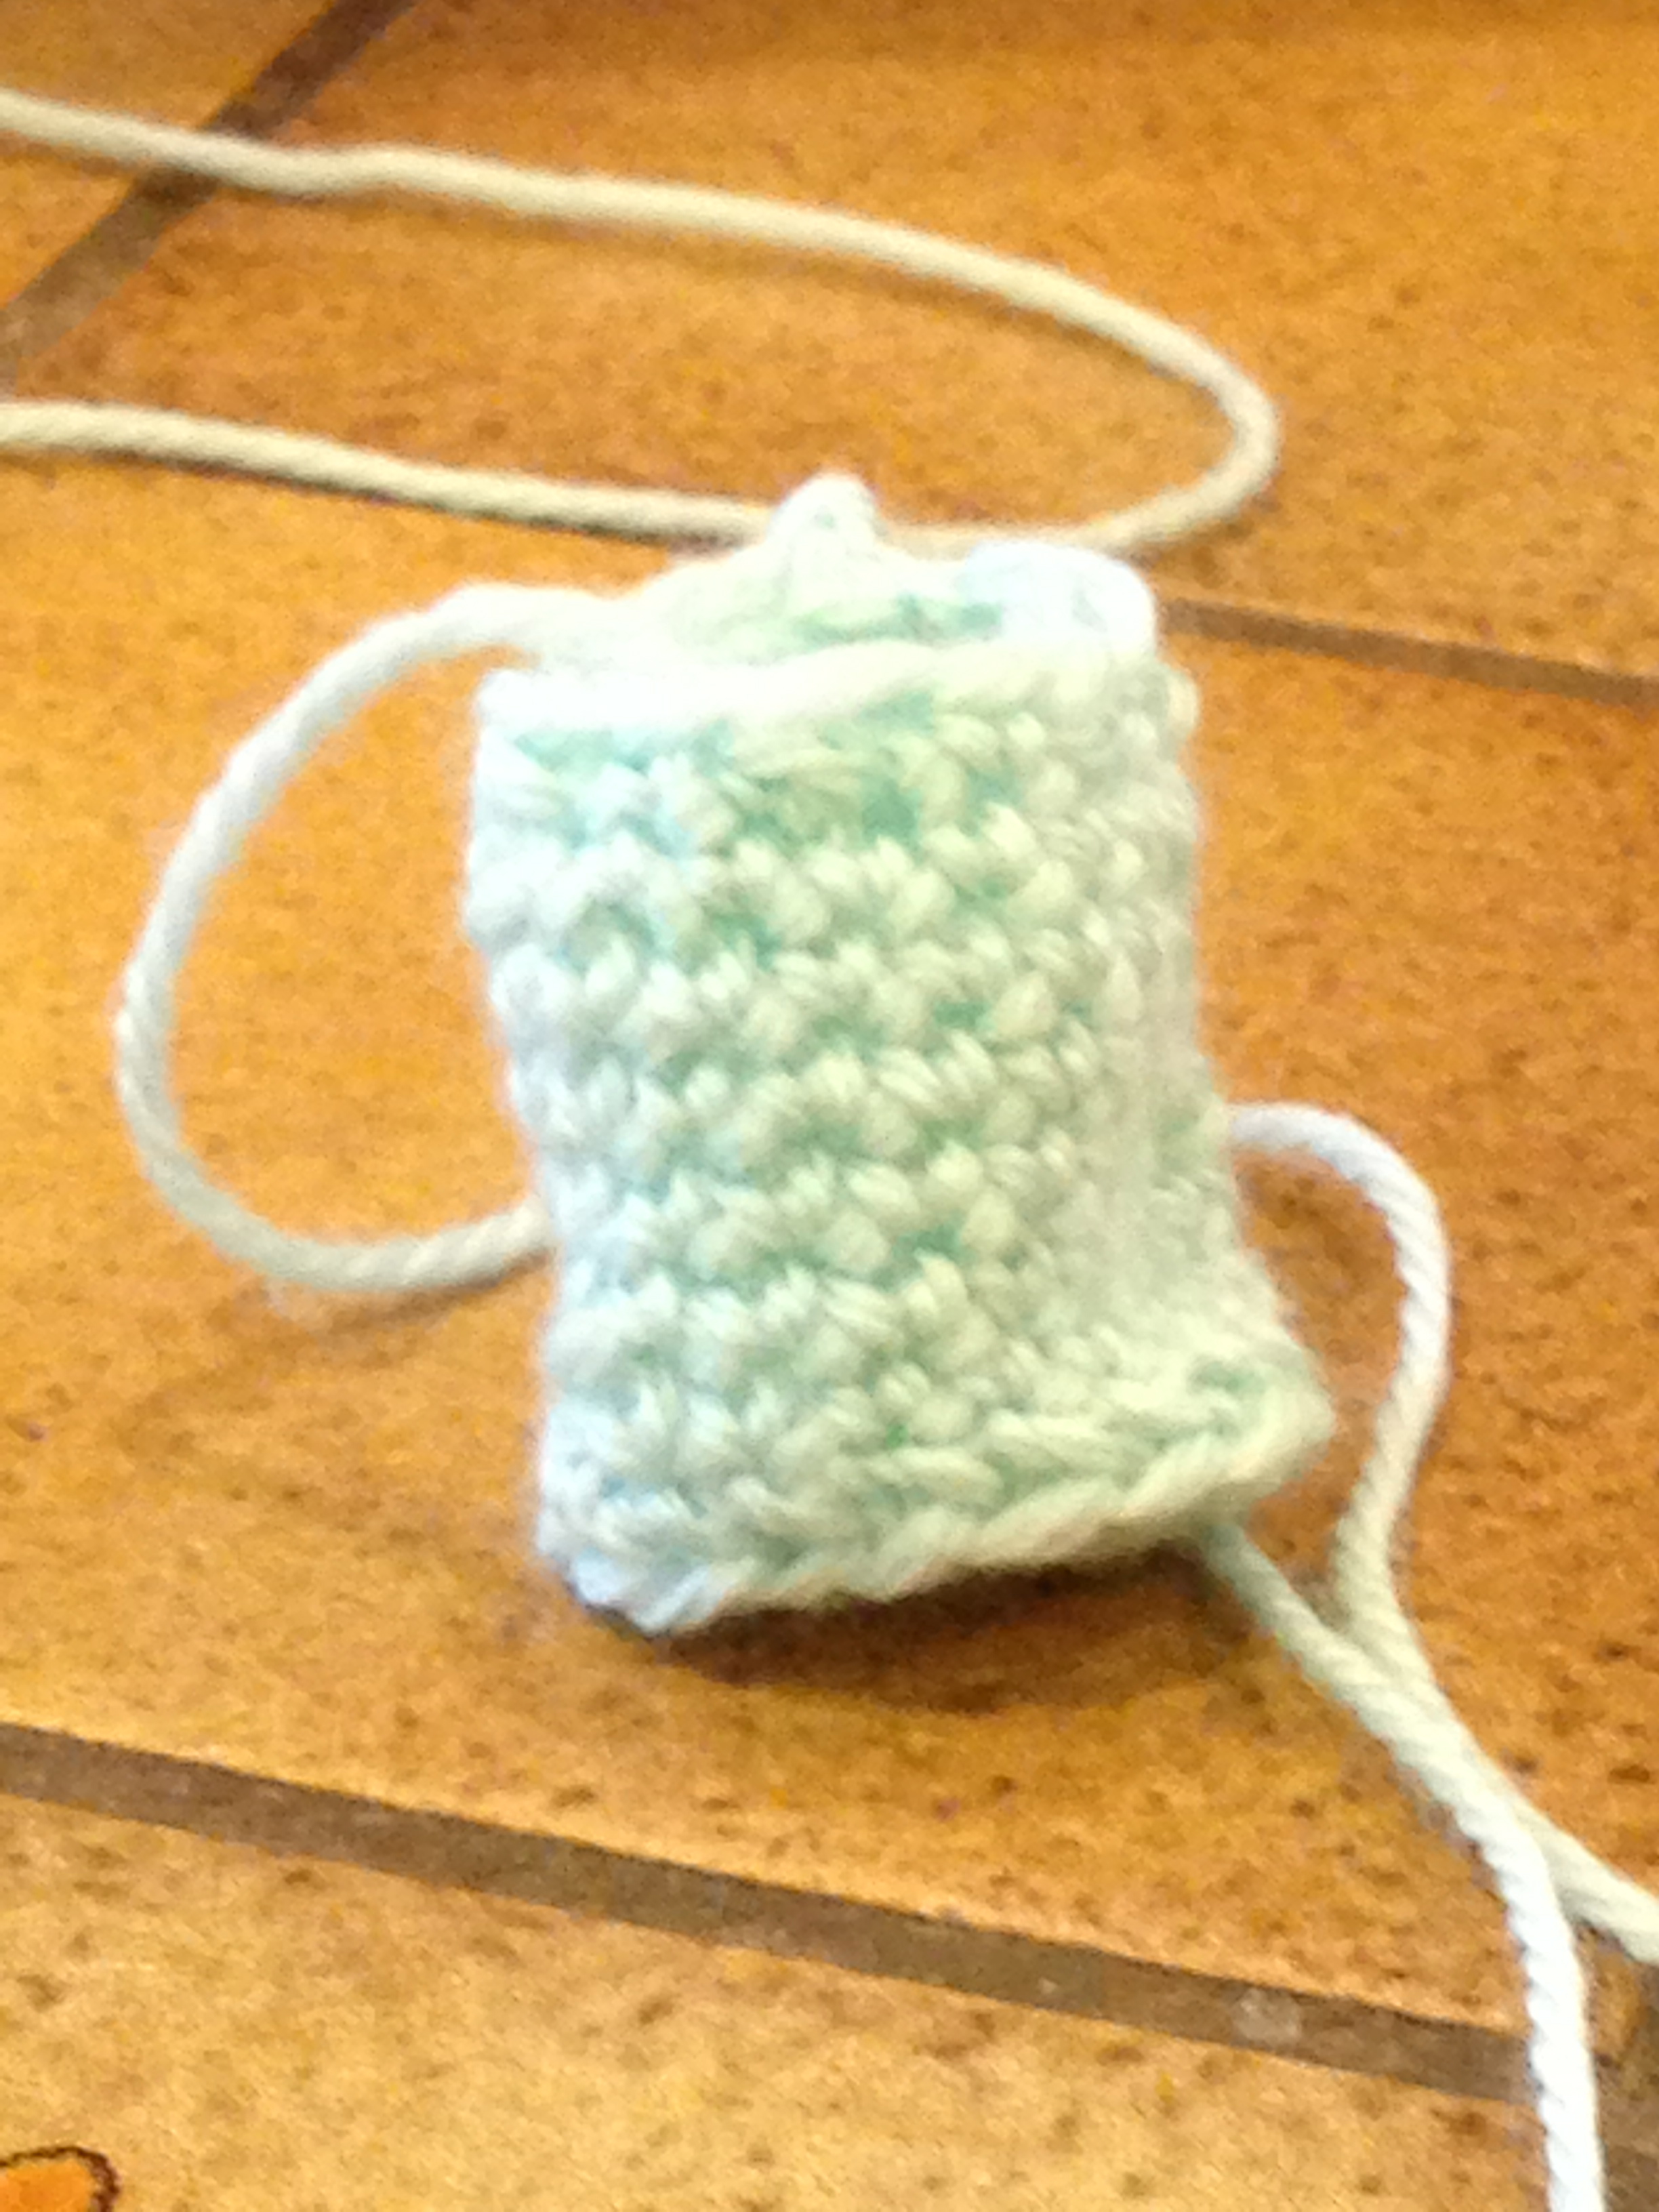
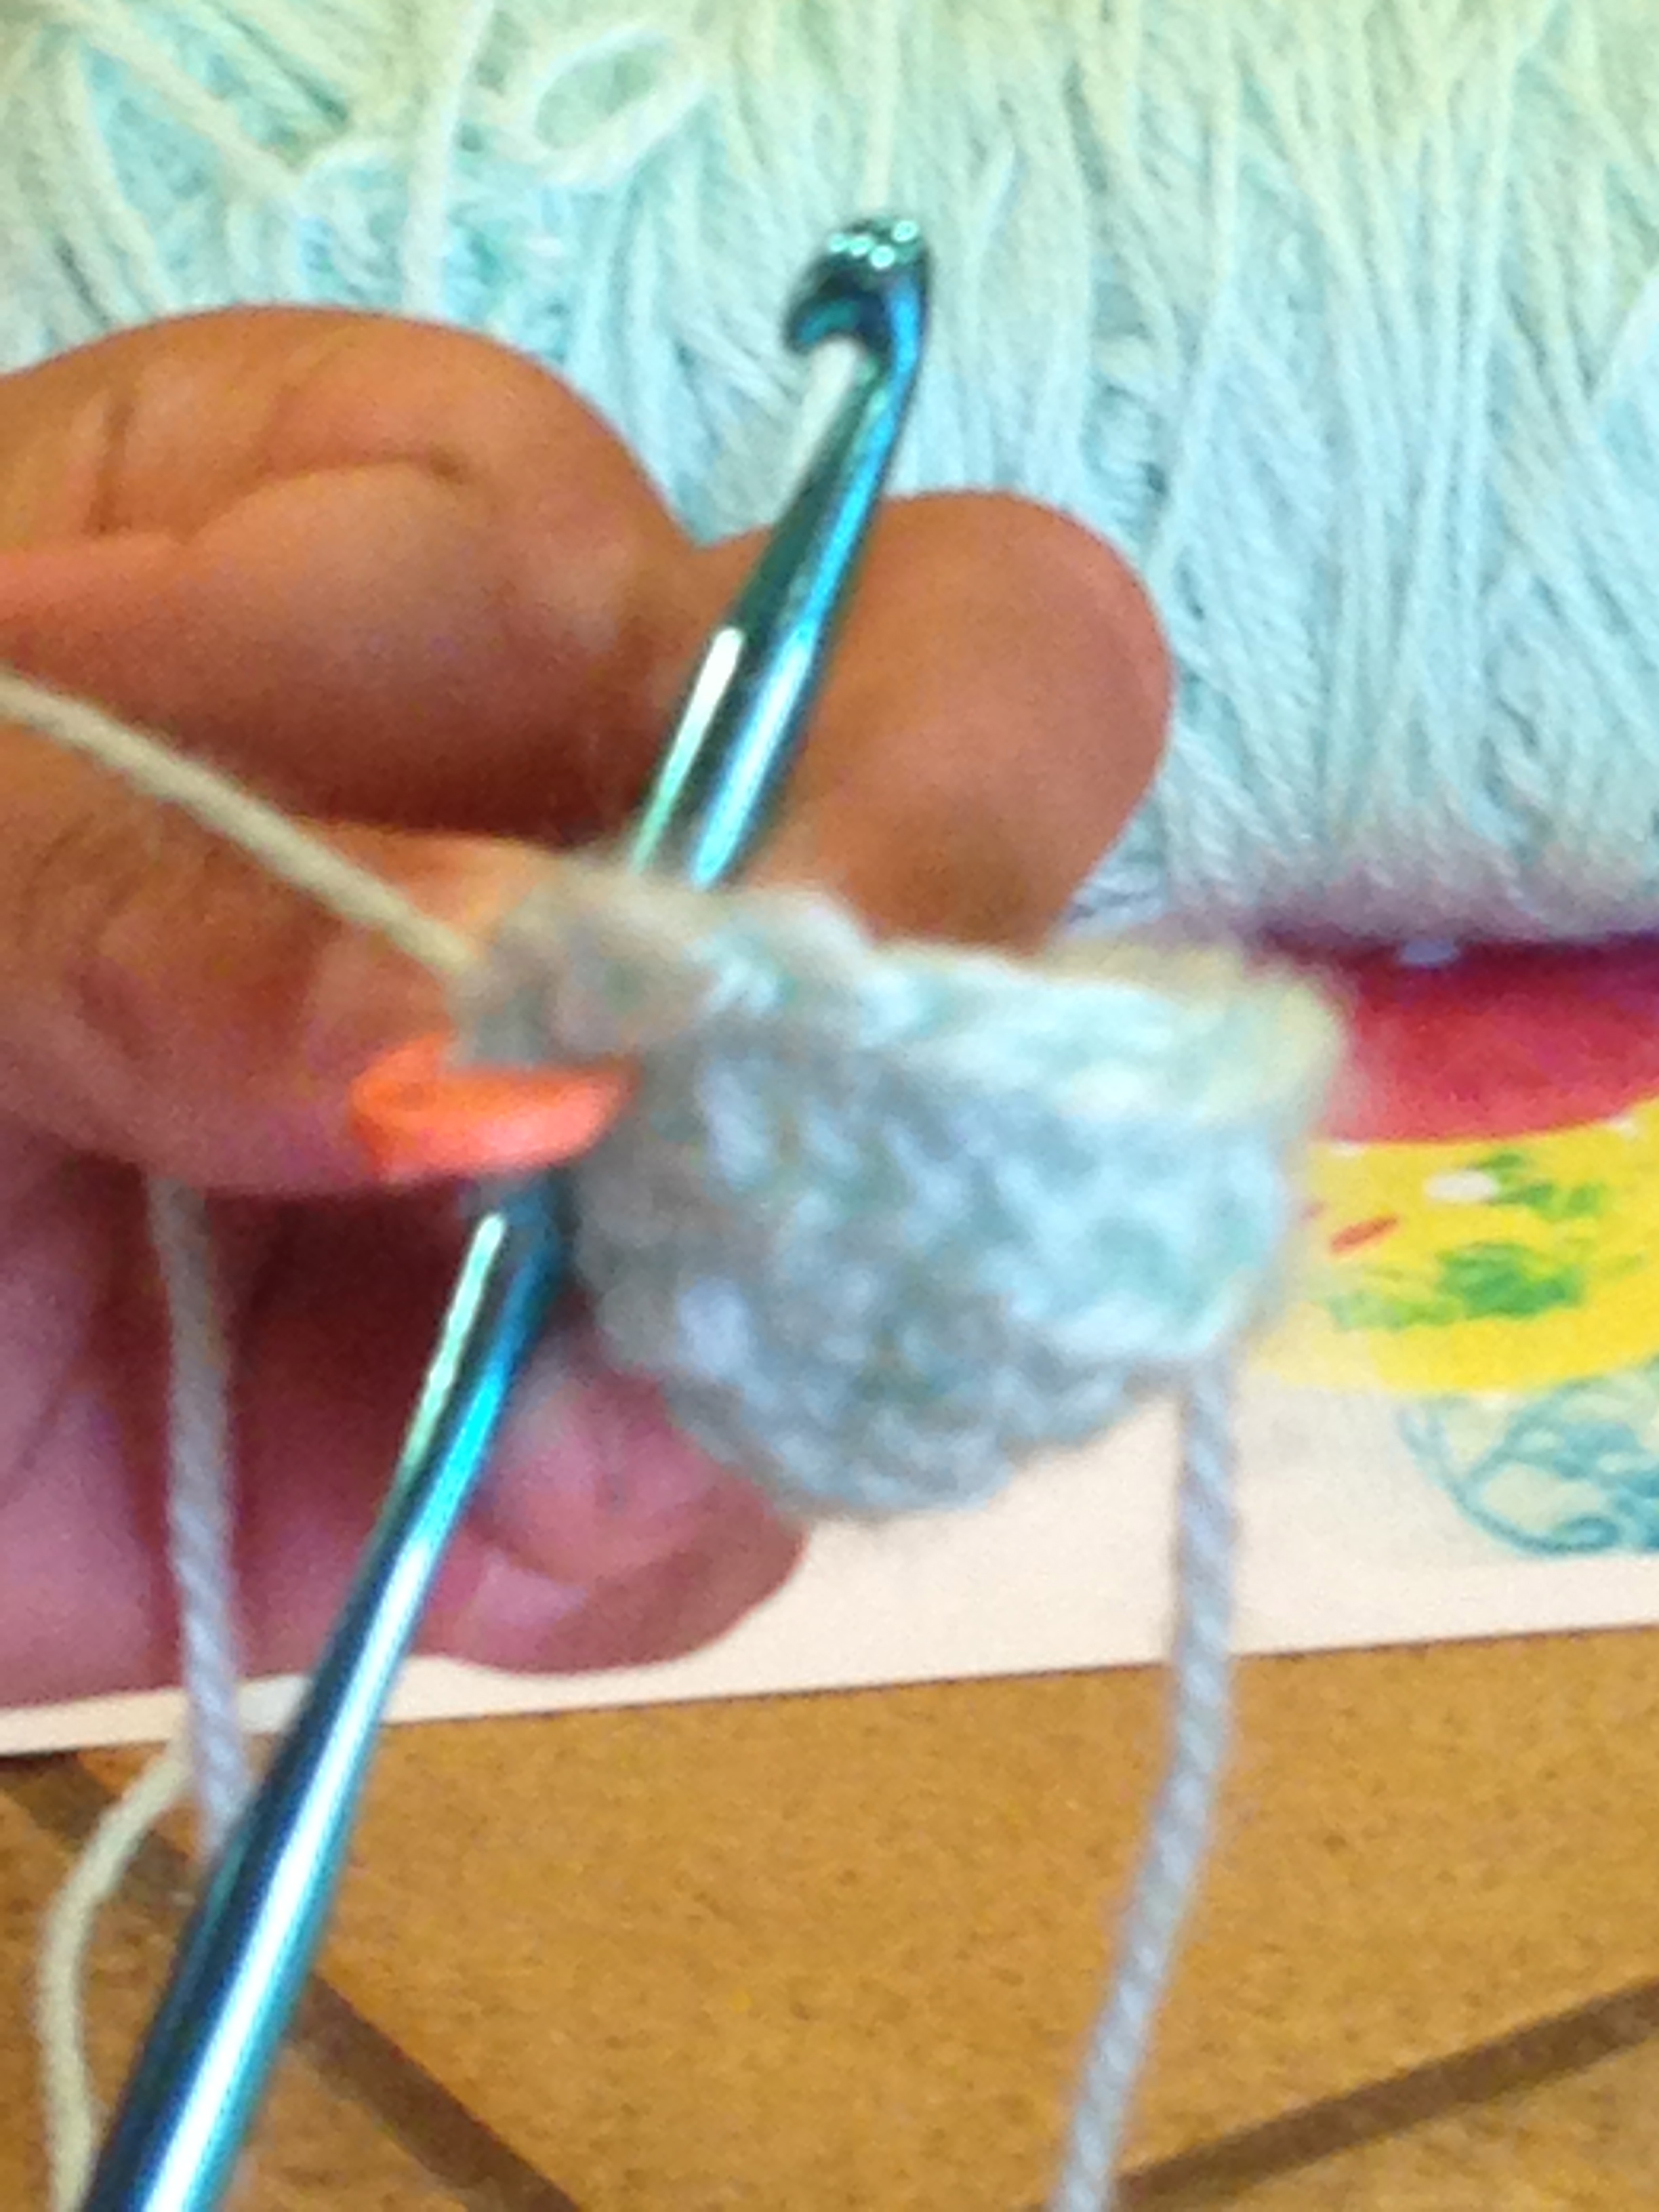
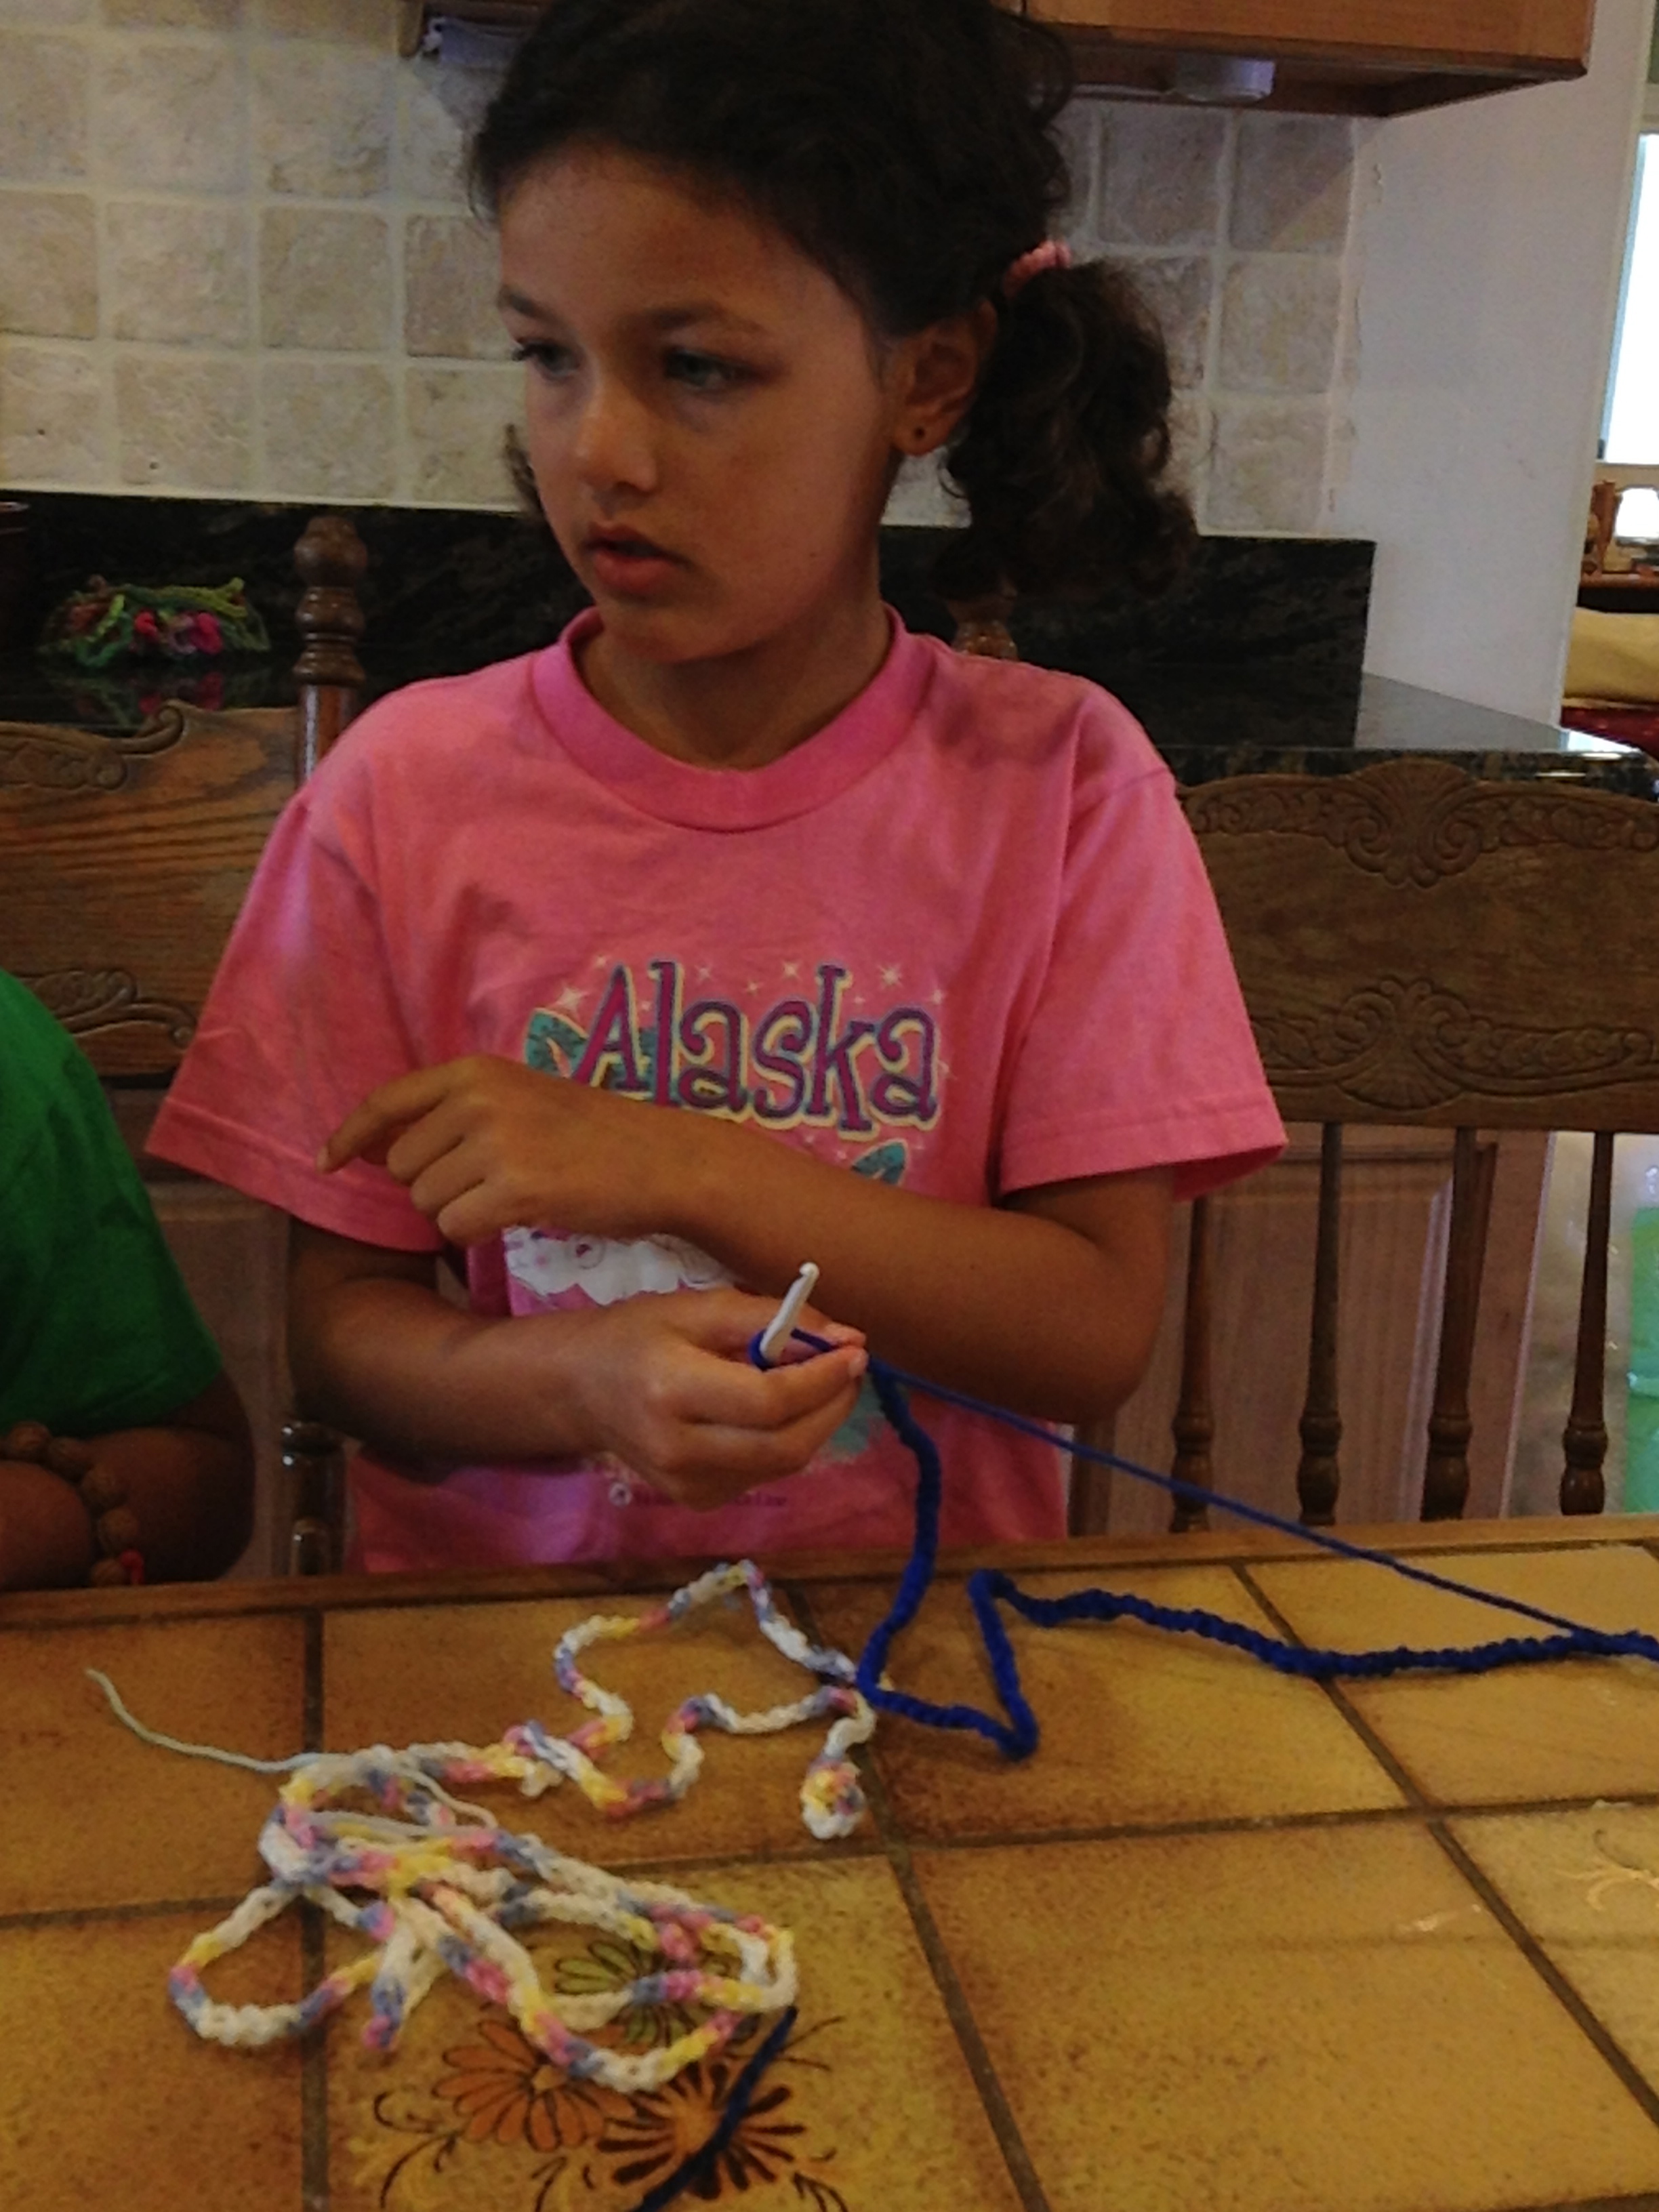
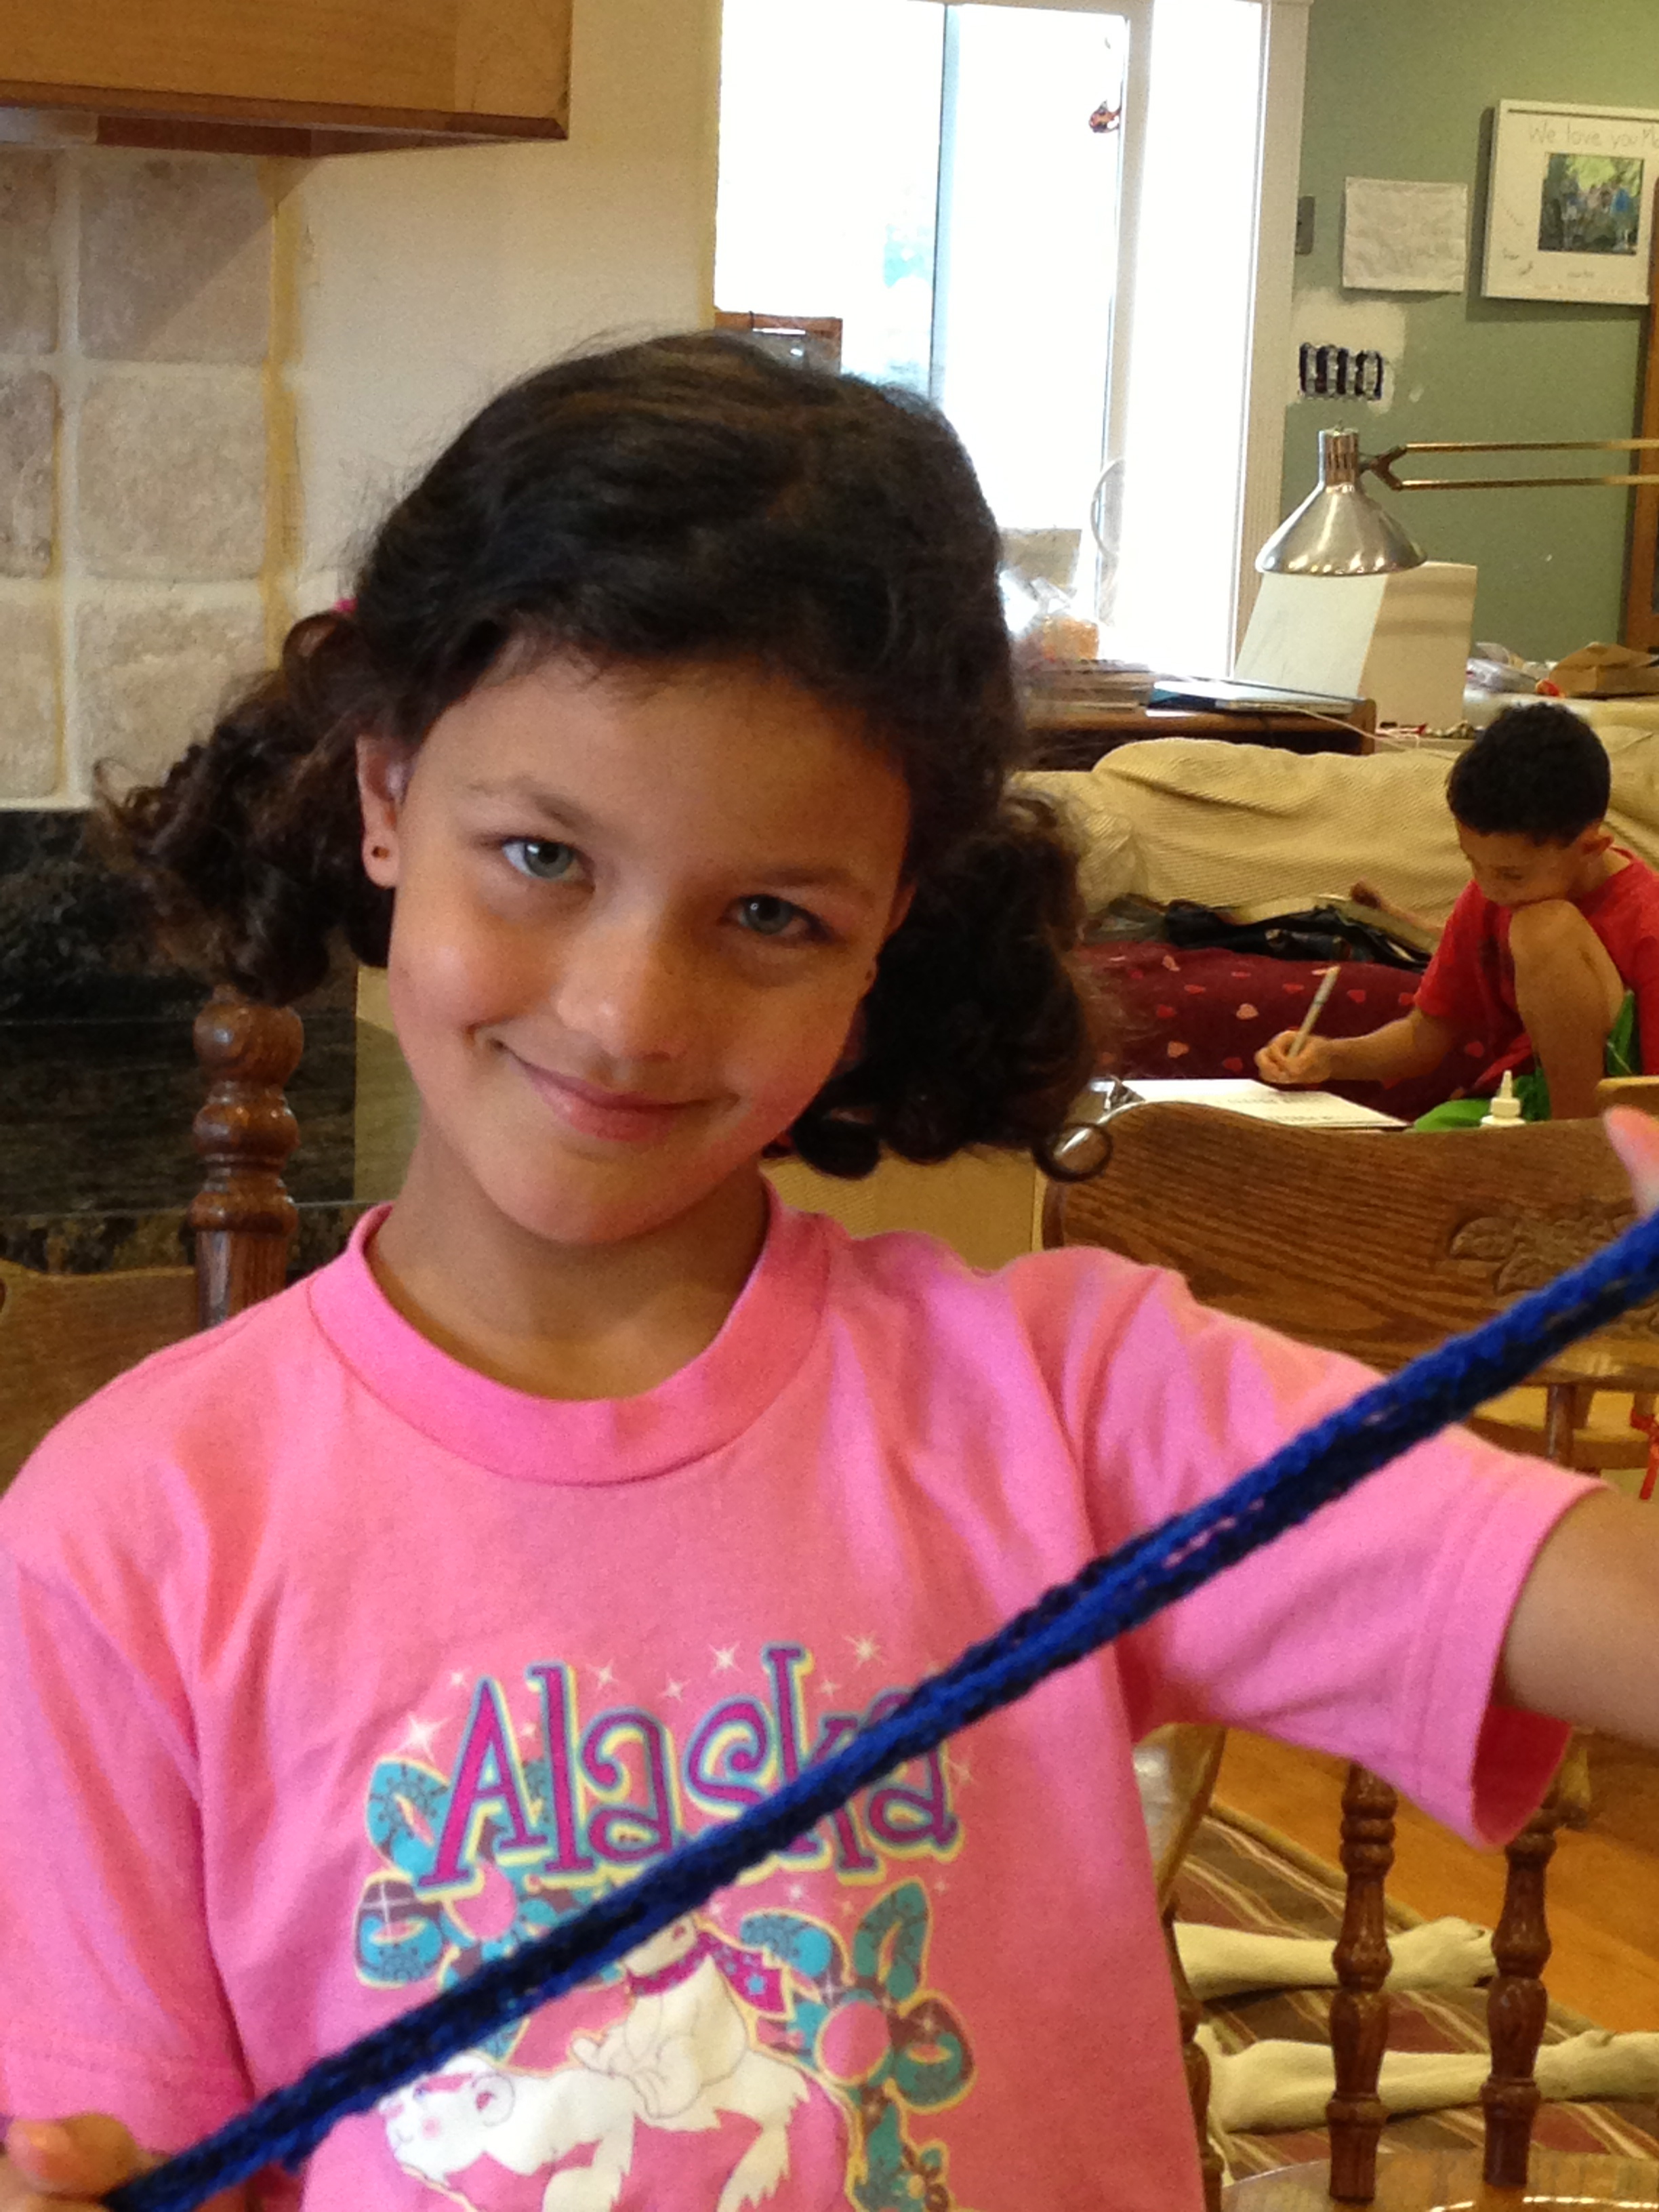
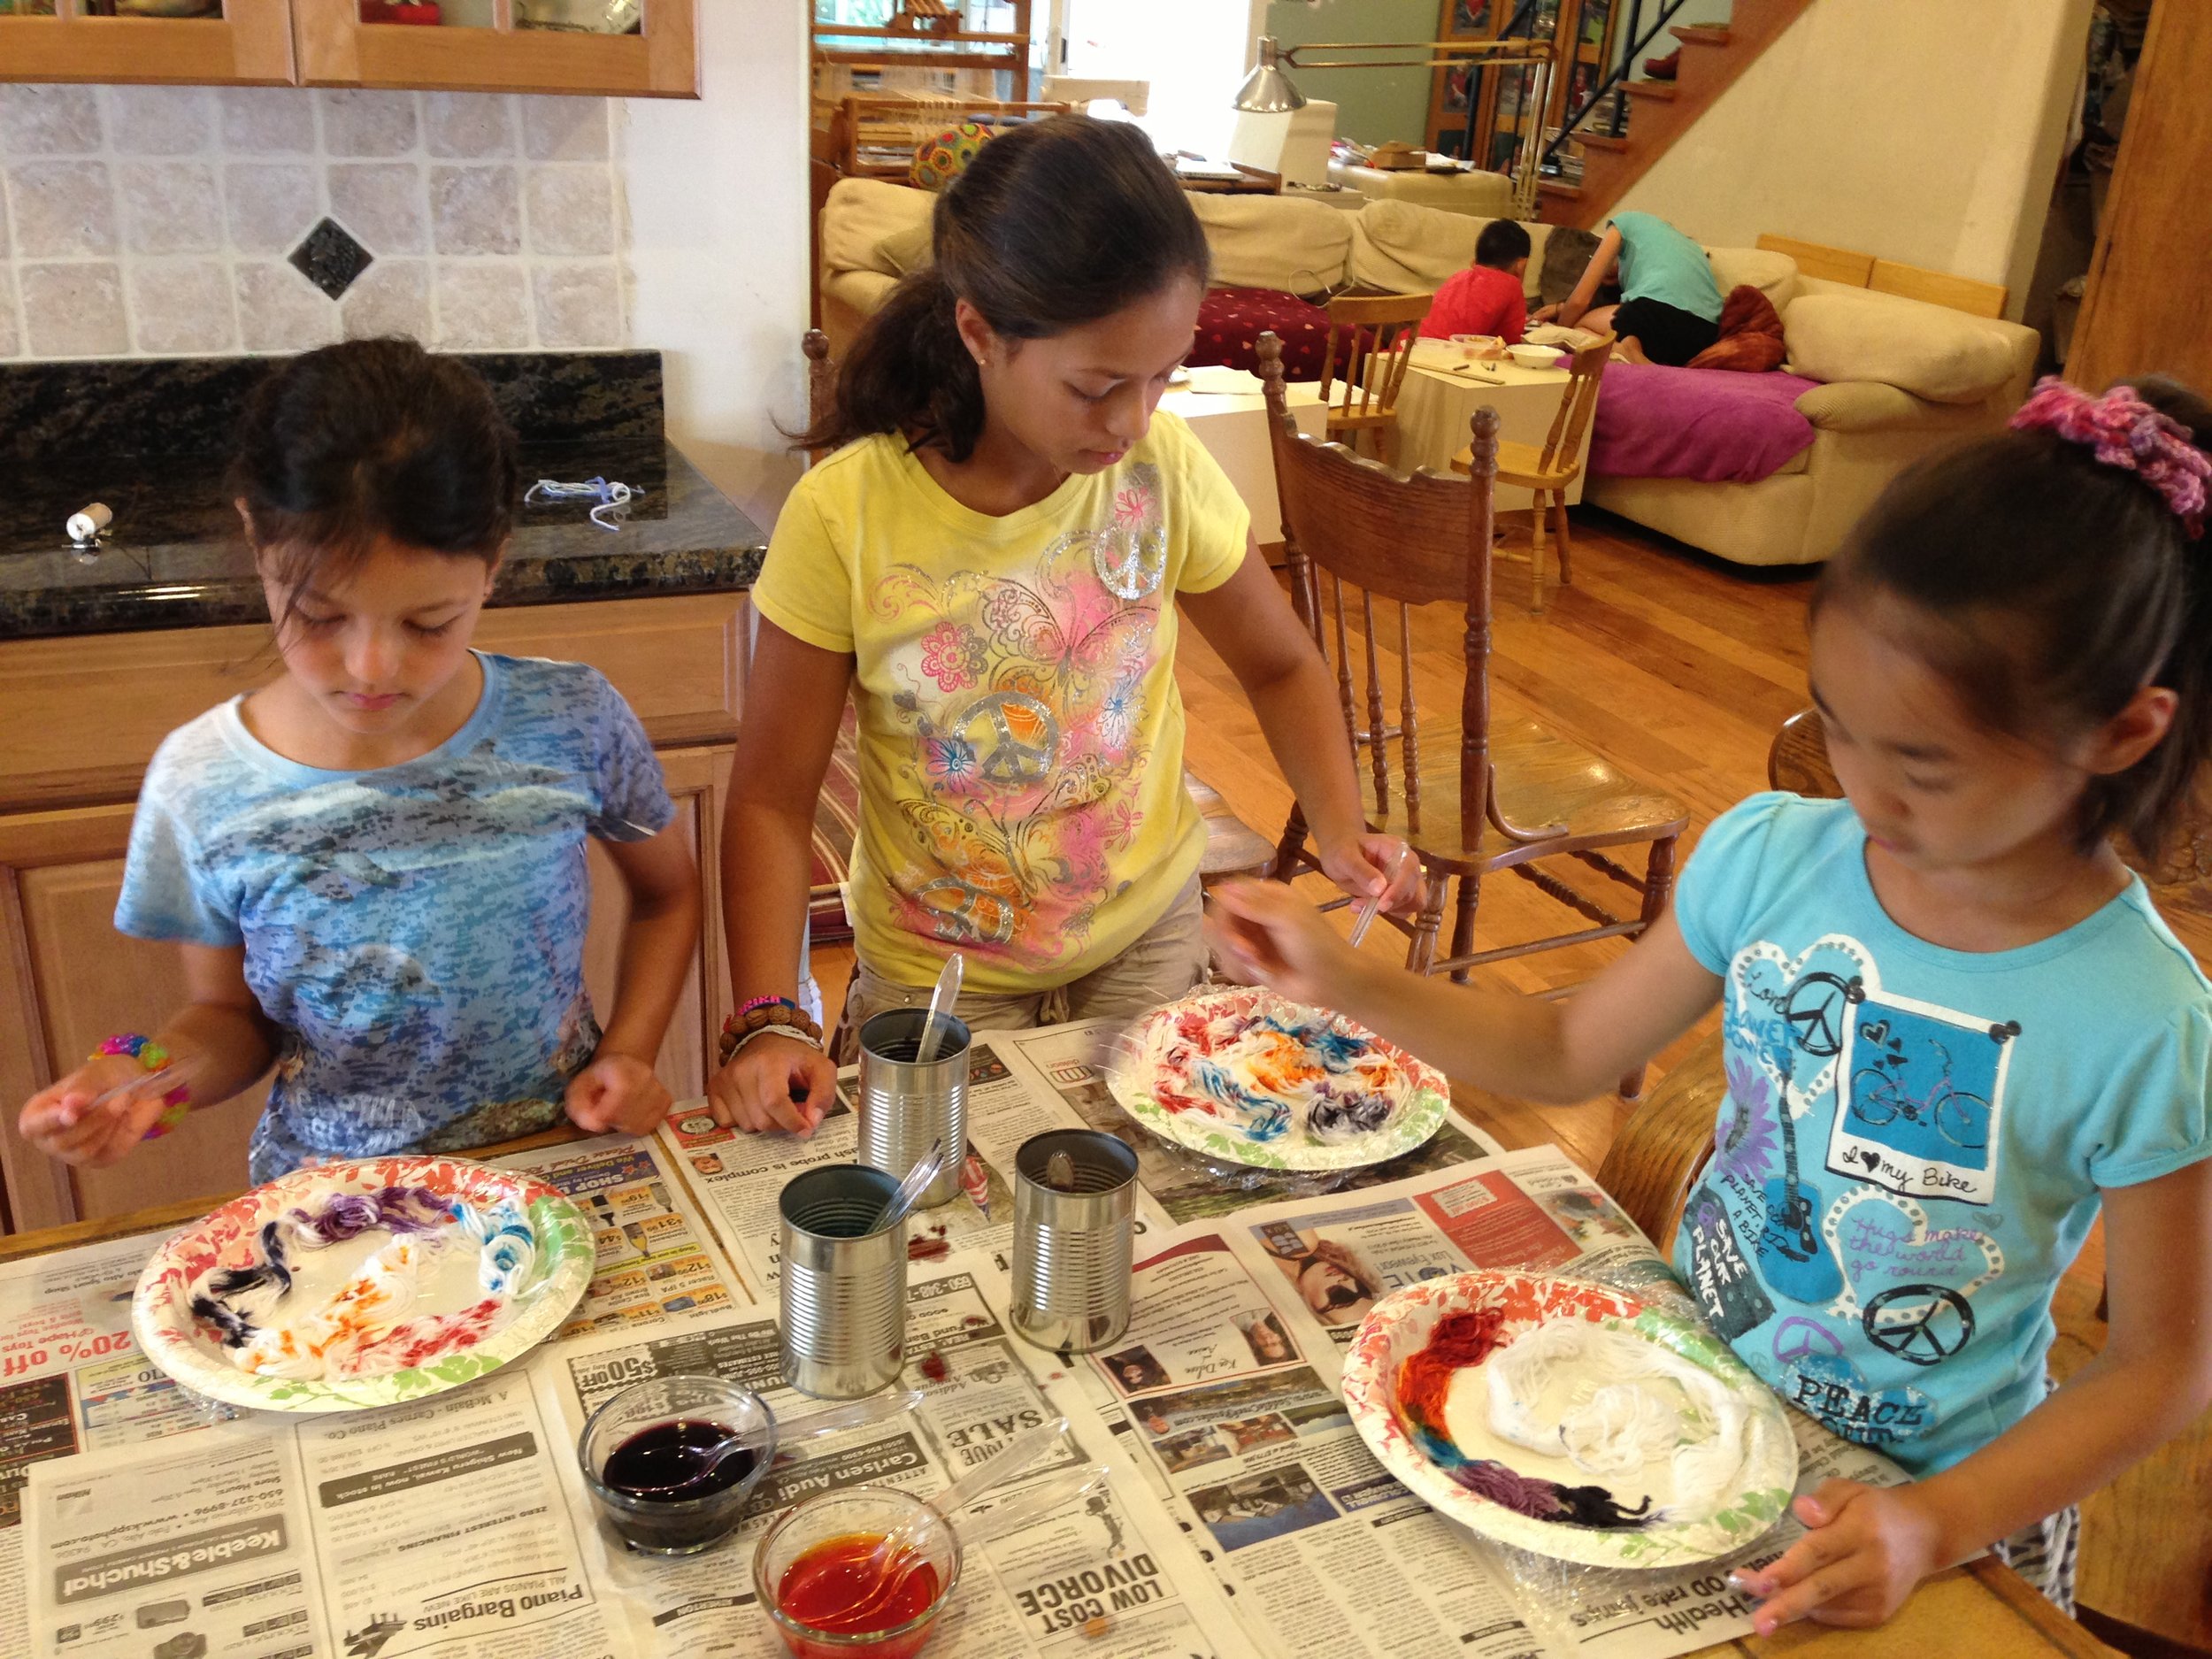
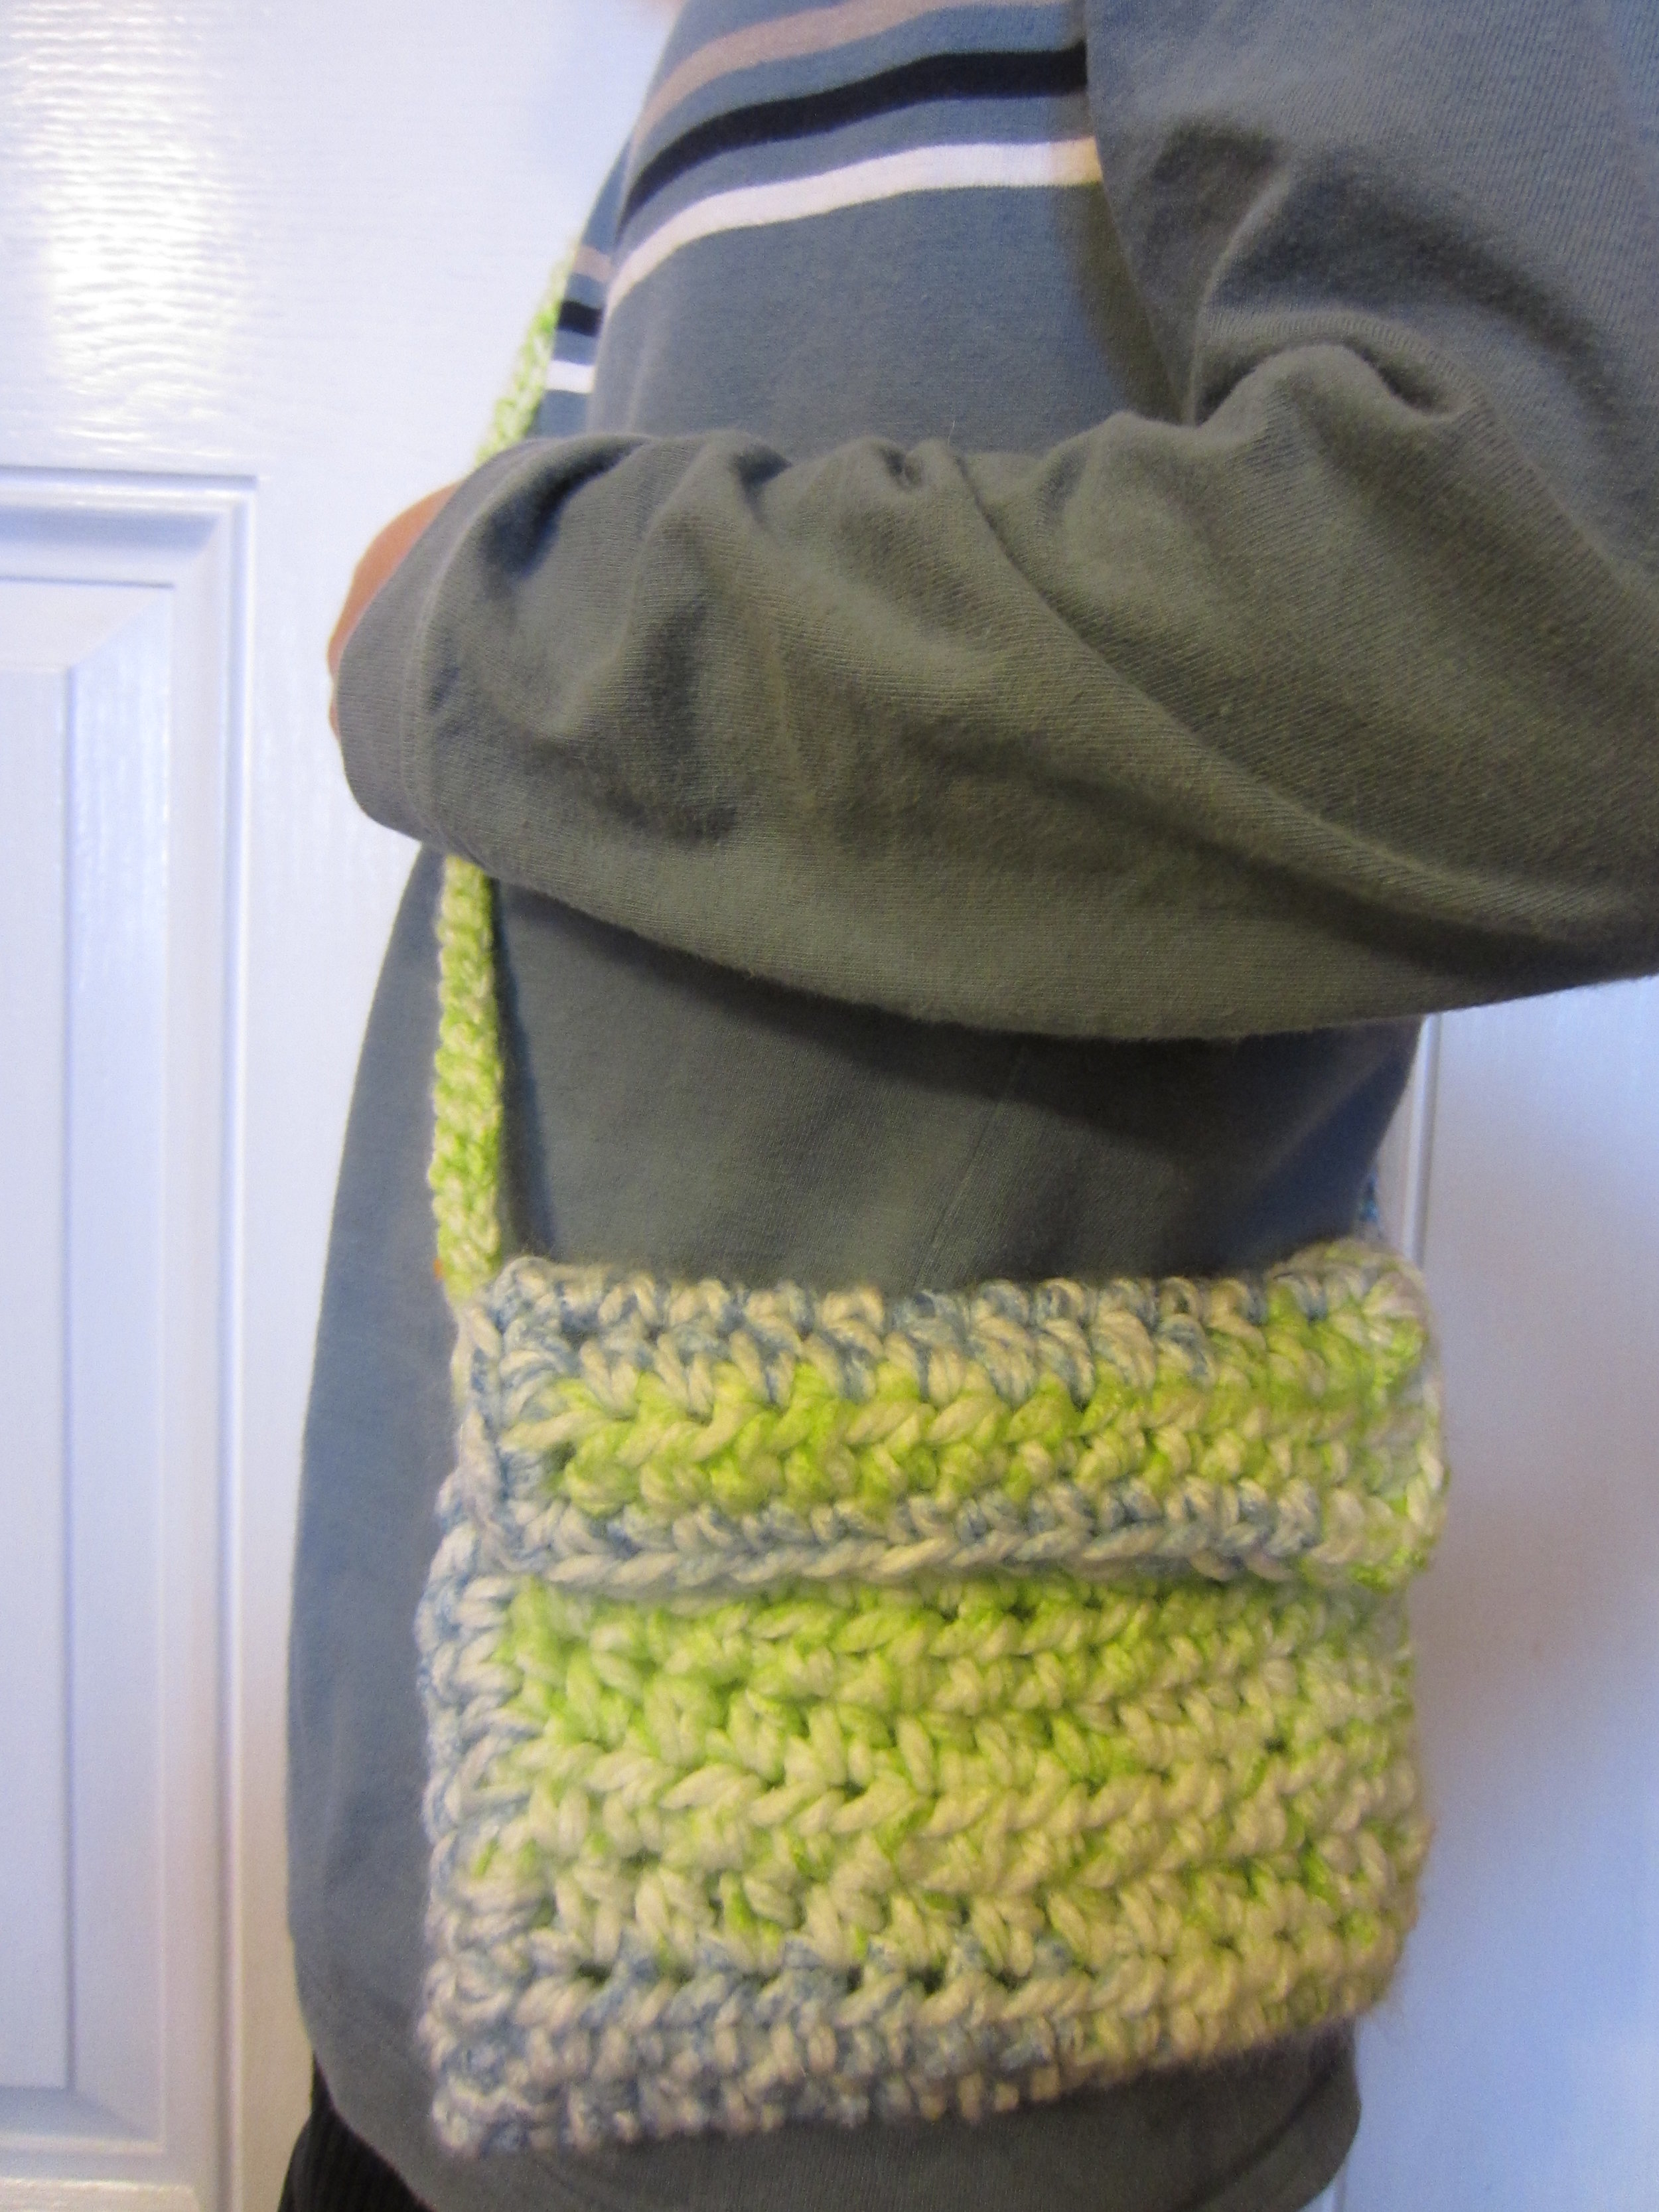
We also have weaving and crochet happening in camp.  Students really do get to choose their form of fiber art!

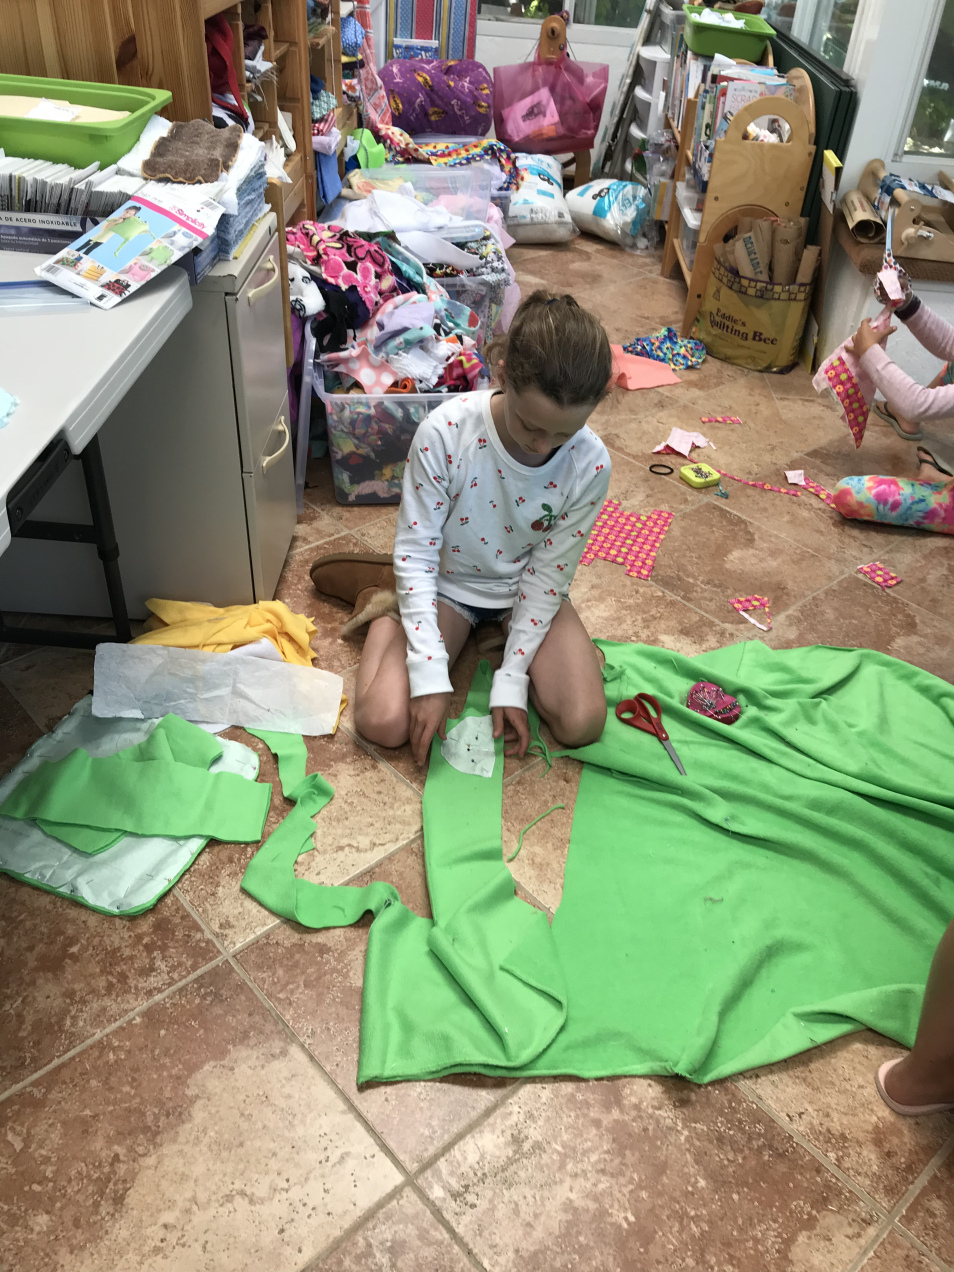
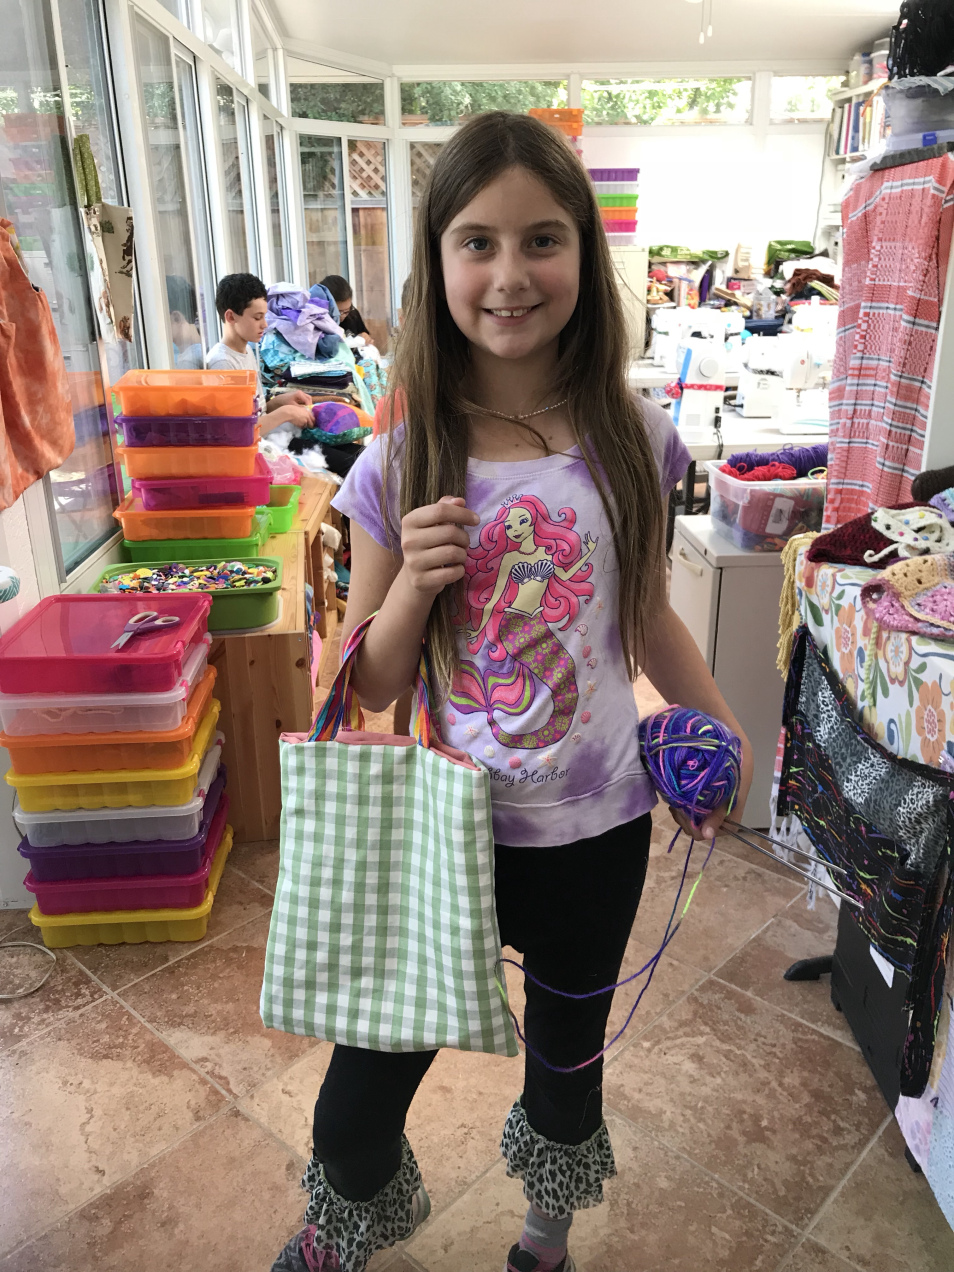
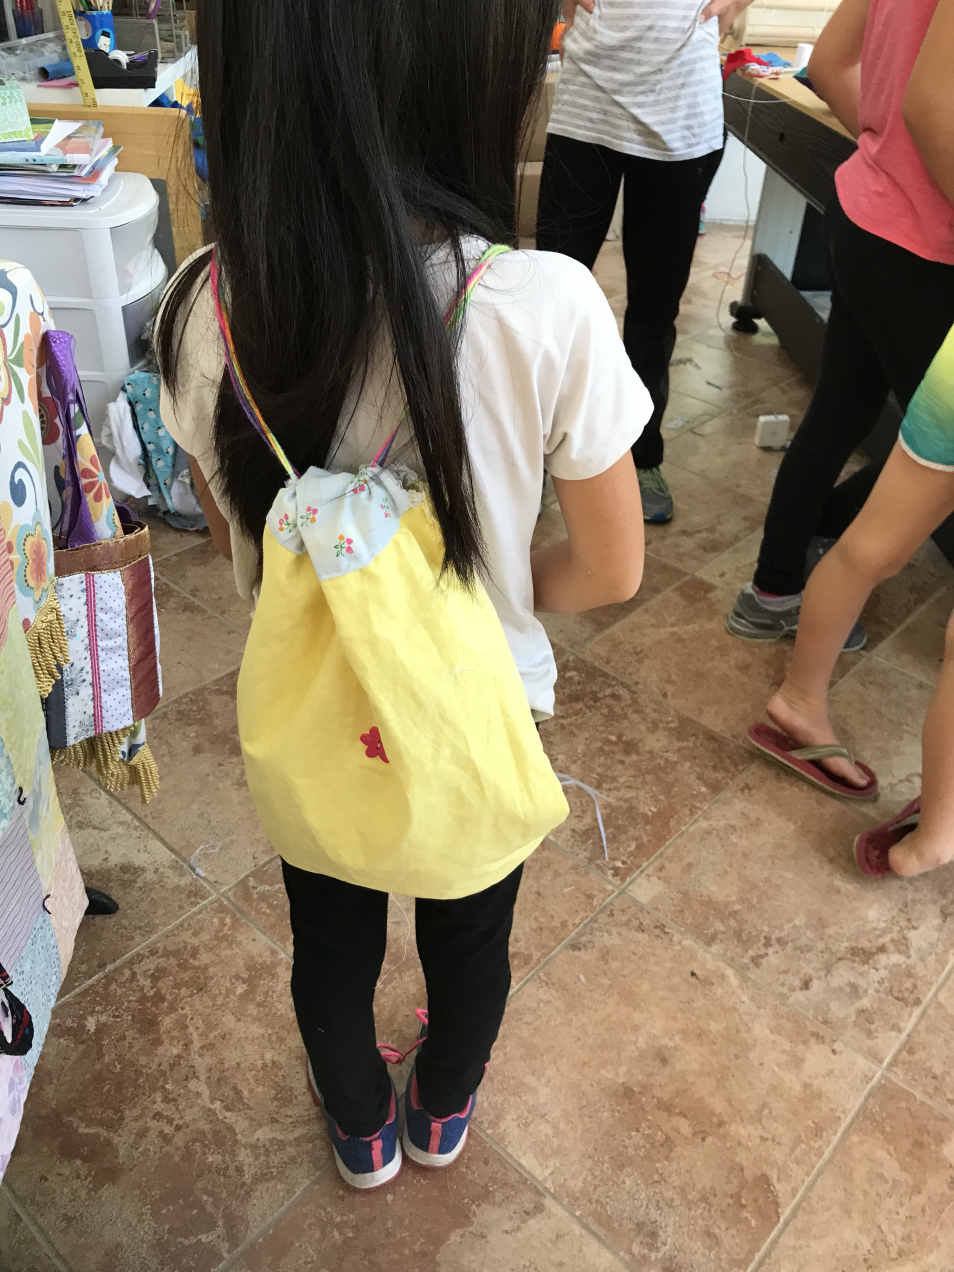
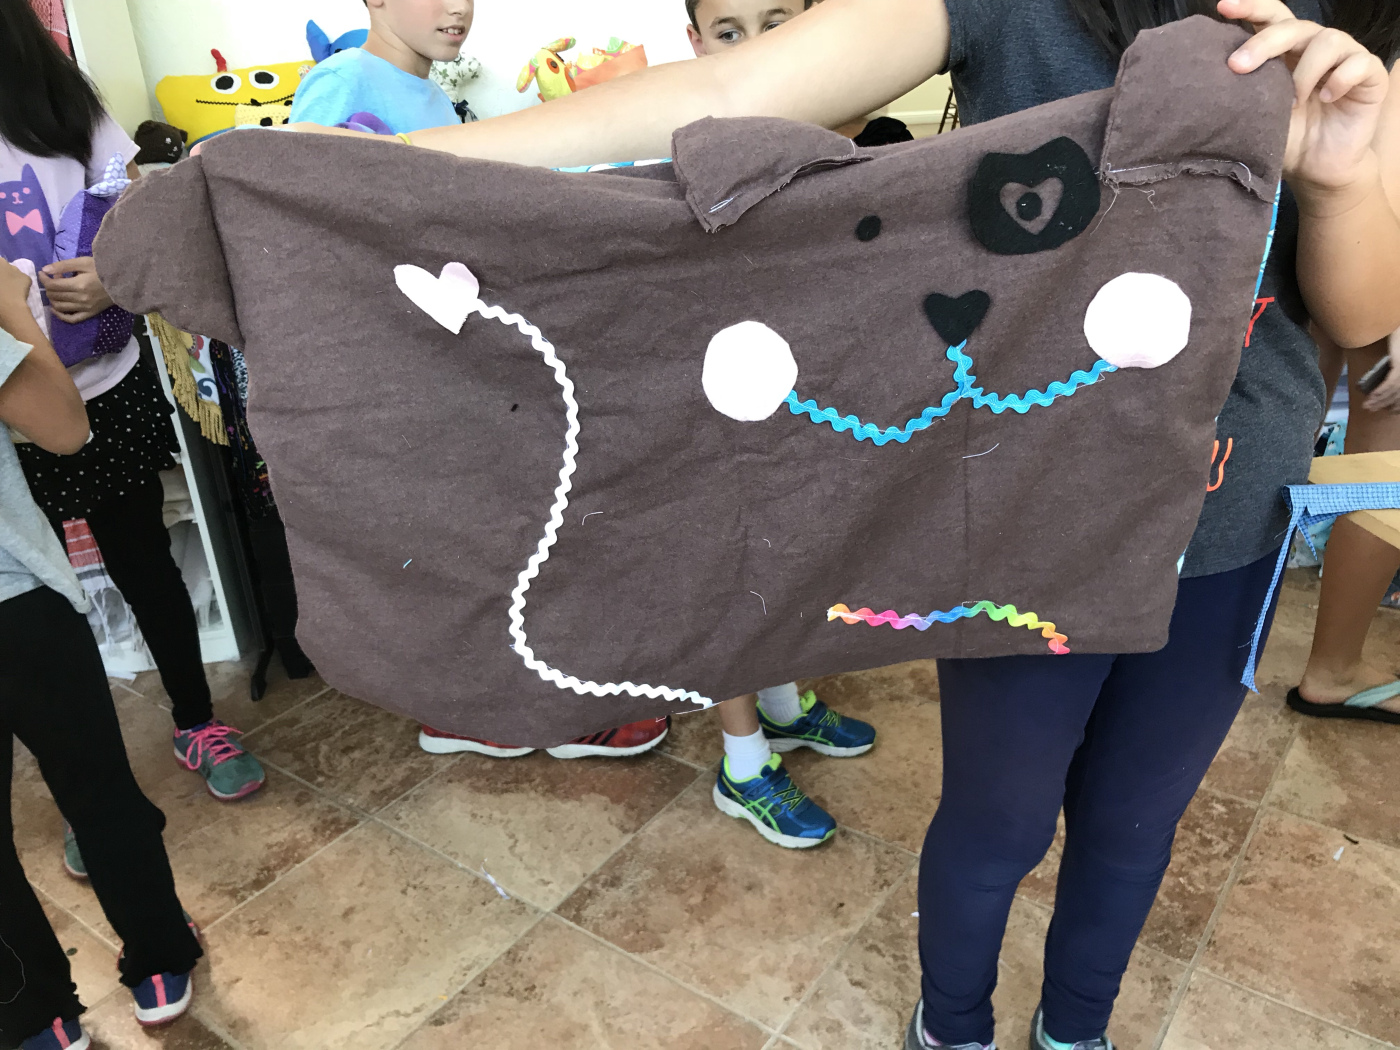
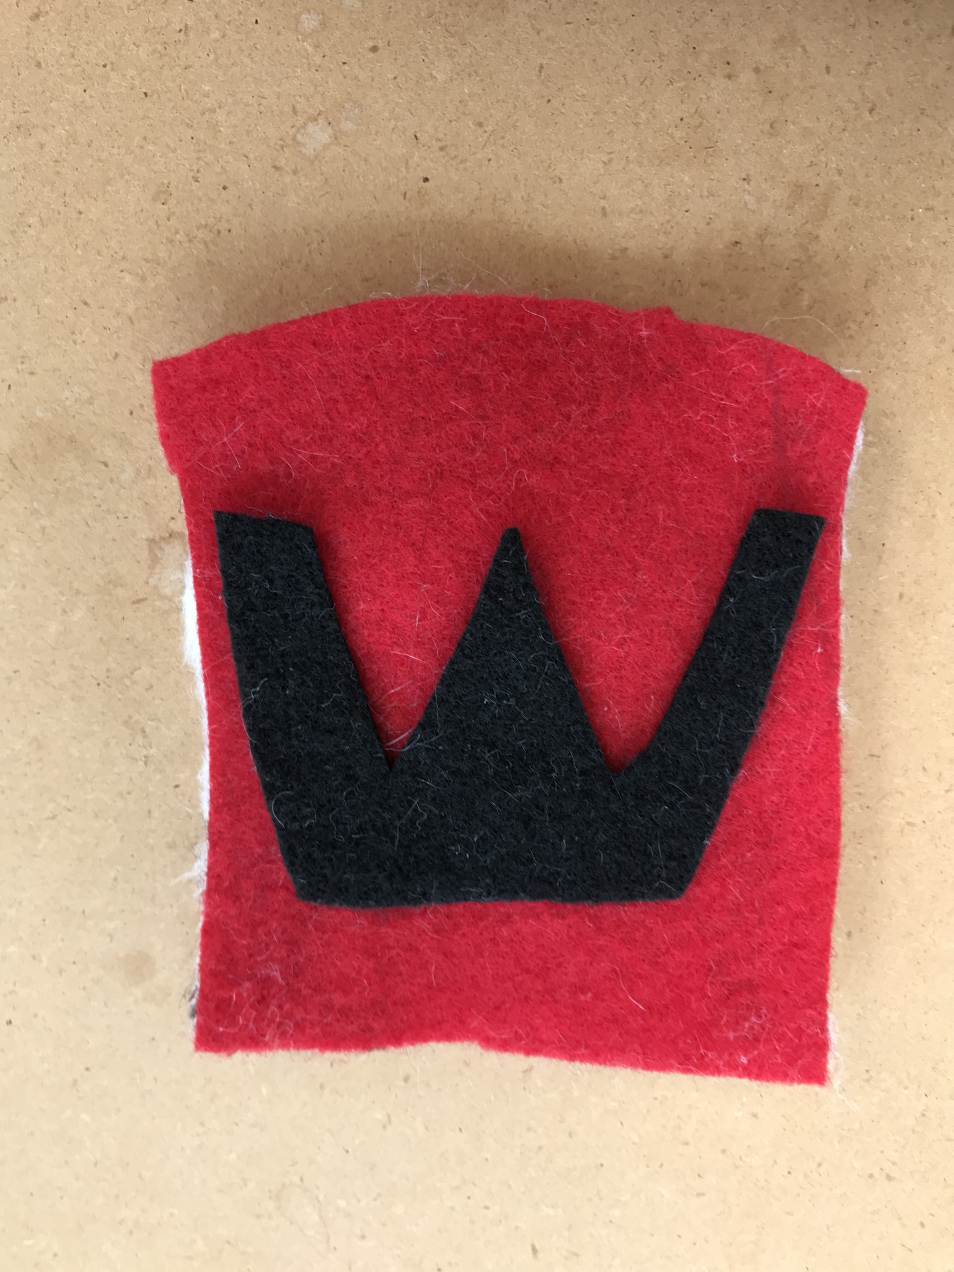
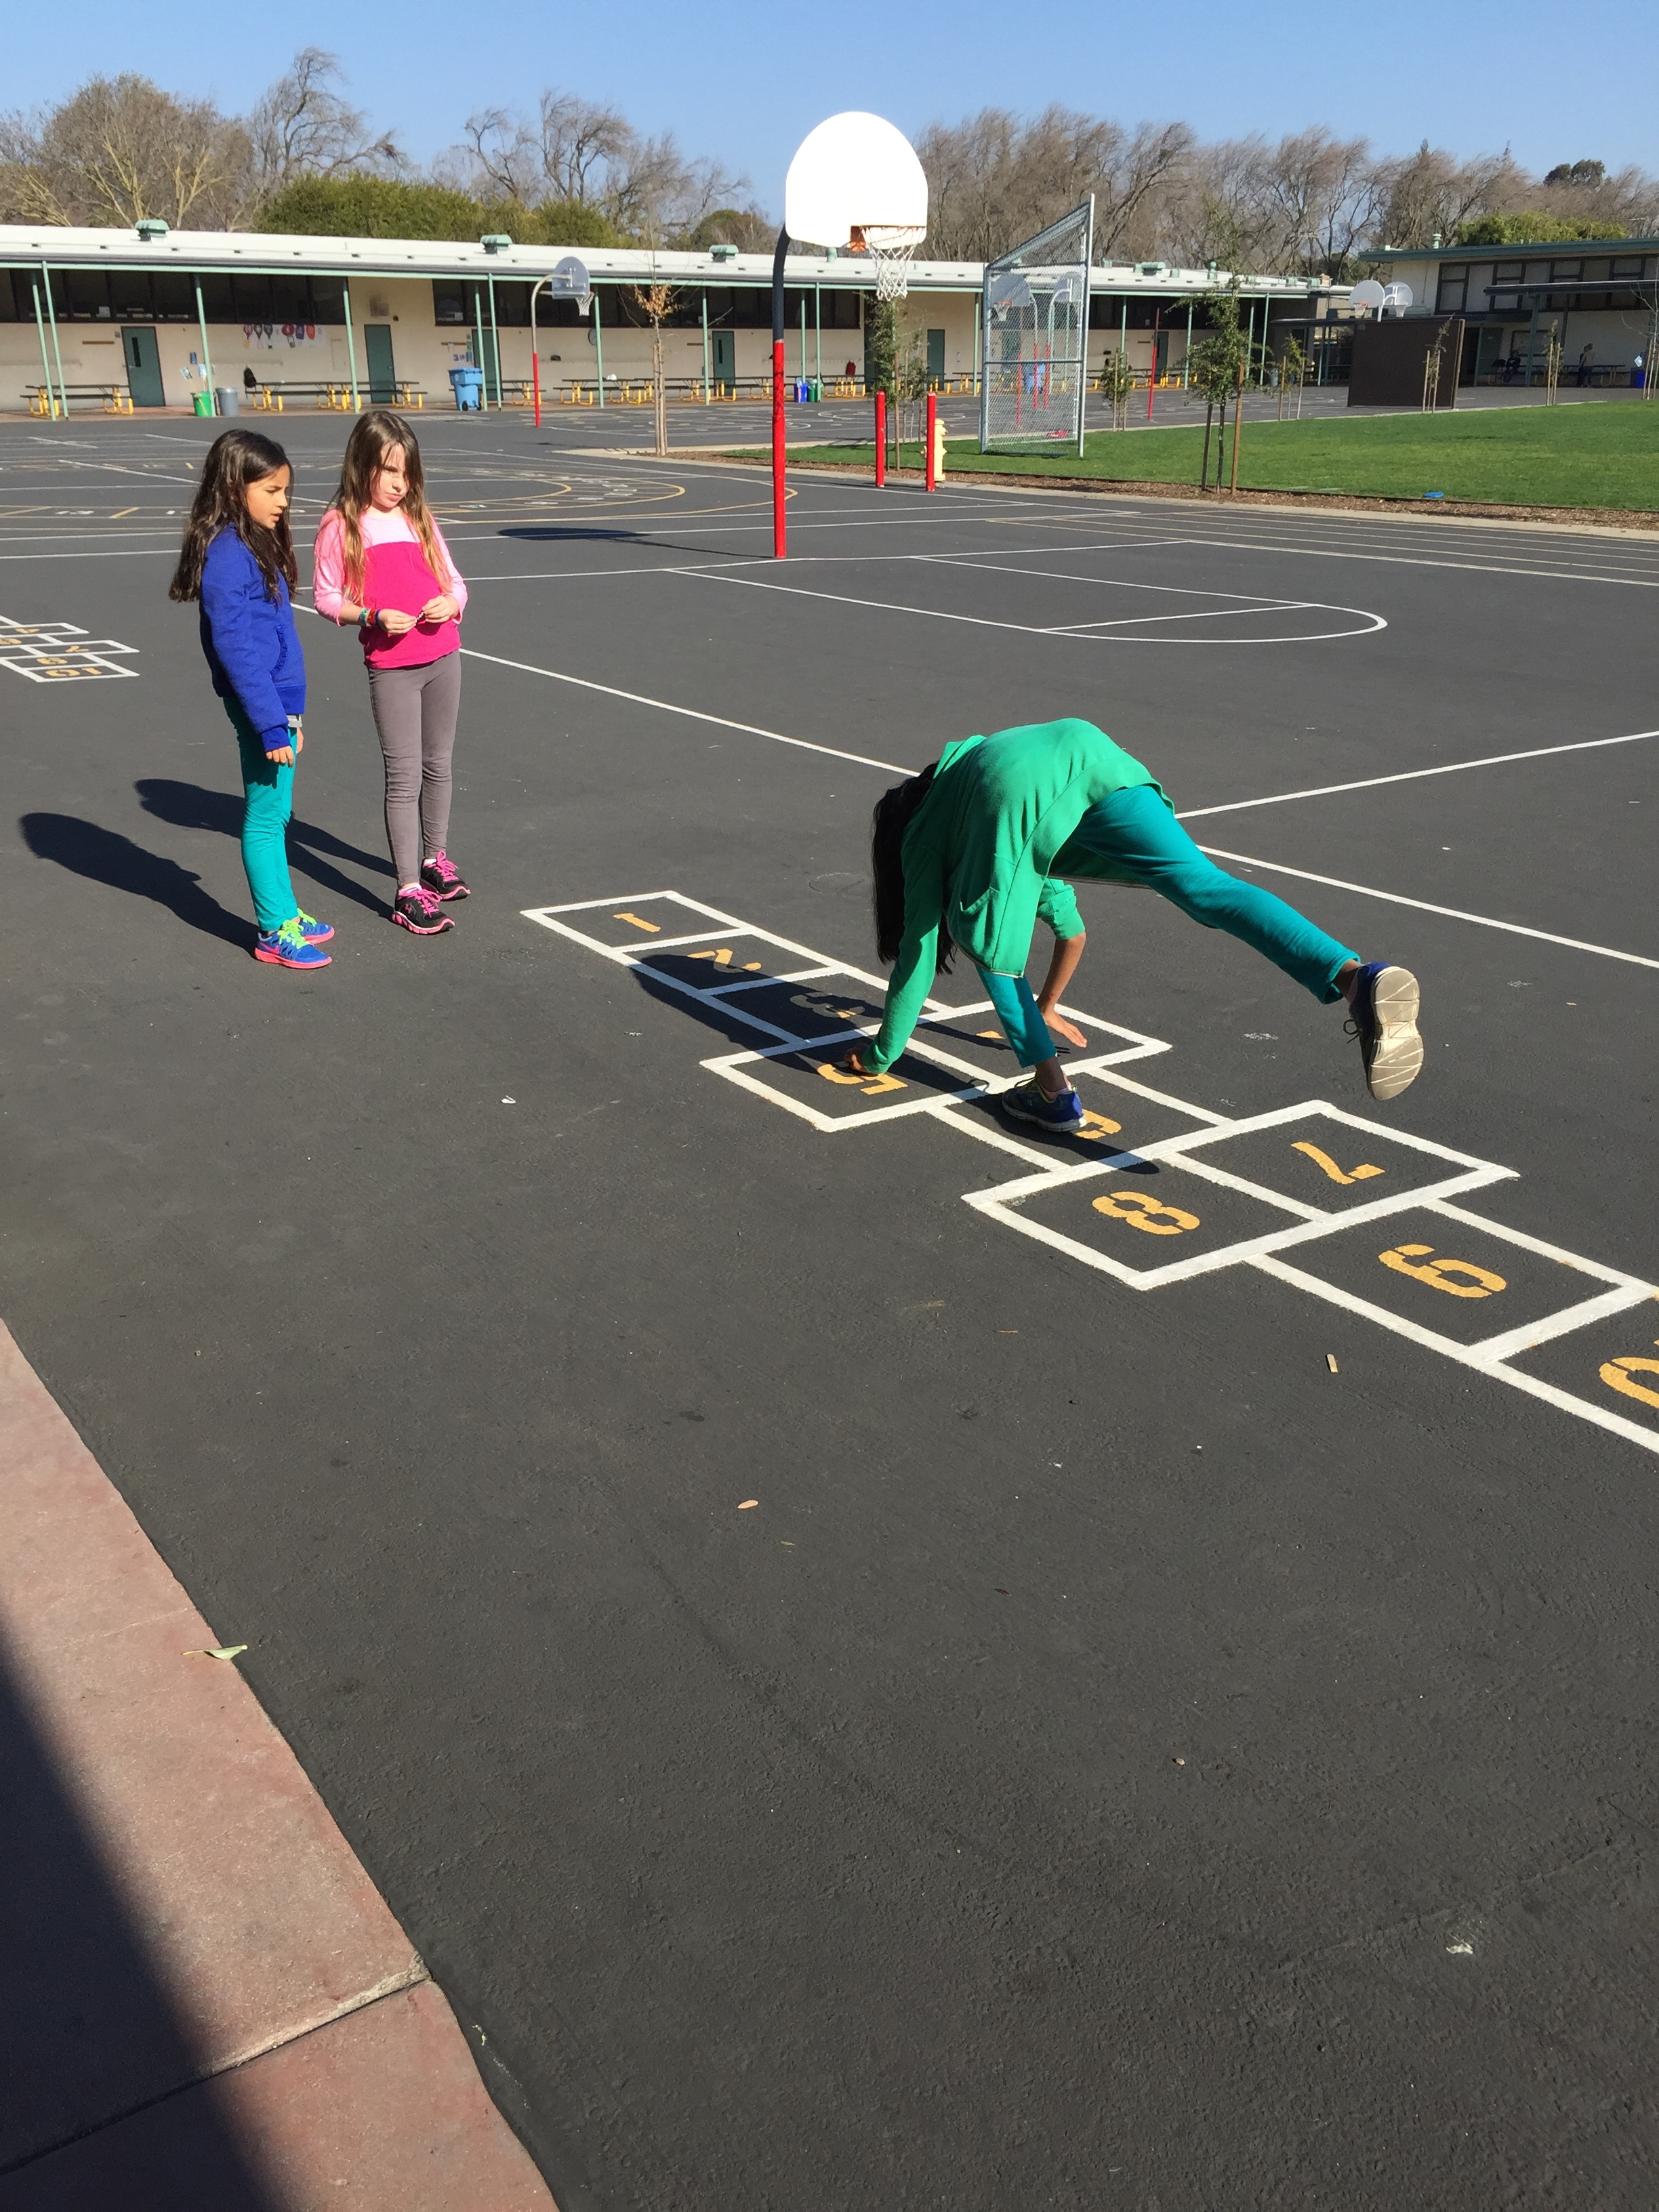
And lots and lots of creativity! I can’t wait for camp to start today to see what these students will come up with!

Camp Re-Cap

Last week was super fun!!  We had a knitting and crochet camp in the morning and a sewing camp in the afternoon.  AND of course there was weaving!

 We made lots of crochet stuffed animals!

We made clothing!

We made wrist warmers – both knit and crochet! 

A stuffed dog whose tummy was empty and had a zipper installed to become a pajama bag!  All the idea of this student!

Lots and lots of weaving!

We made bags and back packs!

Quilted items!

More!

And more!  Looking back at the week, I can’t believe how much we accomplished!!

Second Week Camp Highlights

Our second week of camp was a knitting and crochet camp and we had such a great time!!

There were crochet animals!

Crochet shoelaces and a knit coffee cup sleeve!

Crochet monsters, coaster and pillow with a backing!

We even had some good weaving going on!!  Our camps cater to the interests of every student!!

We're Back!

Our classes did not meet last week because of Thanksgiving break, but it was fabulous to be back creating today!Another quilt to donate!Starting a quilt.Working away!More sewing.Almost done!Weaving.Starting a new project.Ironing.Starting a crochet afghan.

Fabulous Finished Projects!

These students have been working away with such enthusiasm!!4th grader blouse.Quilted bag in process.5th grader backpack.5th grader backpack.Dog Pillowcase.4th grader jammie pants.3rd grader Cat Pillowcase.4th grader headband.5th grader headband.5th grader crochet scrunchie.5th grader completely lined book bag.

Knitting and Crochet

I am continually amazed at what our students can do - and WANT to do.  I am so lucky to be able to teach to students who truly are engaged and excited about their art.  We do so much knitting and crochet (that is what this class is all about!), but we also do so many other things.Almost done!

Making a small wallet.

Working on her stuffed animal

Learning to read patterns with notations like:  K2tog and kfb - not an easy task!

Scarf making.

It takes a long time to make a scarf.

Starting the circle weaving project.I was inspired by an art teacher named Cassis Stephens.  She taught this circle weaving class to her students. It looked like so much fun that I decided to bring it to our students.Painting our backgrounds.Our bases look like this.Finishing up.Finished base.

Aren't the bases for our circle weaving beautiful!  Just wait until they add the details and then some weaving to them.

Hop scotch today for break.

These students really love to play hopscotch.  It appears that this is an "old time" game because while they knew some of the basics, they really didn't know how to play.  I happily taught them the rules and away they went.

They LOVE hopscotch!

Sometimes, they are having so much fun, it is hard to get them to stop playing and come back to knit or crochet.

4th grade crochet headband.Loom knitting.

We don't always knit with knitting needles.  This student brought her knitting loom to class to work on.

Close up for stitch detail - Lovely!Spool knitting.

Spool knitting continues to be a huge hit.

Weaving boards - for bookmarks.

I made these weaving boards for noon art and held back a few for knitting class.  They make perfect bookmarks after being taken off the board!  The best part?  These boards can be used over and over again and are made with recycled (cereal boxes) cardboard.

Making a cowl on circular needles.

REALLY?  A 10 year old knitting on circular needles?!  Yes!

More spool knittin.More knitting.Starting a new project.WOO HOO!!  The head is done!Now the start of the beak.More weaving boards.IMG_4183 IMG_4182Adding details to our circle weaving backgrounds.IMG_4185Details being added.Hearts!Lots of color and lots of detials!

I can't wait until the bases are finished so that they can start the warping and weaving!

Moving right along with our crochet projects

Today everyone was really on the ball!8th grade schrunchie - he made this for his sister.

So many hair scrunchies completed today that it was very easy to move on to the more advanced projects!

Beautifully colored hair scrunchie.

I love these colors!

A lovely day to work outside on the patio.

Most of the campers decided to work outside this morning.  The weather was totally perfect!

Hair scrunchie.

She was so happy to finish this.  These are not easy for the beginning crocheter.

Hair scrunchieAnother hair scrunchie.Playing with the local wildlife.Two scrunchies finished at the same time.

Everyone finished their hair scrunchies this morning and started their next projects.  Last week, most of the campers chose the beaded headband, this week there are quite a few different projects started.  Several hats (granny square and half double crochet), bags, and one beaded headband.  I can't wait for tomorrow!!


2nd week of Crochet Camp

This is the second week of Crochet Camp for Let's Go Crafting and we have a whole new group of enthusiastic new crocheters.  All but one were brand new to crocheting this morning.  But by the end of our three hours they were doing great!

Discussing important "things"

There was such a lot of great work going on today!

Chattin' and crochetin'

Fun yarn, a new skill, what could be better?

3rd grader's lovely new shoelaces!

This camper already knew how to crochet, but she learned a better way to hold her yarn and hook so that her next projects will be easier to complete.

6th grade shoelaces.6th grade shoelaces.8th grade shoelaces.

The first boy crochet camper!IMG_0122

Enjoying snack time outside.

This is such a great time for the campers!  They make new friendships and bond together.

The pre-dyeing yarn soak.

We dyed yarn again this week because the campers really love this activity.  We soak the yarn first because the wet yarn takes up the dye better.

Dyeing yarn - it never gets old.More shoelaces.

IMG_0127

Yahoo!!  I'm finished!

Every single camper finished their shoelaces today!!  What a great day at camp!


Final day of week one crochet camp

Today was our final day together for this camp.  I am going to miss these campers!!  They are so hardworking - no one wanted to take a break today - they just kept on working!Crochet Amigurumi Panda Bear Head by 10 year oldI found those doll eyes at JoAnn's last night and just had to get them.  Don't they look so cute on her stuffed bear?  She was thrilled with them.Amigurumi Penguin BodyAmigurumi penguin in the making.  This is the body and she is almost done.  I sent her home with supplies to finish up and also with instructions to call or stop by if she needs help.Beaded headband made by 7 year oldThis camper worked so hard to master the half double crochet stitch needed to make this headband.  As you can see, she did a fabulous job!All my campers took home the necessary supplies to finish their projects.  They also know that I am always available to help them if they hit a snag and need help with something.  My primary goal for them is to feel successful and have a great first crocheting experience so that they continue - anything I can do to make that happen I will do!  See you next time :o)

Amigurumi is SOOO fun!!

First up, we had a big finish - a hair scrunchie for this camper!  She did so great.  It is not easy to connect this yarn to the hair tie and it takes a long time to make all those chain stitches!  Good Job!IMG_0090Doesn't it look adorable on her??IMG_0091I can't believe a 10 year old can crochet this.  These are tiny stitches and make up the body part of an amigurumi elephant.  This camper is now working on the head.  What an accomplishment!IMG_0092Another camper started an amigurumi penguin and this is part of the head - almost complete!IMG_0093Our youngest crochet camper threading beads onto her yarn to make a beaded headband.  I can't believe tomorrow is our last day of this week's camp!  I will be winding yarn for the campers to take home with them so that they can finish their projects.


Amazing students!

Today, crochet camp was amazing!IMG_0085As soon as the campers arrived, they got right down to work.IMG_0086A beautiful headband was created!IMG_0087And another beautiful beaded headband was created!  I can't believe what these kids accomplish in such a short amount of time.IMG_0088Two of the campers want to make some amigurumi stuffed animals - so that is what we started.  This is the start of an elephant.  There will be a start of a penguin tomorrow for the other camper.  In the upper corner you can just see a barely 7 year old crocheting her hair scrunchie.IMG_0089Such lovely, small, perfect crochet stitches for her stuffed elephant!

Second Day of Crochet Camp

I can't believe how hungry these campers are to learn and create!  It is music to my ears!IMG_0081This camper kept diligently crocheting along until she had mastered the chain stitch and completed her shoelaces!  It takes determination to get it right.IMG_0083And here they are.  She has her own sense of style - the shoelaces are different colors on purpose!IMG_0082This camper was so excited to learn more that she brought her work home with her yesterday and finished up her hair scrunchie.   It's just perfect!  Now she has moved onto a beaded headband (which she will finish tomorrow) and on her list to make is an amigurumi stuffed animal.  I know she can do it!IMG_0084We also made a yarn octopus complete with embroidered face and bows everywhere!  Tomorrow this young camper will make her hair scrunchie. 

Crochet Camp is this week!

Our first day of crochet camp was today and boy are these kids quick learners!IMG_0073We always start out with shoelaces.  It's a quick way to learn the chain stitch and to also learn how to make your tension even.IMG_0075

Finished shoelaces!!

IMG_0076And another pair of finished shoelaces!

IMG_0078We also dyed yarn.  I love having the kids do this.  They have such a great time and it will be exciting for them tomorrow to roll up the yarn into balls and make something with it.

IMG_0080Each hank is different.  Some like just a smattering of dye...

IMG_0079while others like lots of dark vibrant colors.  Either way, the resulting yarn will be beautiful.

IMG_0077This camper even finished a hair scrunchie!  Then she started a beaded head band.

These camps are so fun!  I can't wait until tomorrow to see what each camper makes.

Crochet Camp Projects!

While I have been quiet on the blogging front, I have been far from quiet on the crafting front!!  I have some new exciting projects to share with you!  I simply can't wait for crochet camp!  Here are a few of the projects we will be working on:

Image


Shoelaces!!  Who doesn't like a spiffy new pair of shoelaces!  They can be made in any color and teach the very most basic crochet stitch, the chain stitch.  This is the foundation of all other crochet stitches.

Image


My 17 year old loves these and now has two pair!

Image

Next up can be a hair scrunchie.  This is such a fun project that combines the chain stitch from the last project with the single crochet.  A quick project that helps solidify their new skills along with helping the student to master their tension.

Image


Another beginner project will be this easy beaded bracelet.  This incorporates the chain stitch and introduces a new stitch - the half double crochet.  These fun, quick projects are perfect for teaching!!  They help teach new skills without becoming boring or too repetitive.

Image


A beaded headband.  This one is basically the same as the bracelet only a bit longer.  It will just depend on what is interesting and exciting to the student.

Image

Now, more complicated projects can be tackled.  This hat uses the same half double crochet stitch, but it takes just a bit longer.  The top of the hat is gathered and the hat is sewn together.  A pompom is then added at the end.

Image

The same hat can stretch to fit many different sizes of heads!!

Image


Half Double Crochet Shoulder Bag.  These are so fun to make!  Useful too!

Image


Kids love keychains to hang off their backpacks and give as gifts!

Image


A longer keychain.  These can be made in any length desired!!

Image


This fun and pretty scarf introduces yet another stitch - the double crochet.  This one takes just a bit longer, but the time spent is well worth it!!  Fringe can also be added to both ends for a nice touch.

Image


This ripple blanket project introduces decreases and increases.  It is one of the most popular crochet patterns (besides the granny square) you will find.  Once the student falls into the rhythm and is ready for a greater challenge, this would be a perfect project for them.

Image


This is an example of Amigurumi crochet.  Once the student has learned the basic crochet stitches, there is really nothing they cannot do.  A little lesson in pattern reading and their imaginations are the only limit they have!!

Simple bag project

I am so excited about these beginner crochet projects for my students!!  I think they add the perfect combination of cuteness and learning to keep them excited and interested.  The next project they can choose from is a Half Double Crochet bag.Image

This bag reinforces what they have already learned and works up so quickly!Image

My 8 year old son modeling the bag.  He wants to learn how to make one of his own!

Beaded Bracelet and Headband

This next project is super simple to make, teaches one new crochet stitch, and gives practice to those stitches already learned.ImageThe beaded bracelet utilized the chain stitch and then moves right into the Half Double Crochet stitch.  The beads are first threaded onto the yarn and moved into place as the work proceeds.ImageIt is quite a quick project to make, yet produces a very cute effect!  I know students will love this one!ImageThis is the same stitch and same beads, but different yarn.  The bead colors "pop" so much more in this one! ImageThis headband has ties at each end and can be adjusted to fit any head.  Once they are tied and the headband is in place, the ties are not visible.ImageIsn't this just the cutest thing?!  And to think, a student new to crochet will be able to whip this up in no time flat!!Materials:Pony Beads, Yarn, Crochet hook to match yarn selectionIntructions:*Thread 20 beads for headband and 7 for bracelet.*Measure wrist or head, then chain to match that measurement minus 1/4".  For example, my daughter's head measured 15 inches so I made enough chains to measure 14 3/4".  If your measurements are more or less, add more or less beads.*Turn work, sc (single crochet) into the second chain and in every chain stitch after that to the end of the row.*Turn work, chain 2 (this is your first hdc), hdc in next stitch, **slip bead up to the crochet hook, chain one, skip the next stitch, hdc into the next two stitches and repeat from ** to end.*Turn work, chain 1 then single crochet in every stitch across the row.  Do not cut yarn.*Turn bracelet or headband so that the short end is facing up and pickup 4 stitches evenly across this section.  Yarn over and pull through all 4 stitches so that you now only have one stitch on the hook.  Chain 20 for bracelet and 35 for headband.  Fasten off.*Turn the other end of the bracelet or headband up to the top with the right side facing you.  Pick up 4 stitches evenly across this end and repeat instructions for first end.*You are now ready to wear your creations!!  Or let your kids try them on for photos and try to get them back - good luck!! 

Crochet Camp Prep

I have been quite busy these last couple of weeks and have been trying to set aside time to make up some samples for my crochet camp.  I think it is always helpful when students can see what they can make before they start.  My kids are on spring break this week and we decided at the last minute to head up to Oregon to visit with my dad.  Well...this gave me oodles of time to crochet because my husband likes to do all the driving.  Whoopie!!

Image


I though about what someone who is just learning to crochet would need to know and the chain stitch is the foundation to everything.  Those two strands of chain stitch don't look very exciting do they?  The picture is also a little dark because it was taken in the hotel room.Image

But shoelaces are sure exciting!  How do those single strands of chain stitch look now?  Now that they are in shoes?  And the other one is in the other shoe!  This is my 17 year old's foot and she now wants red and white ones to match her shoes.  In fact all five of my kids want shoelaces!!  I will have to get cracking in order to have samples for class!!Image

The next stitch I thought the kids would do well knowing is the single crochet (or sc).  So this project is a combination of chain stitches and single crochet.  They start with a slip knot on their hook, sc once around the hair tie, the chain 10, 15, or 20 chains depending on what they like.Image

Can you tell what it is??  My friend told me it was her brain on Easter candy!  Haha, it kind of looks like that too.Image

It's a hair scrunchie!Image

Here is the 15 year old modeling it.  It's going to be tough getting it back!

Scrunchie tutorial

You need an elastic hair tie, yarn and crochet hook in the size recommended for the yarn.

Start with a slip knot on your hook, single crochet once around the elastic hair tie, chain 10 to 15 chains depending on how big you would like your loops and then single crochet once around the hair tie.  Repeat this process until the elastic hair tie is completely covered.

It's so simple, easy, and cute, but it allows practice of the chain stitch to help with technique and getting the tension right.  Tension is important for other projects.

More crochet samples coming soon!!